Wednesday, 13 April 2016

Antiquated Pencil Box


"An Antiquated Pencil Box"

Good day from the USA, everyone!

Candy here with a fun little pen holder. I have been obsessed with pens and paper all of my life.

Sadly, I believe I have taken out many forests of trees in my time on this earth. I recently got a cool little box with a monthly maker kit that I just adored. Alas, it had to be covered and what better than the gorgeous IndigoBlu papers!

IndigoBlu Supplies: English Cottage Acrylic Paint "Miss Moneypenny," Cartography Mixed Media Paper, Roman Numerals Stencil 6" x 6." Other Supplies: Beacon Adhesive 3-in-1, Prima La View Antiques Cloches, bare pencil box, paintbrush.


This fun pencil box lent itself to covering with this beautiful "Cartography" mixed media paper.


The beautiful copper color went really well on the paper and with its luxurious thickness it works so well with stencils.


Add the Miss Moneypenny to the outside of the box to complete the look.


Here I added the La View Antique Cloche, gives it a great three dimensional look.


I hope that you have been inspired to dress up any bare box you got lying around!

www.AVintageGirl.com

Monday, 11 April 2016

A House of Small Treasures

Hi everyone and welcome! Jenny here and today I'm sharing my latest project with you. IndigoBlu have a fantastic large wooden house frame in stock that perfect for altering and filling with all your small treasures and curios.


I started by giving the raw wood a coat of gesso and added some modelling paste through the Texture stencil onto the roof. The 'back walls' were covered in a mix of 6x6 European Grand Tour Mixed Media Papers and some paper painted with Raven Black Metallic Paint and stamped in the gesso with one of the Teeny Backgrounds. I also added one of the Word Blocks #1 to another piece of the Raven Black painted paper.


To add some age to the house I then dripped dilute Pheasant Bronze and Kingfisher Blue Metallic Paints over it, allowing the paint to run onto all the surfaces. Then it was time to add the 'treasures'. I stuck to bits and bobs that fitted with the main colour scheme so it wouldn't look too messy.


Die cut and stencilled flowers and leaves were coloured with the same metallic paints as before and scattered throughout the house.


In the eaves of the house I added a paper clay moulded piece that had a mix of the Pheasant Bronze and Gold Metallic Paint run through it to highlight the details.


Further moulded pieces, chipboard shapes and die cuts were added, again altered using the four metallic paints. There are some fantastic Mod Podge moulds in stock at IndigoBlu which can be used with moulding clays and the new Diamond Resin too.


I had great fun altering this little house frame and finding the bits and bobs that could go inside it, and hope it's given you some ideas for altering one of your own.

Take care of yourselves,
Jenny xxx

Products used;

Friday, 8 April 2016

Treasure box

Hello Ladies and Guys! Monika here. Today I want to show you my mixed media box.

I played with MegaFlakes and with paints. First I applied coat of GeeSso Good! Gesso - Black. Then I stamped the doily stamp from Floral Fantasy set using my favourite Mega Flakes Chocolate Box


I also used metallic paints: GoldSleeping BeautyCopper as you can see, they are perfectly working together. At the end I applied thin coat of Slap It On Gloss to add some shine.


I love experimenting with paints, and you? Please share yours works with IndigoBlu paints in the comments below. I would love to see them!

Thursday, 7 April 2016

Happy

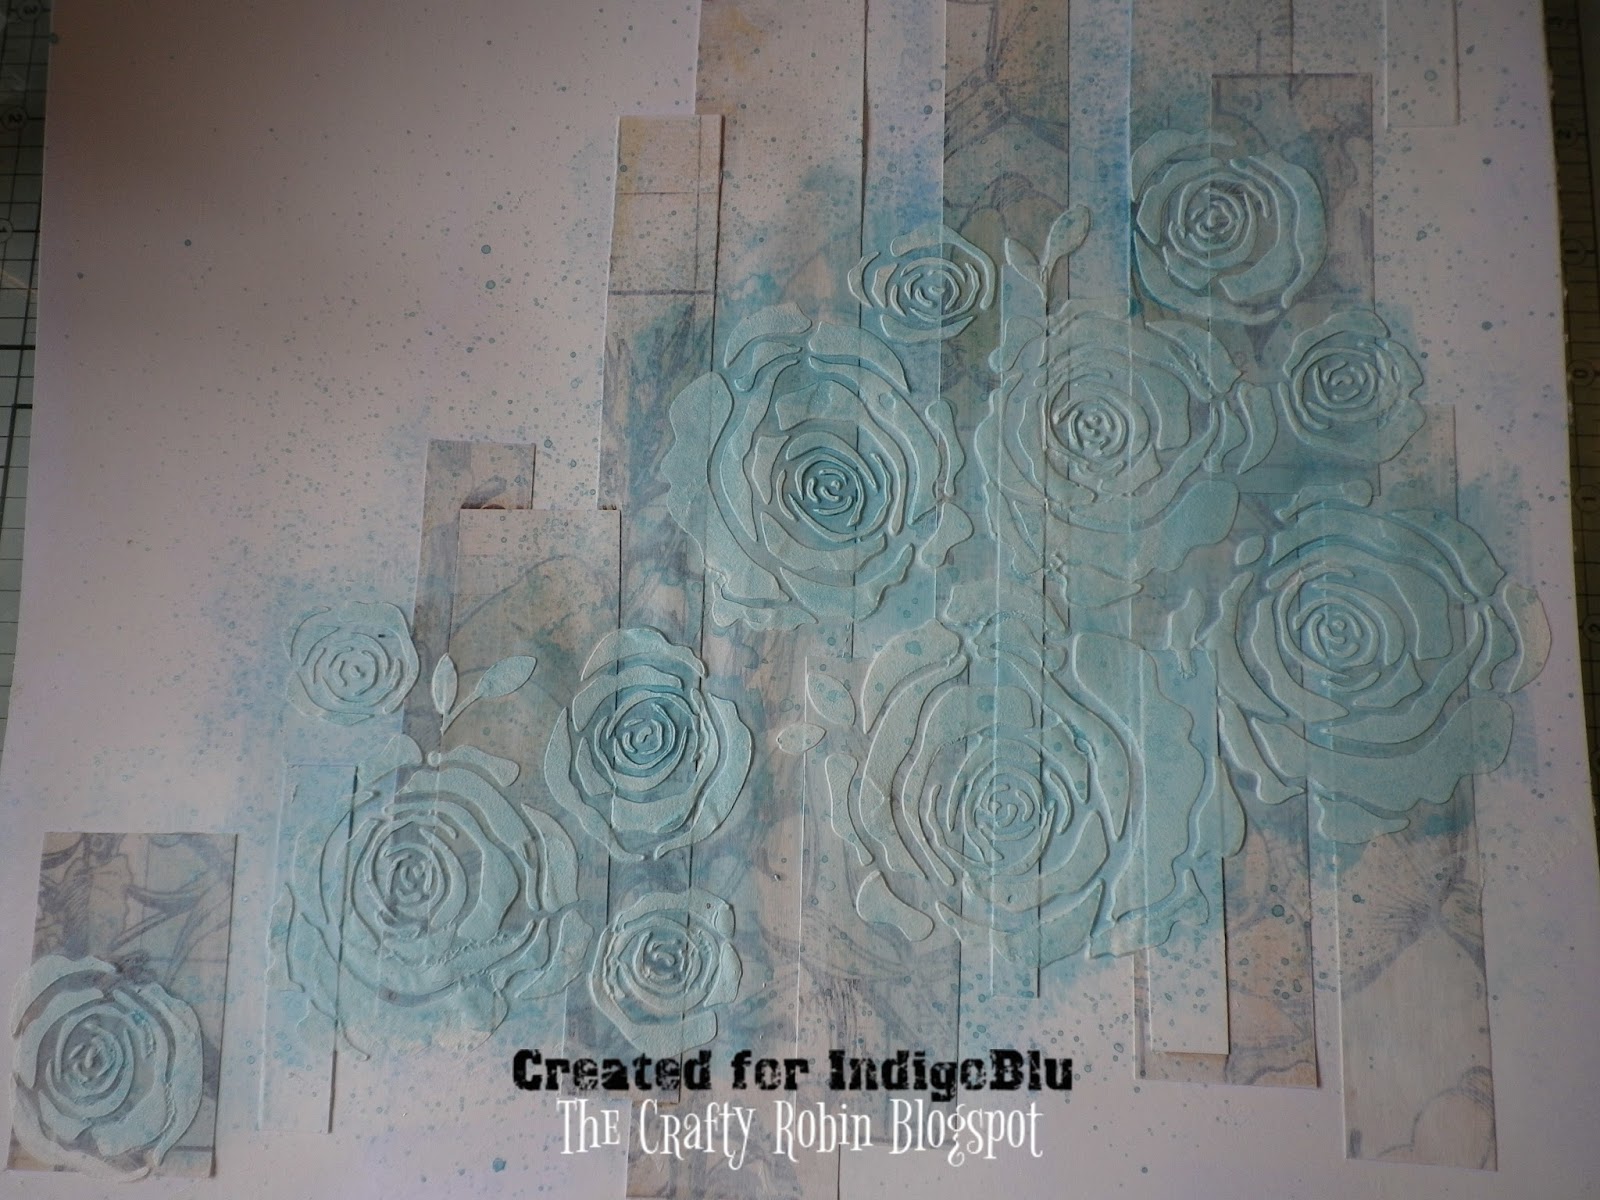
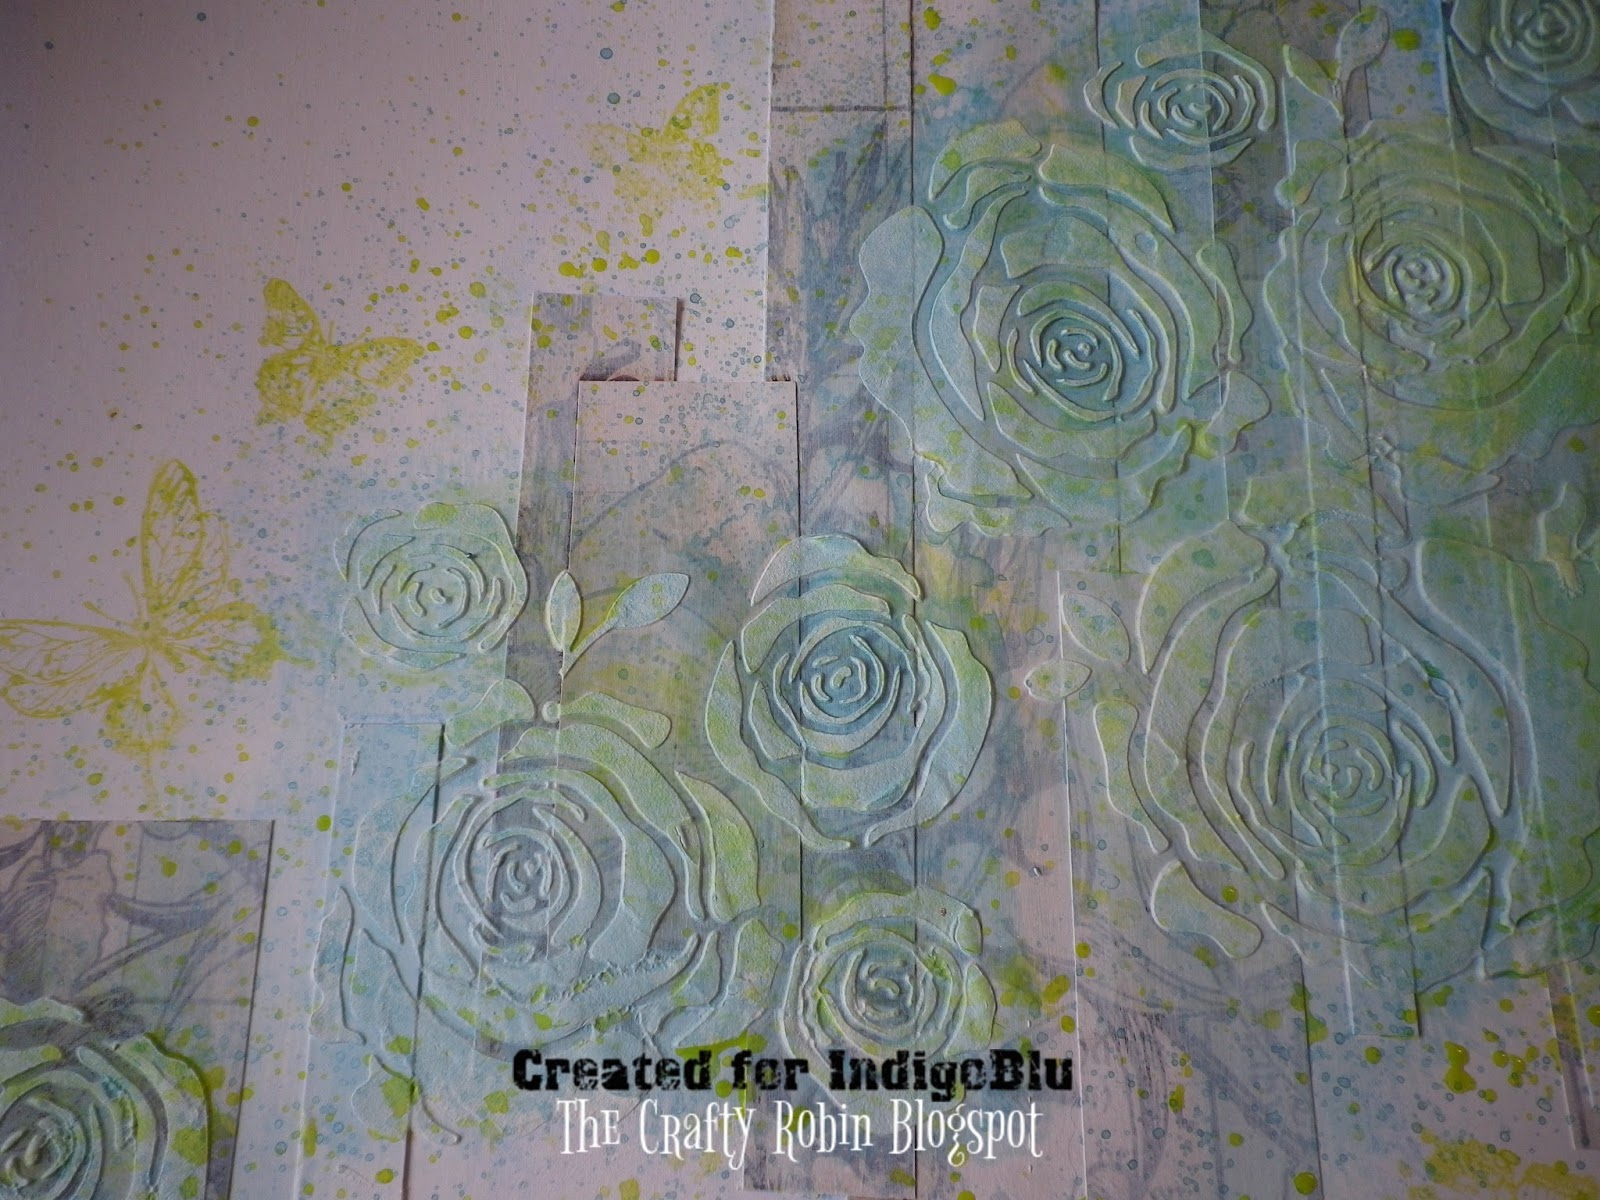
Hi, it's Elizabeth here sharing a project made with the gorgeous new Roses Stencil and the yummy new Kingfisher Metallic Paint and Lime Marmalade Cottage Garden Paint.


I cut out the butterflies from my piece of 12"x12" Floral Fantasy Mixed Media Stack and mounted my photo onto a piece of scrap black card.

Then I cut the rest of the Floral Fantasy card into strips and adhered them to a plain piece of 12" square card, along with a couple of plain strips. Once the glue had dried I gave them a light coat of White GeeSsoGood.

When the GeeSso Good had dried I stenciled Fine Modelling Paste through the gorgeous new Roses Stencil.

Once the paste was dry I started to build up the colour by spritzing/splattering diluted Kingfisher Blue making sure the Roses were coloured. I then did the same with the yummy Lime Marmalade Cottage Garden Paint and added some Butterflies from the Floral Fantasy Stamp Set stamped out in paint.


To finish off I added charcoal pencil along the edges of the paper strips to give some shade, and a few splatters of diluted Black GeeSsoGood to ground the photo, added the butterflies, gems and word from my stash.


Hope you enjoy the new products as much as we all do, see you soon.

Elizabeth x

Wednesday, 6 April 2016

ATC Trio "Learn"

Hello Beauties!

I'm Zoey and today I will show you how I created these quick and easy ATCs using some awesome stamps by IndigoBlu!

I wanted to play a bit with this fun stamp set that are from this year release -- IndigoBlu Chemistry Lab A5 Red Rubber Stamp - by Kay Halliwell-Sutton.

I used for my ATC base the awesome IndigoBlu Fontastic Ephemera - Mixed Media Paper Pad - 12x12  that is ON SALE right now, so I would suggest you to grab it before its gone! I love this vintage-ish paper pad. The design is unique and perfect for any of you that love vintage!


I cut the paper to size and then I used my fingers to slightly apply Gesso. I let it dry then I took some IndigoBlu English Cottage Artist's Acrylic Paint and added some color to the background.


I let it completely dry, then I grabbed the awesome IndigoBlu Stencil - Texture (6"x 6") and still with my fingers I tapped a bit of color through the stencil. I wanted to get a subtle tone on tone effect because I wanted the stamps to be the main focus and not the..background!


I let it dry again and then I stamped randomly here and there with IndigoBlu Harlequin A6 Red Rubber Stamp; please note that the stamped image you see is a second/third generation stamp. So if you want to get the look I have just stamp the image once on a piece of scrap paper, then stamp onto your surface.


I stamped a couple of stamps from the new IndigoBlu Chemistry Lab A5 Red Rubber Stamp - by Kay Halliwell-Sutton over a piece of old book page and with the same colors I used in the background, I colored the stamped images.


I decided to use the same color I used in the background mixed with gesso.


I darkened up the sides and then added some stitches around the borders.
And the ATCs are done....!


Stay Happy, Stay Creative...till next time!

Ciao Zoey

Product List:

Tuesday, 5 April 2016

Lost Family necklace

Morning all,

Sharing a quick make with you this morning, I have been having a play with the lovely Diamond Resin, and made this pretty vintage necklace with the Lost Family papers, and a pretty bezel.  I love the Lost family, you can use images as focal points in your art or cards, or cut pieces out as I have, or distress them, or just frame them and pretend you have an amazing family history!

I cut out my image from the paper pad to fit the bezel.  The best way of doing this is either pushing the paper slightly into the bezel to make a mark round the edge, or if you put ink on your bezel front, then stamp onto acetate, and cut that out, you have a template to work from each time.

Coat the image in slap it on, on the front, sides and back, and let dry.  You can use the matte or the gloss for this step, the new gloss is very good.  Then glue into your bezel, you can use slap it on for this also.  Once in the bezel, coat all over the top again, I actually do that twice, drying in between, to make sure your image is sealed, as we want to retain the crispness of the image as it's a photo.  (Resin is beautiful poured onto old pages straight on, but with photo's it's best to protect them).

Take your Diamond Resin, and mix some of Part A and Part B equally according to instructions.  Stir for two minutes, don't worry about bubbles, they will dissipate as you pour and after.


Using the stick provided, take a little resin up on the stick, and drizzle into your bezel.  Don't overfill, but ease the resin to the edges of the bezel with the stick.  You can do one layer now, and more later if you want the piece to dome.  Leave for 6 to 8 hours or overnight to dry between layers.

A tip - I pour any left over resin either onto paper, (wearing gloves), and smooth out with a sponge, to give you fab resin book paper, or into molds, adding a tiny bit of paint or mica to colour it sometimes.  This way you don't waste any resin, always have more than one project on the go too.

Leave your stick in the bottom of the resin cup too, then when that's set hard, you know you can touch your pieces.  I cover them with a lid overnight with a tiny bit of airflow under, to keep them dust free.

When your resin is poured and set, you can make up your necklace as you wish.  I made a rosary chain to go on this one, with freshwater pearls and black spinel, making it a beautiful wearable piece.  I added a clasp as a charm at the bottom.  If you aren't a jewellery maker, just look round charity shops or car boots for jewellery or chains you can upcycle and change the pendant on.


If you haven't tried Diamond Resin yet, it's brilliant for lots of applicatons, you can use it in mixed media, to protect artwork and give a high shine finish, or in recesses on boxes, jewellery, card embellishments in molds, or resin paper that you can die cut, so many possiblilities!

It's nice to be with you again today, hope you have a good day.

Best Wishes,

Nikki K.


Monday, 4 April 2016

March Challenge Reminder - Yellow, Pink and Green

Hi all, it's reminder time for the challenge. This month our challenge theme is 'Yellow, Pink & Green' and our Top 3 Winners from February's challenge, 'A Touch of Red', have some wonderful projects to share with us.

Before that however we have a big announcement... it's time to announce the winner of last month's blog hop!!! Thank you to everyone who took the time to visit each and every one of our International Design Team's blogs and see their projects.


We made a list of all those who did and randomly picked Craftyfield as our winner!!! Huge congratulations! Please email jenny@indigoblu.com to claim your prize - the complete set of Colour Me floral stamps!!!

Now, back to see what our Top 3 Winners from last month and a couple of our DT have created for this month's 'Yellow, Pink and Green' challenge.

First up it's Janette;


Janette had this to say:

I don’t have a lot of IndigoBlu stamps (Yet), but what I love about the IndigoBlu stamps is that they always fit my mood. I’m a “mood” cardmaker, sometimes I like to colour with Markers, sometimes with Ink and sometimes I don’t like to colour but just create something. For every “mood” I’m in the stamps fit.

And next is Aartje:


Aartje had this to say:

For this card I choose my favorite IndigoBlu stamp (wild meadow) and I have colored the background with distress inks. You can see on my blog here

And sadly Elaine couldn't be with us this time, but here is her blog if you'd like to see some of her other work.

Some of our DT have also made pieces to share, I hope they inspire you too!  This is an amazing set by Cheremane;


And our lovely Rachel has created this with the fab new Chemistry stamps;


We also have on offer a fabulous prize of IndigoBlu stamps of your choice as follows:

As always, you have 3 options to choose from:

1:   2 Large stamp plates (A5)
or
2:   4 Small stamp plates (A6)
or
3:   1 Large and 2 small plates

There’s also the Winner’s Badge, and one for the Top 3, to display proudly on your blog, and the WINNER of the challenge will also be invited to do a GUEST SPOT on a future Challenge Launch post. That’s right, your work will be on the Challenge Blog alongside the Design Team!

Also the Top Three each month (chosen by our lovely DT) will all be invited to do an inspiration piece to be included on the new reminder post that now goes live mid challenge. So, if you’d like a chance to be featured on the IndigoBlu Blog get those stamps out and get creating!

You’ll find all the information on how to enter the challenge, the rules (don’t worry, there’s not that many) and get to meet the Design Team in the tabs on the sidebar.

So we hope you can join us, we'd love to see your entries!

Best wishes,

Indigoblu Challenge DT

& Top 3 Winners.