Showing posts with label Floral Fantasy Stamps. Show all posts

Thursday, 11 May 2017

Let Your Dreams Fly card with Emmy

Hello IndigoBlu fans!

Emmy here sharing my first project for May. This month is about wings and flying high at IndigoBlu blog and I've prepared a butterfly card to share with you.
To create my background I used the Rain Droplets Red Rubber Stamp with white embossing powder. Then I coloured the white cardstock using Luscious Pigment Powder - Blue mixed with Slap It On - Super Thick.


Then I stamped the butterflies from the Floral Fantasy Red Rubber Stamp using silver embossing powder and coloured them with Tim Holtz Ink Pads.


For my sentiment I used a quote from the Grand Tour III Red Rubber Stamp.


I hope you enjoyed today's post!

Have a wonderful creative weekend!

Emmy

Monday, 27 March 2017

VideoTutorial: Spring in a tin

Hello , Giovanna here with my first video tutorial on the IndigoBlu Youtube channel. I hope you enjoy it!
Upcycling is definitely my cup of tea, and it has been a long time since I altered a fish tin. Now is a tiny house for a couple of sparrows to celebrate this incoming Spring.


Some details:

I hope you have a chance to upcycle a tin with the marvellous IB stamps, it is super easy!

Materials I used:

IndigoBlu Slap It On - Super ThickGeeSso Good! Gesso - White 120ml Live Laugh Love A5 Red Rubber StampFaber Castell Gelatos - 6 different set options (shipping from 1st November)Luscious Pigment Powders - 25ml (13 colour options)Floral Fantasy A5 Red Rubber Stamp - by Kay Halliwell-Sutton


Sunday, 23 October 2016

Altered Clipboard

Hello everyone!It's Solange Marques here and I'll share with you a new autumn project using IndigoBlu products.
I've made an altered clipboard:


 First I covered the clipboard with IndigoBlu Steampunkesque-Mixed Media Paper Pad-6x6 
and IndigoBlu Damage Dots-Mixed Media Paper Pad-6x6.


 I've applied modelling paste on IndigoBlu Stencil- Cogs and Gears


 I've mixed Luscious Pigment Powder-orange with modellin paste and I applied it on some cogs and gears :


I've added some leaves that I cut out from IndigoBluu Damage Damask-Mixed Media Paper Pad 6x6
and some  butterflies from IndigoBlu Floral fantasy -A5 rubber stamp. I also used IndigoBlu Steampunkesque A5 Red Rubber Stamp:


 I hope you enjoy it!


Saturday, 6 August 2016

Country House Retreat


Hi there Elizabeth here sharing a colourful project this morning. I love this Country House stamp and can see many different used for it.


I started off by adding Fine Texture Paste through the fab new Stars Stencil drying it and then painting over with a coat of White GeeSsoGood While this was drying I stamped out the Country House  doorway stamp twice onto Perfect White Stamping card using Black Versafine Ink and coloured in using Caran d'Ache pencils


I cut around a complete coloured image and adhered it to the canvas. Once that had dried I spread paste around the edges of the stamped image, and scored brick lines into it using the end of a paint brush.


Once this had completely dried off I began adding the Cottage Garden paints layer by layer, starting with Pink Iced Gems and building right up to Park Lane around the edges.


I love the way the paints blend together. Next I mixed a tiny amount of the gorgeous new Luscious Powder in Bronze and using a fine brush painted inbetween the brickwork, and slightly over the top of the bricks as well for a gorgeous sheen.


Then after cutting out the lanterns and topiary tree's I added them using black foam pads.


I also cut out the door, painted it with a mixture of Luscious Powders and made a cut down the centre and edges, so one door could be opened. (sorry about the blurred picture).


Next taking a piece of card I added several different colours of paint, blending them in at the edges where they met.


I stamped out a sentiment and Butterflies from the gorgeous Floral Fantasy Stamp Set on my Rainbow background, made myself a cuppa and set about cutting them out, which took no time at all.


Then all that was left to do, was to build up the picture, add the chopped up sentiment, position the Butterflies escaping from the doorway, and of course add a few paint splatters using the left-over Luscious and also diluted white GeeSsoGood.


I think you will agree, the combination of the Cottage Garden paints and the Luscious powders is just amazing, so vibrant.


I had such great fun creating this project and hope you've enjoyed it too.
Thanks for looking, Elizabeth x


Friday, 6 May 2016

Butterflies and Blooms Cushion Covers

Hi it's Elizabeth here sharing some of the cushion covers I made for Jenny Marples show on Hochanda last Monday. If you missed the shows they are still available on catch up on the Hochanda page, but be quick!


I kept the designs quite simple to show that you don't have to cover the entire piece, just a corner or centre if that's what you would prefer.


As you can see I love using the Dinkie Butterfly, it's such a beautiful stamp and the image stays true when stamping with the IndigoBlu paints.


The Lilac blossoms were stamped up using Mulberry Bush and Marshmallow, which are perfect colours for these flowers. The Lime Marmalade and Hunter Green blended together to stamp out the Laurel Leaves stamps beautifully.


These Dinkie DragonFly's were stamped out onto scrap fabric with the Kingfisher Blue, cut out and attached using the Fabric Slap It On, which is a fabulous product. I love the Lime Marmalade paint alongside the Kingfisher Blue and Hunter Green it really comes alive.


And last but not least my favourite cover made using the Dinkie Butterfly and the beautiful half Doily from the Floral Fantasy stamp set, along with Lime Marmalade, Kingfisher Blue and Pheasant Bronze paints, and a little splattering.

So Tomorrow (Saturday 7th May) the cushions will be at Port Sunlight for the Happy Stampers Show if you would like to have a closer look, or have any questions about the products used, the team will be happy to help. I'll pop a list of products used at the end of this post.

Happy Crafting and hope to see you at Port Sunlight,
Elizabeth x

Marshmallow Cottage Garden Paint
Mulberry Cottage Garden Paint
Pheasant Bronze Metallic Paint
Kingfisher Metallic Paint
Lime Marmalade Cottage Garden Paint
Raven Black Metallic Paint
Hunter Green Cottage Garden Paint
Dinkie Butterfly
Dinkie Dragonfly
Laurel Leaves Stamps
Floral Fantasy Stamps

Friday, 15 April 2016

Paint Effect Lantern

Hello and welcome, it's Kay here. Today I would like to share a paint and Mega Flakes experiment; I used it to upgrade a cheap lantern to look like weathered metal, replacing the glass with handmade paper treated with Diamond Resin as it gives a lovely translucent effect.


One of the great advantages of Mega Flakes is the large size of the flakes - hence their name! - but even Mega Flakes do break down eventually and become unusable (until now!) This is what I used on the lantern along with the fabulous new Metallic Paints. 

The glass panels, base and handle were removed. A piece of Phat Foam was loaded with FlitterGlu and applied all over the lantern body, base and handle. The broken down Stainless Steel Mega Flake was used to cover FlitterGlu and buffed up with a Scoochy, at this point it didn't seem to matter if the flakes are a little lumpy as it added to the effect. A little Raven Black Paint was dabbed over the flake using a sponge, when dry a little Kingfisher Blue was then applied similarly and when that was dry Pheasant Bronze was dabbed over both with a sponge. This process was repeated until I was happy with the result, a final light sponging with Snow White was then applied to highlight.


The replacement glass panels were cut to the same size from handmade mulberry paper, a butterfly from the Floral Fantasy stamp set was inked with StazOn and stamped 4 times without re-inking on each panel. The paper panels were placed on a craft mat, 10ml of each Diamond Resin part was made up to the instructions on the packaging and sponged over all 4 panels and left for 8 hours. I found that the panels needed an extra coating of Diamond Resin, I applied this and left them to cure for 3 days.


I put the lantern back together and was very happy with the result, hope you also like the effect and will be making you own experiments soon!

Until next time, happy creating,  Kay M x

Friday, 8 April 2016

Treasure box

Hello Ladies and Guys! Monika here. Today I want to show you my mixed media box.

I played with MegaFlakes and with paints. First I applied coat of GeeSso Good! Gesso - Black. Then I stamped the doily stamp from Floral Fantasy set using my favourite Mega Flakes Chocolate Box


I also used metallic paints: GoldSleeping BeautyCopper as you can see, they are perfectly working together. At the end I applied thin coat of Slap It On Gloss to add some shine.


I love experimenting with paints, and you? Please share yours works with IndigoBlu paints in the comments below. I would love to see them!

Thursday, 7 April 2016

Happy

Hi, it's Elizabeth here sharing a project made with the gorgeous new Roses Stencil and the yummy new Kingfisher Metallic Paint and Lime Marmalade Cottage Garden Paint.


I cut out the butterflies from my piece of 12"x12" Floral Fantasy Mixed Media Stack and mounted my photo onto a piece of scrap black card.

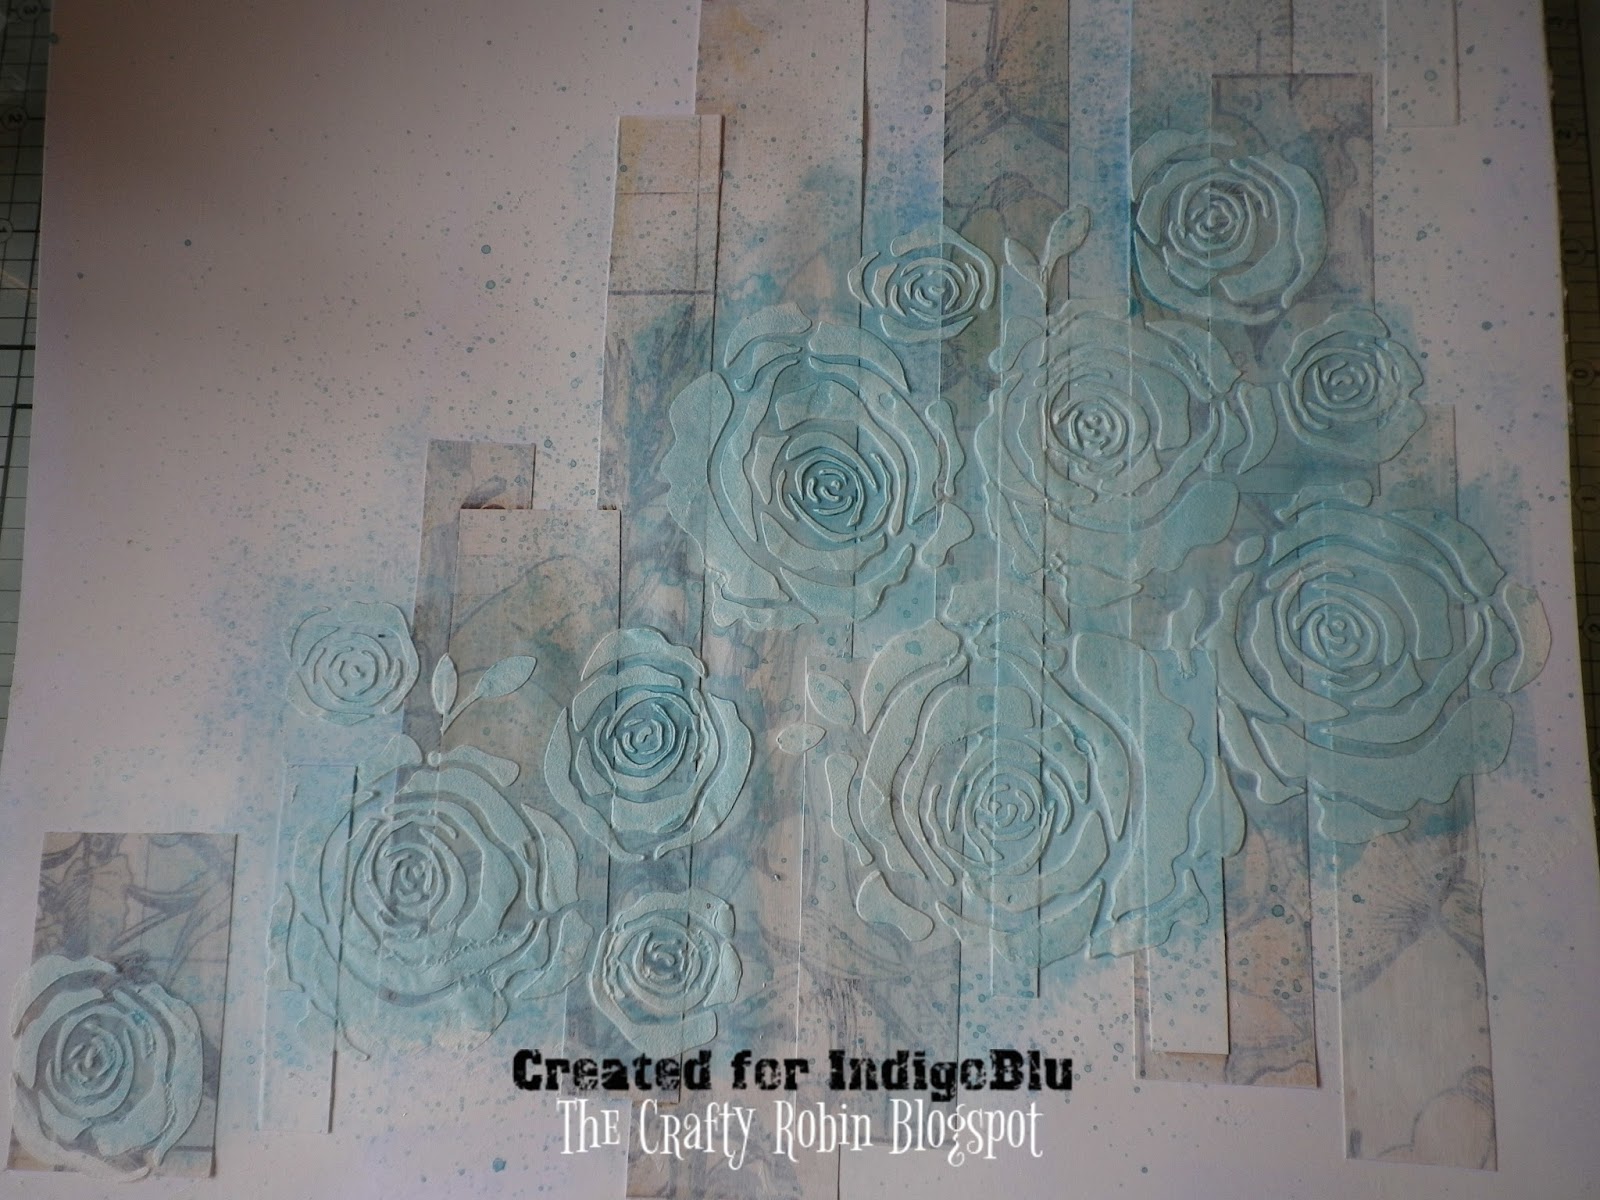
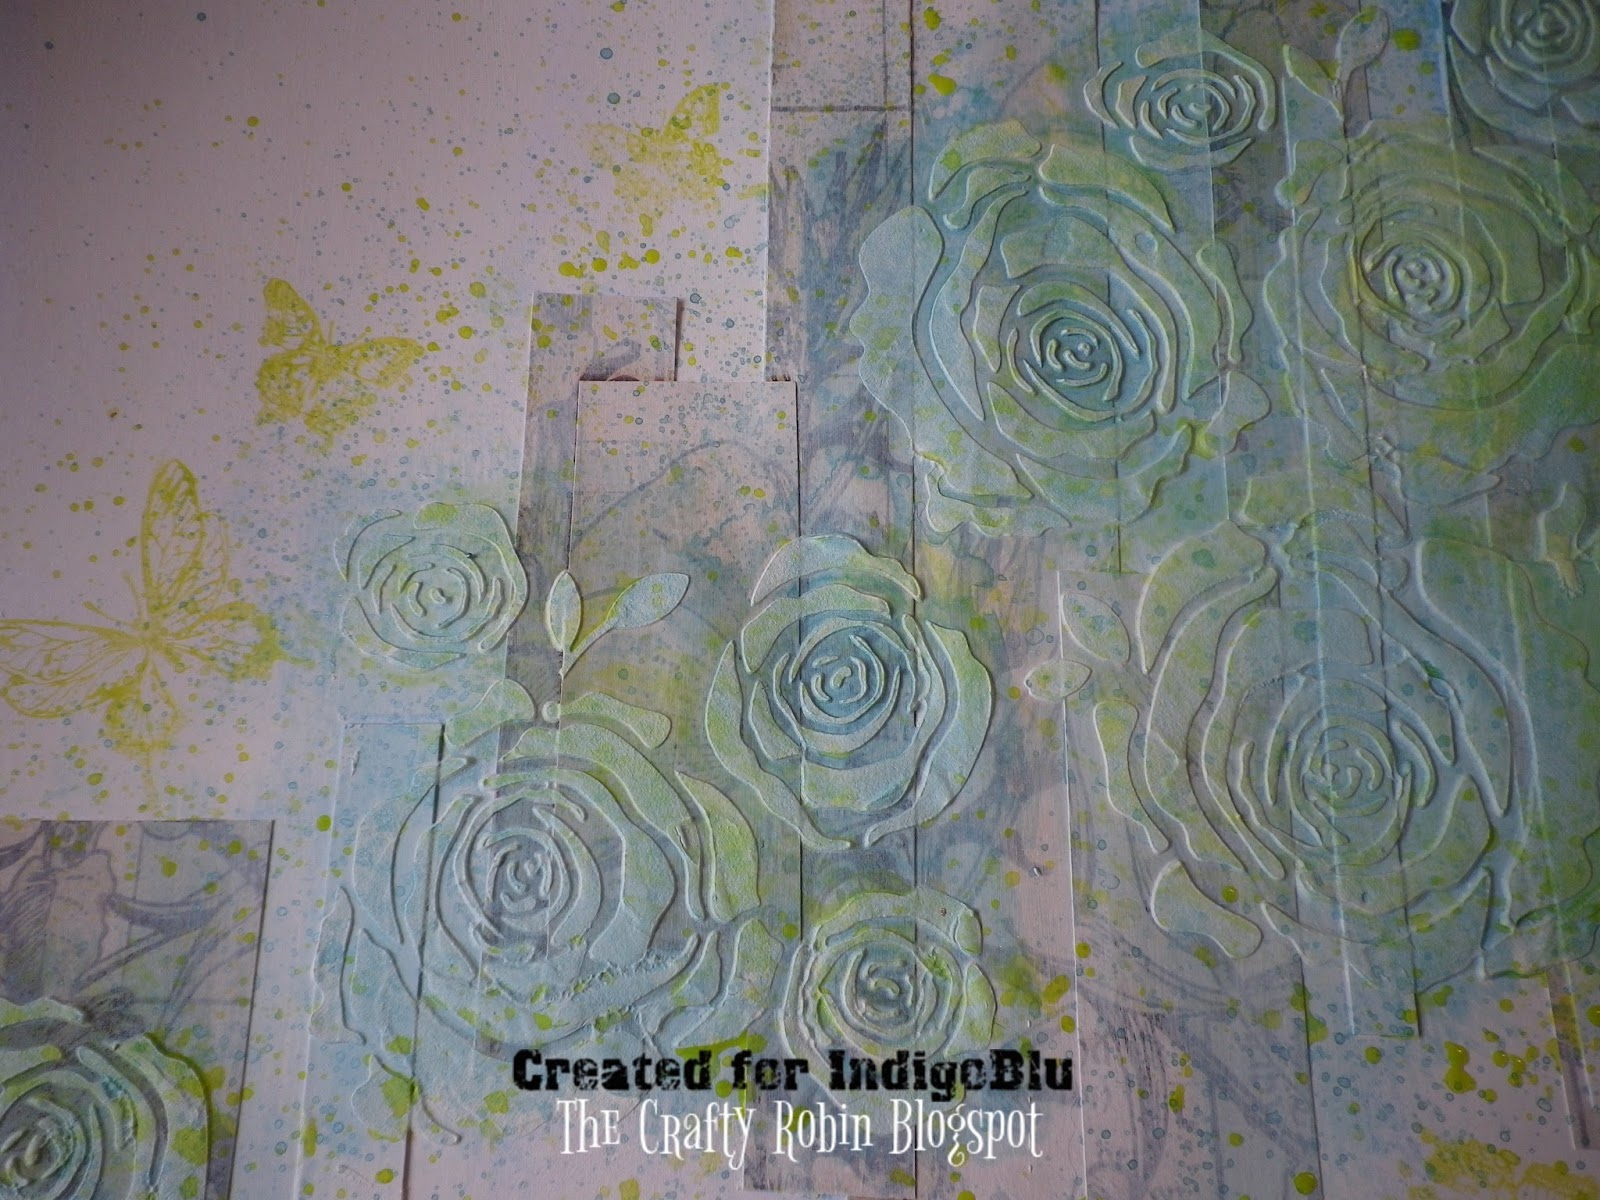
Then I cut the rest of the Floral Fantasy card into strips and adhered them to a plain piece of 12" square card, along with a couple of plain strips. Once the glue had dried I gave them a light coat of White GeeSsoGood.

When the GeeSso Good had dried I stenciled Fine Modelling Paste through the gorgeous new Roses Stencil.

Once the paste was dry I started to build up the colour by spritzing/splattering diluted Kingfisher Blue making sure the Roses were coloured. I then did the same with the yummy Lime Marmalade Cottage Garden Paint and added some Butterflies from the Floral Fantasy Stamp Set stamped out in paint.


To finish off I added charcoal pencil along the edges of the paper strips to give some shade, and a few splatters of diluted Black GeeSsoGood to ground the photo, added the butterflies, gems and word from my stash.


Hope you enjoy the new products as much as we all do, see you soon.

Elizabeth x