Showing posts with label Sheffield Steel Mega Flakes. Show all posts

Tuesday, 16 May 2017

Tattoo Heart Tag


Hello, Kay M here with today's post. Our theme this month is 'Winging It' so I've had the prefect excuse to use the gorgeous Tattoo Heart Dinkie stamp, as the focal point on this die cut tag.  


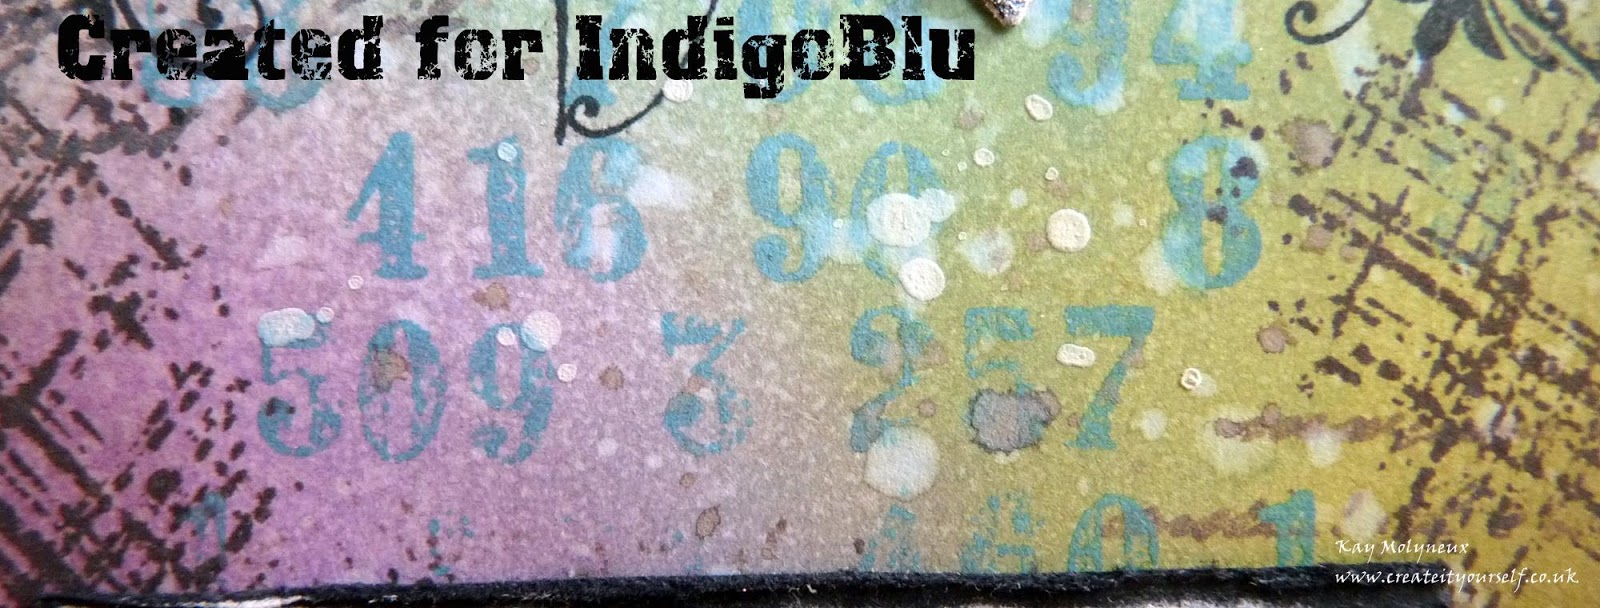
For the background I sponged Wilted Violet, Peeled Paint and Faded Jeans Distress Oxides over the tag, sprinkled it with water,  dried it off and then repeated the process again.  The tag was repeatedly over stamped with just only one inking of with Vintage Photo and Faded Jeans Distress Oxides using the new Collection's Edition stamps, I used No. 2 FrenchScript and No. 4 Numbers.   I went back in with Collection's Edition stamp No. 3 Cross Hatching and stamped around the edges with Ground Espresso Distress ink to create a border. The white lines (using the edge of a Slim Jim) and splatters were made with white GeeSsoGood.


The Tattoo Heart was stamped directly on the tag and again onto a piece white card, I then fussy cut the wings and banner from the white card.  Next I die cut a little heart from card with double sided tape and applied Sheffield Steel MegaFlake.  The sentiment was stamped from Live, Laugh & Love stamp set trimmed and edged with black ink.  All these were adhered to the tag as shown.

 The tag was finished by edging with a black pen and ribbon and charms were added.


I hope you have enjoyed this tag and are inspired to made your own winged creation!

Take care,  Kay M

Friday, 16 December 2016

Watching Over


Hello and welcome,  Kay M here to share a panel with you today.   I've used the beautiful Angel from Peace On Earth to watch over and bless a town.  


A 6x6 (15cm x15cm) grey board was painted with BlackGeeSsoGood and then Sleeping Beauty metallic paint to make a night time sky.   FlitterGlu was sponged through the Starburst stencil in the top left corner and Sheffield Steel Megaflake applied.  

Black GeeSsoGood and Super Thick Slap-it-On were mixed together and applied  through the Whimsical Houses stencil onto orange card,  when dry the houses were cut out.  Unicorn Sparkles and Super Thick Slap-it-On were mixed together and  used to edge the house's roofs and applied through the Stars stencil onto the night sky.  The houses were then attached to the panel to make a townscape.


The Angel was stamped twice onto white card and painted with Luscious, one Angel was cut out completely and the other just the wings.  Both had a little of the remaining Unicorn Sparkles mixture spread over them before the extra wings were attached and added to the panel. 


The sentiment from Spirit of Christmas was stamped on a little painted card, embossed in white, cut out and edged with Unicorn Sparkles and adhered to the panel to finish the panel. 


I do hope your holiday preparations are going well and you are still able to get creative!

Take care,  Kay M 

Sunday, 13 November 2016

Starburst

Cheremane here with you today. Seeing its November we are sharing Firework inspiration with you here at IndigoBlu this month. I've used a mix of Stencils,Stamps,Super Thick Slap It On,Luscious Powders and MegaFlakes to create my project for you today.


Take some Super Thick Slap It On and mix with three different colours of Luscious Powders I've used Blue,Silver and Purple.


 If you mix to much Super Thick Slap It On and Luscious Powders you can store the left over coloured
Super Thick Slap it on in an air tight container to use on another project.
Look at the yummy mica in the Luscious Powders.


 Using a Palette Knife spread the Super Thick Slap It On over the Starburst Stencil, random is better so don't worry about putting one colour on top of another as it adds to the effect.


Once the Super Thick Slap It On is dry you really will see the true Luscious Powder colour and the sparkle of the mica.


Mix some Rose Bronze Luscious Powder with some Clear Superfine Embossing Powder to make your very own embossing powder to match all your Luscious projects. I've made a little pot up of every colour ready to use when ever I need that extra special embossing powder for a project.


Using some Phat Foam and Flitterglu stamp the Sparkle & Glisten word from the stamp set and sprinkle over the Luscious embossing powder that you have made and heat with a heat tool, look at the extra glisten of the mica blinging through.

Finally using the Phat foam with Flitterglu on rub round the edge of the card and then add Sheffield Steel MegaFlakes this really finishes off a project and adds that little extra bling, now mat onto some Coal Black Stamping Card, water down a little bit of Black GeeSso Good and add some small splats with a fine brush, then add some 3d foam to the sentiment to make it stand proud in the middle of the Starburst.


Thanks so much for stopping by I hope you like it and your feeling inspired. 
Cheremane xxx

Friday, 15 April 2016

Paint Effect Lantern

Hello and welcome, it's Kay here. Today I would like to share a paint and Mega Flakes experiment; I used it to upgrade a cheap lantern to look like weathered metal, replacing the glass with handmade paper treated with Diamond Resin as it gives a lovely translucent effect.


One of the great advantages of Mega Flakes is the large size of the flakes - hence their name! - but even Mega Flakes do break down eventually and become unusable (until now!) This is what I used on the lantern along with the fabulous new Metallic Paints. 

The glass panels, base and handle were removed. A piece of Phat Foam was loaded with FlitterGlu and applied all over the lantern body, base and handle. The broken down Stainless Steel Mega Flake was used to cover FlitterGlu and buffed up with a Scoochy, at this point it didn't seem to matter if the flakes are a little lumpy as it added to the effect. A little Raven Black Paint was dabbed over the flake using a sponge, when dry a little Kingfisher Blue was then applied similarly and when that was dry Pheasant Bronze was dabbed over both with a sponge. This process was repeated until I was happy with the result, a final light sponging with Snow White was then applied to highlight.


The replacement glass panels were cut to the same size from handmade mulberry paper, a butterfly from the Floral Fantasy stamp set was inked with StazOn and stamped 4 times without re-inking on each panel. The paper panels were placed on a craft mat, 10ml of each Diamond Resin part was made up to the instructions on the packaging and sponged over all 4 panels and left for 8 hours. I found that the panels needed an extra coating of Diamond Resin, I applied this and left them to cure for 3 days.


I put the lantern back together and was very happy with the result, hope you also like the effect and will be making you own experiments soon!

Until next time, happy creating,  Kay M x

Monday, 11 January 2016

A Floral Wreath

Hi everyone and welcome! Jenny here sharing a new project with you today. Having received so much positive feedback for a project I created at the end of last year for The Mixed Media Monthly Challenge, I wanted to give you another idea for using the new Colour This Anenome stamp (start pestering your retailers for it now!) along with the A6 Laurel Leaves set.


Now it may look complicated but there's actually not a great deal to doing this! I started with a blank white sheet of card (anything above 250gsm is good) and immediately misted the whole lot with water. Then when I spritzed dilute English Cottage Artist's Acrylic paints onto the surface they started to blend together nicely. In this case the colours are Townhouse Teal, Peppermint Tea, Banana Custard and Cinderella. Leave this to dry naturally and you'll end up with a beautiful multicoloured background on which to stamp.


With the colouring done I simply stamped lots of the Laurel Leaves with FlitterGlu, covering some in Sheffield Steel Mega Flakes and some with white embossing powder. These were then fussy cut, ensuring a decent border was left around the stamping.

The 'Colour This Anenome' was stamped and embossed in the same way three times in full for layering, with extra centres stamped for the smaller flowers. The large ones were die cut (I used the Sizzix Tattered Florals XLdie but you can use any of the larger floral dies you have) and the centres were punched with the Tim Holtz Spiky Flower punch (again, you can use any die/punch you want!)

To give them all an extra zing I blended the edges with Black Soot Distress Ink - a little goes a long way! Then it was just a case of layering them up onto the side of a pre-bought twine heart with some sheer ribbon for extra glamour and strong glue to hold everything in place!

A handy hint - if you feel nervous about doing the lot in one go I would suggest assembling your flowers and a few stems together in separate sections before bringing them all together.


There's enough shimmer and shine in this I think to qualify it for our current challenge 'All That Sparkles'! If you haven't entered yet there's still time - find the link at the top of this post.

With plenty more eye candy to show you this week make sure you drop back soon.
For now, take care of yourselves, Jenny xxx