Showing posts with label Live Laugh Love Stamps. Show all posts

Tuesday, 12 September 2017

Live Laugh Love


Hello dear reader,

Today it's my turn to inspire you on in this wonderfull team.


I start with a white craft card and 2 colors distress ink, Broken China and Evergreen Bough.


I spinkle some water on the card


bring distress ink with mask on the card


stamp with bubbles and script from the designer collection on the edges in the same colors.
and with an oldie (one of my fav) the swirl in black.


At last I stamp the butterfly and sentiment from the set Live Laugh Love code LLL.


I hope you have enjoy my blogpost 
thank you for being here.


Hugs

Tuesday, 27 June 2017

VideoTutorial: Altered Letter Holder

Hello Giovanna here, to close this month all about flowers. This time I revamped an old decoupaged letter holder, with hand made spray paints and a bit of metal. With a blurry stamped flower I even made a pendant, and to my amazement, everyone loved it!
I made a video tutorial, enjoy it!


And the pendant, so lovely!

Products I used:

IndigoBlu Slap It On - Super ThickGeeSso Good! Gesso - White 120ml Live Laugh Love A5 Red Rubber StampJunk and Disorderly Artist's Acrylic Paint - Olive WaistcoatArtist's Acrylic Paint Cinderella (Metallic Pink) 60mlCollectors Edition - Number 2 - French Script
Teeny Background A6 Red Rubber Stamp by Kay Halliwell-SuttonCountry House A6 Red Rubber Stamp by Kay Halliwell-Sutton


Tuesday, 16 May 2017

Tattoo Heart Tag


Hello, Kay M here with today's post. Our theme this month is 'Winging It' so I've had the prefect excuse to use the gorgeous Tattoo Heart Dinkie stamp, as the focal point on this die cut tag.  


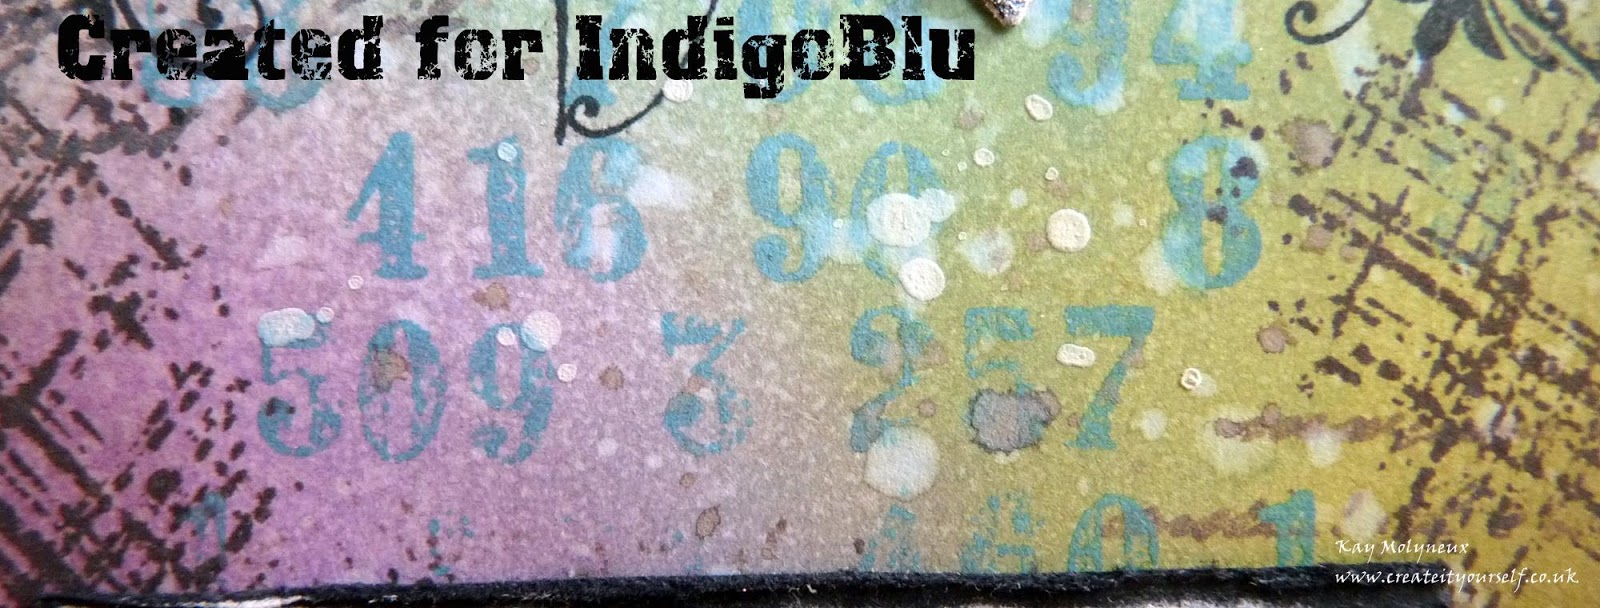
For the background I sponged Wilted Violet, Peeled Paint and Faded Jeans Distress Oxides over the tag, sprinkled it with water,  dried it off and then repeated the process again.  The tag was repeatedly over stamped with just only one inking of with Vintage Photo and Faded Jeans Distress Oxides using the new Collection's Edition stamps, I used No. 2 FrenchScript and No. 4 Numbers.   I went back in with Collection's Edition stamp No. 3 Cross Hatching and stamped around the edges with Ground Espresso Distress ink to create a border. The white lines (using the edge of a Slim Jim) and splatters were made with white GeeSsoGood.


The Tattoo Heart was stamped directly on the tag and again onto a piece white card, I then fussy cut the wings and banner from the white card.  Next I die cut a little heart from card with double sided tape and applied Sheffield Steel MegaFlake.  The sentiment was stamped from Live, Laugh & Love stamp set trimmed and edged with black ink.  All these were adhered to the tag as shown.

 The tag was finished by edging with a black pen and ribbon and charms were added.


I hope you have enjoyed this tag and are inspired to made your own winged creation!

Take care,  Kay M

Sunday, 26 March 2017

Spring Tag


It is Cec here and today I am bringing you a spring tag that I created.


I am very, very fortunate that my husband has a laser cutter in the basement (it was his retirement present to himself) so he can cut me pretty well anything I want.  I don't like that normal manilla tags warp when you add lots of wet media so I got him to cut me a 4" x 8" tag from mat board.  The first thing I did to it was give it a border with Hot Cocoa Acrylic Paint because I intended to add a second layer.


I also had my husband cut a second tag from heavy card stock that was 1/4" smaller all the way around to use as a second layer.  I used some texture paste and the IndigoBlu Texture stencil to add some dimension.


Next I used some Slap it On Matte to add a few clusters of seed beads that I picked up from the dollar store.


I used some Martha Stewart Crafter's Clay and a Prima Mold to make a florish.  When it was dry I cut it in half and added it to my top layer using Super Thick Slap it On to ensure that it would not fall off.


I added a coat of Gee-Sso Good White gesso over the top of this layer and then sponged on Townhouse Teal, Coastal Walk and Hot Cocoa Acrylic Paint.  it was brighter than I wanted so I sponged a bit of the gesso on over the paint to knock it back a bit.


Then I decided to add a few spray inks - Tim Holtz Gathered Twigs and Lindy's Frozen Jack Frost but it didn't turn out as I expected.  I have a love/hate relationship with spray bottles and usually they won't spray when I want them to but this time the Tim Holtz bottle sprayed way too much.  I grumbled a bit and then started sponging the paint colours back over all the brown.  I also stamped some script from the IndigoBlu Tasty Textures set with some Coffee Archival Ink.


Next I used the Coffee Archival Ink to stamp a couple of flowers from the Live, Laugh, Love set on pale yellow card stock, fussy cut them and shaped them with a large embossing tool.  I used a sponge to add some gesso to the edges of the flowers and then mounted one on top of the other.


I also used a punch from EK Success to punch a bunch of little flowers from some of the 12" x 12" Damaged Dots paper.  I went back and cut a batch of even smaller flowers just to mix things up a bit.  Then I shaped them and added a bit of gesso to the edges.  When you see these little flowers on the finished tag take note of how well the blue and teal paints match the Damaged Dots paper.

To finish the tag, I added some twine at the top and pearl stickers to the centre of all the smaller flowers.  I watered down some of the gesso and flicked it on with an old brush.  Then I thought it needed something else and my husband actually suggested the feathers.  Usually he just rolls his eyes and shrugs his shoulders when I ask for his opinion so needless to say, I was happy that he had something to say this time.

I love this tag and hope I have inspired you to dig out your papers and paints and create.  Happy Spring!

Saturday, 25 March 2017

Breathe! It's Spring!

Hello Everyone and Welcome!

Today Ksenija is here, and I am happy to share with you a new project as a part of March inspiration from International DT.


I am featuring Live Laugh Love stamp set in combination with other IndigoBlu stamps and products.


I started with stamping this gorgeous flower from Live Laugh Love set in scarlet dye ink and repeatedly in embossing ink. To make dye ink watercolour resistant I covered the image with fine clear embossing powder and heat set it.


I added light colouring to the flower with watercolour markers. To create a soft shading around the image I masked off the flower with masking paper and blended in Distress ink in Salty Ocean. Then I stamped a dotted splatter image from Butterfly Collector set using FlitterGlu and covered the impression with one of my favourite Megaflakes - Chariot of Fire
At the end I stamped down Breathe from Plume set in black ink and mounted the panel to scarlet card base.

Thanks so much for stopping by! I hope, you enjoy this card and you will play with IndigoBlu flower sets during this weekend.

IndigoBlu Supplies Used:
Live Laugh Love Stamp Set
Butterfly Collector Stamp Set
Plume Stamp Set
FlitterGlu
Chariot of Fire Megaflakes

Sunday, 5 March 2017

Tweet Tweet It's Spring


Hi it's Jannet here.
As March arrives, we are celebrating the arrival (hopefully) of Spring! I am thinking about Springtime and Easter decorations to bring some colourful cheer to our homes.

I foraged my local forest for three suitable looking twigs. I arranged them in a triangle and joined them tightly together with some twine.I left enough twine at the top to create a loop, so it could be hung up if needed.


I stamped the bird, flowers and leaves from the Live,Laugh,Love stamp set with Archival black ink. I gave them some colour with watercolours. I used a bright yellow for the flowers to create a happy Springtime feel.

After fussy cutting them I added some texture paste to the centre of the flowers. When dry I brushed some lovely Coral Luscious over the top to add some shimmering colour.


I curled up the edges of the leaves to give them a more natural look. Then I checked that I had coloured underneath the curled up part !I shaped and folded the flowers slightly too.

Thank you so much for visiting today. I wish you a very happy Springtime.
Products used

Saturday, 26 November 2016

Sparkle


It is Cec here and today I have my second inspiration project for you based on the Bonfire Night theme.  Our lovely DT Leader, Elizabeth, gave those of us who live in countries that don't celebrate this event the following things to consider:
  • Lots of bright coloured fireworks going off, bonfires and starry skies
  • Family gathering and celebrations
  • The word "sparkle" for fireworks called sparklers
  • Lots of bright colours such as an explosion of colour using butterflies, flowers, birds
Since I did a card with fireworks in a night sky as my first project, I decided to go bright this time.  I started with some yellow card stock for my blank.


I dug out some Watercolour card and painted it with a coat of Lemon Meringue Matte Acrylic paint.  Then I added Mulbery Bush, Burning Bonfire and Postbox Red Matte Acrylic paint through a TCW stencil called Mini Burst.  Despite every effort, it still bled under the stencil and I was about to toss it when I restrained myself and grabbed a baby wipe and pulled the colour from the centre out.  I love the way that looks now and thought it was a great save.  The burst reminds me of fireworks - OK, so a bit of a stretch maybe but that's my story and I am sticking to it.


I stamped two each of three different flowers from the Live, Laugh, Love stamp set onto some scraps of white card stock with Versamark and then embossed it with Recollections Gold embossing powder.


Once dry I fussy cut the flowers and painted them with Postbox Red, Lemon Meringue and Mulberry Bush Matte Acrylic paint.  The flowers were then shaped by cutting into sections and bending or curling the petals before layering them.


I die cut some leaves from Tim Holtz Kraft Core Shattered Collection and a Tim Holtz set called Garden Greens and then coated them with Gold Luscious mixed with a bit of water.


Finally, I stamped the word Sparkle from the Sparkle and Glisten stamp set onto some of the yellow card stock with Vermillion Archival Ink and then distressed it with my scissors and inked the edges with Carved Pumpkin Distress Ink.

I sure hope I have done the Bonfire Night theme justice with this very bright card - I had lots of fun making it.