Hello everyone and welcome!
Ksenija is here today and I am sharing probably last Holiday themed project this year. Only a few days left before we all discard old calendars and hang new ones. But we all want this season to last as long as possible.
Today I am demonstrating the project inspired by my pre-Christmas trip to Heidelberg, an old town close to Frankfurt with the magnificent fortress. I visited it during Christmas markets and loved it absolutely. So I made this canvas reminding me of Heidelberg and Christmas shopping.
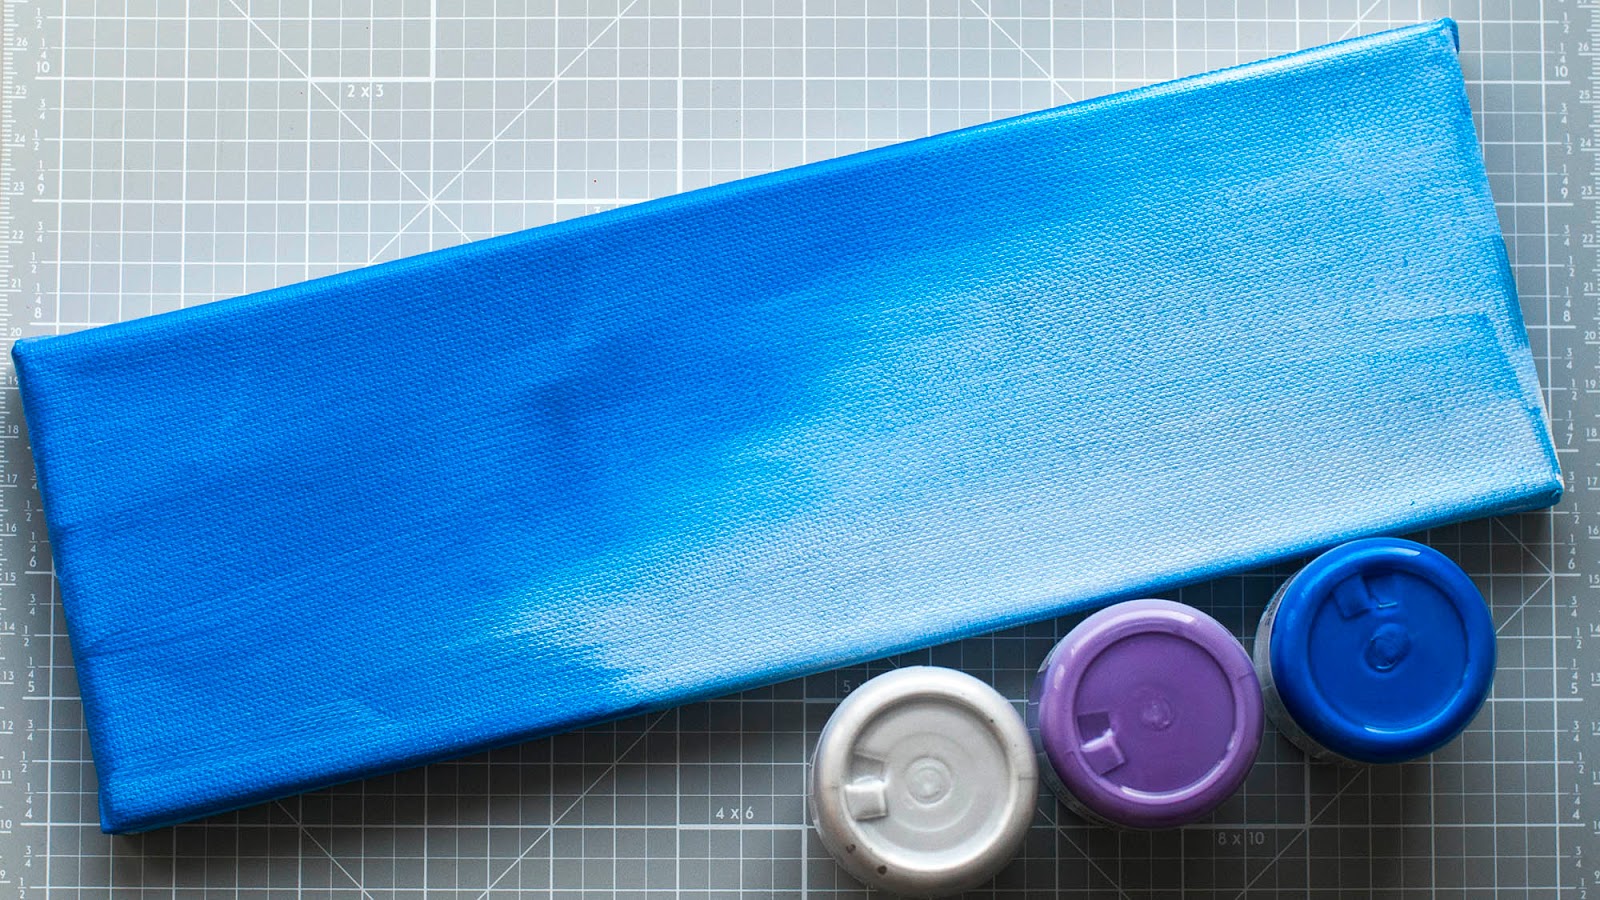
I started with painting my canvas with Sleeping Beauty, Vodka Martini and Wimberry Pie paints.
While the background was drying, I stamped a snowflake border from the 'Here Comes Santa' stamp set with FlitterGlu on two pieces of PVC and applied Chariot of Fire MegaFlakes.
Then I painted a strip of watercolour paper with water diluted Sleeping Beauty and Vodka Martini paints. As soon as paints air dried I stamped repeatedly buildings from the A6 'Snow Globe' set in red archival ink and fussy cut out the city landscape.
To add dimension and also to cover some of seams I made several stars. I die cut each star four times from watercolour paper and once from Christmas Compendium card. Stacked them and glued. Then I applied Gee-Sso Good! in white with an old trimmed toothbrush and covered with a translucent paste. While the paste was wet, I sprinkled the stars with a mix of embossing enamels. When the paste dried and became transparent I heated enamel.
The focal image of a girl I fussy cut out from on of the Christmas Compendium Mini Postcards and adhered to a grunge board and cut out again.
To assemble my project, I adhered PVC sheets to the canvas with tiny glue dots, then the cityscape with a liquid glue, scattered the stars and adhered them with a a liquid glue also. To raise the focal image I used a foam tape.
I hope you enjoyed this project and you will use some of the techniques I demonstrated.
It would fit well with the latest IndigoBlu challenge '
All That Sparkles'; there's still plenty of time to enter and be in with a chance of winning some IndigoBlu stamps of your choice or seeing your work in the spotlight here on the IndigoBlu Blog!
Thanks for stopping by and I wish you all a Happy Prosperous New Year!
IndigoBlu supplies used:
A5 Here Comes Santa stamp set
A6 Snow Globe stamp set
English Cottage Artist's Acrylic Paint Sleeping Beauty
English Cottage Artist's Acrylic Paint Vodka Martini
FlitterGlu Kit
Chariot of Fire MegaFlakes
Christmas Compendium card
White Gee-Sso Good!
Christmas Compendium Mini Postcards