Showing posts with label Collectors Edition Stamps. Show all posts

Thursday, 4 October 2018

Worker Bee Paperweight


Good Morning,

Carolyn here with you today sharing something I made a while ago. I wasn't able to share at the time as I used a stamp that hadn't been launched.So here goes.....

Firstly I selected a large pebble from the garden which was a suitable shape for a paperweight.


I gave it a coat of GeeSso Good White then sponged randomly with Duck Egg. Collectors Edition Number 16 Letters were randomly stamped in Steam Whistle.


Several Bumblebees  and  Journal Signs were stamped with black Versafine onto Rice Paper


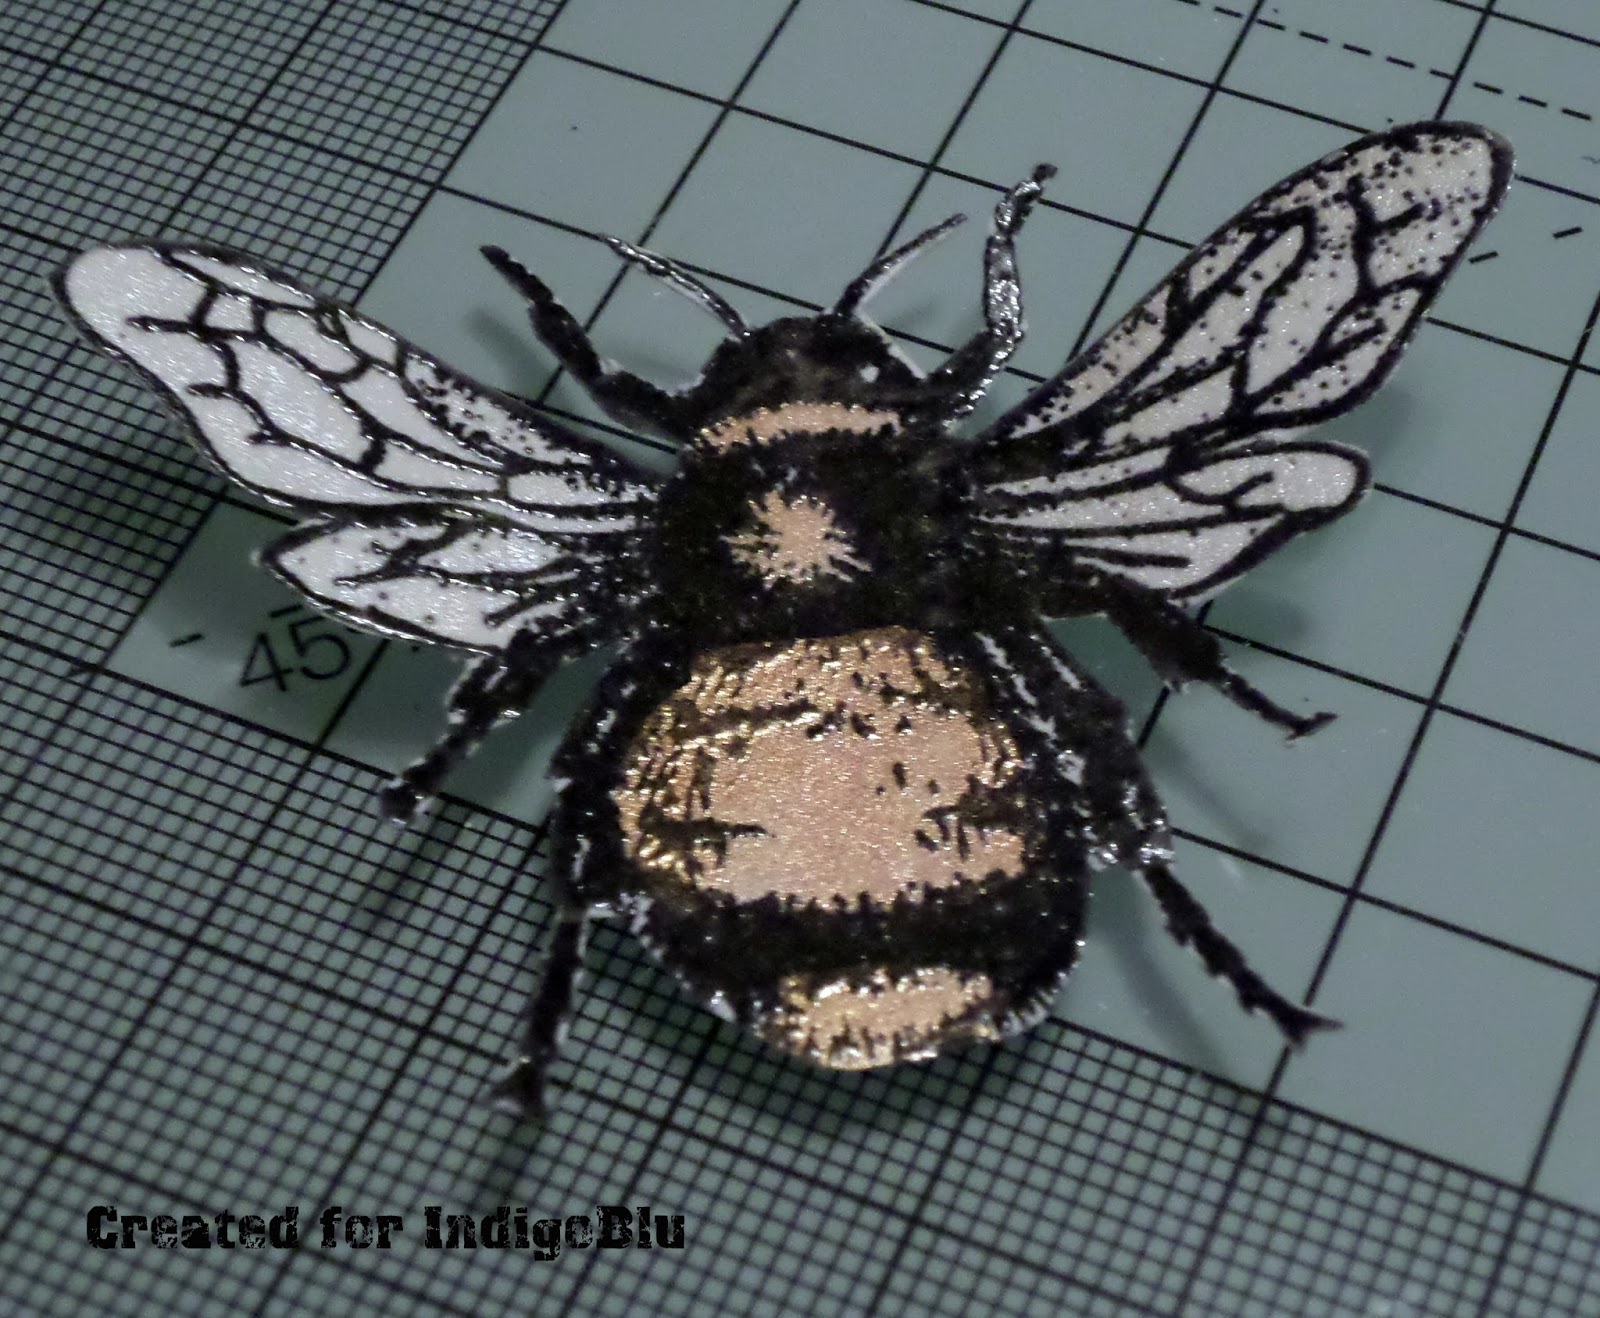
These were then torn around so the edges weren't prominent when adhering to the pebble. The Bumblebees were painted with Lemon Meringue acrylic paint.


A coat of Slap It On was painted on the pebble to seal it.


To finish Fabric Sparkles were added to the Bumblebee wings.


This now sits on my desk taking pride of place and reminds me of the summer. Do you have an IndigoBu stamp that reminds you of the summer now that Autumn has arrived? 

Also have you seen the new challenge over on the 'I Love IndigoBlu' (unofficial) FaceBook page? We'd love to see what ideas you create for this challenge!

Enjoy your day!

Carolyn 
x


Wednesday, 13 June 2018

Bumble Bee Themed Flip Top Note Pad with Mike Deakin

Hi Guys,

It's Mike here with my DT project for June. As the sun has been shining and I see many honey and bumble bees in my garden buzzing around the lilac and hydrangeas I thought I'd capture the essence of early summer by creating a small A6 sized flip top notepad using the Collector's Edition No9 Bumblebee stamp.

As I normally do - I captured the whole creation process of making the journal on video for you to watch and if you're feeling summery, have a go at making one for yourself!

Click the YouTube link below.

Products used in this project can be found below:

Here are a few close-up pics of the Bumble Bee NotePad.


Friday, 26 January 2018

Stamping Collage


Morning, Carolyn here with you today. 

I was recently inspired by Kay's Fabric Panels and have created a collage on a small 100mm square canvas. The Indigoblu Fabric Panels were extremely popular and what a quick sell out on Hochanda last week. 


Firstly I selected most of the Collectors Edition stamps together with Jane and a couple of Itsy Bitsy Backgrounds. These were stamped in Black onto Tissue.


I tore close to the edges of the stamped images as this gives a less defined edge when positioning them on the canvas. I made Jane the main focal point and added the various stamps around the edges. These were then adhered to the canvas with Slap It On Matte.


I painted Jane with the Junk And Disorderly Portrait Paints. These were mixed with Slap It On Matte so they didn't dry out as quick. On the rest of the canvas I used IndigoBlu Acrylic Matte Paints and for the highlighted areas I used White Gee-Sso Good.

There is a video on IndigoBlu Facebook page 'Kay reveals some new releases' where she shows you how to paint the faces on fabric. Also Kay's recent shows Mix It Up With IndigoBlu may still be available to watch on Hochanda Rewind.


I painted a 150mm Square Deep Box frame white and left this to dry before stamping the edges of the frame with the Itsy-Bitsy honeycomb Background in Frosty Sky


I used Super Thick Slap It On to adhered the painted canvas centrally in the frame.


Thank you for joining me today and do pop back to see the fabulous inspiration from the team.

Carolyn
xx


Tuesday, 16 January 2018

Acrylic Bee Tag


Hello it's Kay M here today and welcome to my first post of the year. 


I would like to share this tag with you.  The lovely Nikki Killinger gave me a crafty goody bag for Christmas and it included an acrylic tag.  So I thought I'll use it with a technique Nikki has shown on Hochanda last year, here's my version.

One side of the backing was removed from the tag and the large bee from No 9 Bumblebees Collectors Edition was stamped with black StazOn Ink and they were painted over with Snow White for the wings, Lemon Meringue and Burning Bonfire acrylic paints.  


When dry, Lime Marmalade, Cinderella and Purple Rain were watered down and splattered over the tag one colour at a time, making sure each was dry before adding another.    


When all the splatters where dry I sponged over the tag with Townhouse Teal and Wimberry Pie blending the colours to give a soft colour transition.   Again this was left to dry. 


The painted tag was then covered with Black Gee-Sso-Good and dried.   


Now the fun bit, peeling the baking for the reveal!  


I then stamped the sentiment from Pegasus and stars from Victorian Garden in Black StazOn.  And added a ribbon to finish the tag.     

I do hope you have enjoyed my take on Nikki's technique.

Take care,  Kay M x

Tuesday, 26 December 2017

Mindfulness #2 Journal Page


Morning, Carolyn here with you today, hope you all enjoyed your Christmas festivities yesterday.

This is a recent Journal Page I created using the Mindfulness #2 and Shine Bright stamp sets. I used some of the Collectors Edition stamps with Distress Oxides for the masterboard background. The stamps included BubblesNumbers and Circle Dots plus the Inky Dink Trellis stencil which is a favourite of mine. Purple and teal seem to be my go to colours of choice although I'm partial to a bit of orange too.


The detail on the wings is fabulous and I've highlighted areas with a white Posca pen.


Thank you for stopping by and I look forward to sharing more projects with you soon. In the meantime why not pop back soon to see lots more inspiration from the team.

This is my last blog post for 2017 so I wish you well and best wishes for 2018.

Carolyn 
xxx


Saturday, 16 December 2017

Seahorse Stamp


Hello Kay M here,   I would like to share this seahorse tag with you today.  It's similar to one I made for Kay's launch of the last four stamps in the Collectors Edition on Hochanda last weekend.  This one has the seahorse, crackle and compass new stamps.


I painted a grey board tag with black GeeSsoGood and when dry the crackle stamp was stamped randomly over with an embossing ink and heat embossed in clear embossing powder.   The compass stamp was then stamped over the tag with the embossing ink and this time bronze Luscious powder was added to the clear powder before heat embossing.


Goldfinger and MissMoneypenny paints were painted onto Wet Media Dura-Lar(you could use acetate) and Gold and pink Luscious powders painted onto white card and left to dry. 


The seahorse was stamped with StazOn on the non painted side of the Dura-Lar  and also one onto gold shrink film.  Seashells from Under the Sea set were stamped over the painted Luscious powders and a sentiment onto white card.  These were then cut out and shaped and the gold seahorse heat shrunk.     


All the elements were adhered to the tag and string added to finish the tag.  I removed the hole from seahorse as I changed my mind about were to place him!


I hope you have enjoyed this tag and do check out the latest Collection Edition Nos 9, 10, 11 and 12, they're fabulous!

Take care,   Kay M x  

Wednesday, 13 December 2017

Bee Happy


Hello Cheremane here with you today. I have used the fabulous new Collectors edition stamps which were released on Hochanda on the weekend with Kay, there is now also a storage box for the Collector edtion stamps so you can keep all 12 stamps in one place. My Collector edition stamps never leave my desk,

Firstly I stamped the two small bee's with Versafine black ink onto a 6x6 card blank. Then added a black mat into the middle.

I mixed some Gold Luscious powder with water to colour my Bumble Bee's. 

Luscious powders do really add a wow to your project. I also added a white layer and then stamped Happy from Aloysius into the middle with versafine black.

I stamped out the large Bee with versafine and heat embossed it with fine clear embossing powder before colouring with Gold Luscious and Porcelin Luscious for the wings before placing in the middle above the Happy to make Bee Happy. 

Thank you for dropping by today, be sure to pop back to the Blog soon for lots more inspiration from the team.
Crafty Hugs
Cheremane x

Monday, 13 November 2017

Believe there are no Limits


Hello Cheremane here with you for today's post. I was so lucky and got to play with the new Acrylic Pouring items that have just been released with Kay live on Hochanda. I'd never tried it and oh wow I had so much fun.

First I added three different paints Marshmellow,Townhouse TealRaven Black & White Geeso Good along with some water ,Go-Flow and Cell-u-Like into a plastic cup. I used a 6 x 6 piece of watercolour card which I placed on top of the cup and then turned it upside down and let the paint do the work.


You need to leave it to dry fully preferably till the next day as thats what I did I did before stamping the sentiment from Mindfulness A5 stamp set with Versafine Onyx Black and then heat embossing with clear powder. Some Pours will take longer to dry depending how much paint you use.


I painted the frame with Black Geesso Good once dry I painted one coat of Raven Black before stamping with Marshmellow paint and the Collector's Edition NO.6 Circle Dots stamp.


 Finally I stamped the Large Butterfly #2 and heat embossed it with clear powder before diluting some Raven Black paint with water and colouring the Butterfly once dry I put the the frame back together so it's all safe now behind glass.

Thank you for stopping by, I hope you've been inspired to try some paint pouring trust me you will love it.
Crafty Hugs
Cheremane x