Showing posts with label Luscious powders. Show all posts

Tuesday, 6 November 2018

Multi Pocket Card


What could be better than receiving a handmade card -  a handmade card containing gifts !  This card has two pockets on the front, and another pocket on the enclosed tag.


I used a 7 inch / 17.8 cm square blank card making sure the fold was at the top, as it will be better balanced that way. The  pockets will be filled with goodies.  

I cut a piece of card 7 x7 inch / 17.8 x17.8 cm and cut it diagonally, I also cut a strip of card 7 x 2 inches 17.8 x 5.08 cm  these would both become pockets. 


The lovely Christmas Spirit stamps were perfect to decorate the pockets.  I coloured them with Luscious Powders. I wrote some wishes and sentiments onto the tags tied around the bottles. You could also personalise them with names.

I used double sided tape on the diagonal pocket and adhered this first, followed by the  rectangle strip adhering with foam tape which raised the pocket to give it  more room to fill with goodies. 


Chocolate lollies can be a fun and yummy gift. I decorated this foiled covered lolly with a fussy cut snowflake from the Alternative Christmas stamp set. I stamped  it with versamarker  ink and it brushed over with Luscious powders. 

Other small gifts could be Indigoblu Stamps,  face masks,  gift cards, bookmarks, scratch cards stickers, pens etc.


I also made a tag with a pocket on the front to slip an extra gift card into.


Have fun creating your pocket cards xx


Monday, 24 September 2018

Halloween & Autumn Stamp release and Mini Tutorials from IndigoBlu

Hello there, what a change of weather we have been having in the UK. The nights are drawing in and the tree's are changing colour so that means Autumn has well and truly come.

Kay has just realised a new collection of Halloween and Autumn stamps which you may have seen on Hochanda last Friday with Lou Withers or on Face Book.


We, the TV design team had such a lot of fun with the stamps making up samples for the show we thought it would be fun to share some of them with you along with a mini tutorial for each sample.
If you have a favourite stamp but can no longer get it on Hochanda you can order direct from the IndigoBlu website. If you can't find what you are looking for on the site just give them a ring and they will advise or press a stamp set out for you, no matter if its an older stamp set you are after.
Before we get onto the mini tutorials here's a look at the latest releases.


These stamps are pretty versatile and can be used for all sorts of crafts throughout the year and I have to say I'm really loving the 'Autumn Nights' stamp set, but the Skullduggery Boarders are a very close second.

The first tutorial is from Julie Atkinson
1. Start by stamping various script backgrounds into ‘Rice Paper’ and once dry adhere to a canvas panel using ‘Slap it On Matt’.
2. Using the ‘Blueprint Stencil’ and ‘True Grit Texture Paste’, add detail in three separate areas of the canvas. Mak
e sure you leave the top, right hand side clear where the light bulb will be positioned.
3. Once dry, begin adding ‘Townhouse Teal, Acrylic Paint’ to the outside 2/3. Blend through to nothing, leaving the centre clear. Now repeat this process with ‘Teal for Two and Indigo Blu Paints’. Blend the colours as before keeping the darker colour to just the outside edges, creating an ombré effect.
4. Apply ‘Banana Custard Acrylic to the middle of the canvas. Now take a little ‘Goldfinger Paint’ and blend through to the Teal colour. Use ‘Kingfisher Blue Metallic’ Paint to the centre blend to add my light to the paint.
5. Use your finger of Phatt Fiam to add a little more ‘Goldfinger Paint’ to the raised texture paste. Add ‘Black Gee so Good’ to the very outside edges of you want extra depth.
6. Stamp and cut out the ‘Giant Moth - Clarice Stamp’ and cut out. Stamp the small light bulb and moths from ‘Shine Bright’ onto the panel using Black Stazon. Stamp the words quite and cut out. 
7. Use a black permanent pen to doodle a wire for the light bulb to be suspended from.
8. Stick the moth image and words in place.

The next tutorial is from aitch aitch
To build up the background of this piece, I brayered burning bonfire, ugly duckling and white gesso onto a piece of watercolour card. Whilst it was still damp, I lifted some of the colour with a damp sponge through the circles stencil. 
I then went over areas again with the circles stencil, sponging through with the same colours as the background. I randomly stamped, in sepia versafine, the barbed wire circle and web from 'Skulduggery Borders'. 
On another sheet of watercolour card, I stamped the skull once and used the small skull from the Christmas Skullduggery stamp set to stamp 5 images, the owl from Autumn nights and a couple of the skull borders, all in black versafine which I then cut out.
 I then roughly placed the skulls and owl where I wanted them and stamped more cobwebs, the rat and spider on the background. 
I coloured the owl with ugly duckling mixed with a little burning bonfire and white gesso. I cut off the top of the skull and hinged it to the background using a brad and then assembled the skulls and owl. 
I finished with the sentiment.

This tutorial is for one of my samples Sue Ralph
I created this card using the 'Autumn Nights' Stamp set. The cobweb was stamped and embossed onto a panel of card with Gray embossing powder then Blue and Green ink was brushed over the panel building up a background colour. A  darker green ink was dabbed onto the bottom of the panel with the 'Media' stencil.
 To create a sheet of  card in Autumn shades, I used Burning Bonfire, Olive Waistcoat, Mulberry Bush and Sunshine Yellow paints with my Gelli plate and when this was dry the leaves were stamped out, then fussy cut out. 
Three lots of branch's of leaves were cut out and layered over the cobwebs and attached to the card panel on foam pads to give them more of a 3D look. 
The crow, owl and one of the mice were stamped and cut out. The owl was painted first with Porcelain paint then shaded in with touches of paint. The birds were nestled
The single leaves were attached with foam pads to look as if they were falling from the tree.
 The sentiment was stamped onto Acetate and two more mice were stamped either side of it with the cut out mouse placed on a foam pad close to a fallen leaf. 
The barbed wire circle from the  'Skullduggery Borders' set was used with two different shades of yellow ink for the sun.
The card panel was then attached to a card blank.

This next tutorial is Kay Molyneux
For this DL card, I cut a panel slightly smaller than the card blank. Stamped Skullduggerary boarder in black, added the raven and barbed wire ( from Tree Dressing) for the boarder, then heat embossed in clear powder. 
Carved Pumpkin and Spiced Marmalade inks were sponged over the panel, the skulls were painted with thin bleach. 
The boarder was masked off and skulls were stamped over the background in Hickory Smoke Distress Oxide. 
Black ink was sponged around the edges. 
The panel adhered to the card blank and a die cut sentiment added to finish. 

Here we have Emma Blakes Tutorial
 I started by die cutting a box using 1mm grey board and once box was put together I used True Grit Paste to add texture leaving it thicker in some places and left to dry.
I then stamped out the bat, heat embossed it then it in with colour using a few different shades of Luscious.
 Once dry I cut him out and put to one side.
I then painted the dry box with Stroke of Midnight Matt Acrylic Paint and added coloured embossing powder and heat dried the box and melted the powder,
Once this was totally dry, using a dry paintbrush, I painted vodka martini (silver) paint over the box to highlight the texture.
I layered fabric on top of the box and Slap it on Thick was used to stick it down and to 
add metal embellishments. I then glued my bat on the top and used slap it on thick to add silver art stones around the bat to add depth.

Now for Carolyn Lakin's tutorial
The main background was created by using the ‘Smooshing’ Technique. Distress Oxide was smeared on the glass mat, sprayed with water and mopped up with the card. Each colour (Abandoned Coral and Candied Apple) was added individually and dried so it didn’t mix the colours. Spiced Marmalade Distress Oxide was used through the Web stencil and used to stamp with the Dinkie Script. 
The cobweb border from the ‘Skullduggery Border’ set was stamped across the top of the card twice. The skull border was stamped at the bottom of the card and this was also from the ‘Skullduggery’ set. The skulls were also stamped onto white card and fussy cut and layered over a few of the skulls. 
The mouse from the ‘Autumn Nights’ set was stamped in black onto white Shrink Plastic, fussy cut, shrunk and adhered above one of the skulls. 
The corners of an A5 white card blank were stamped with the cobwebs from the ‘Autumn Nights’ set. 
To finish, the main coloured card was matt and layered onto black card and the A5 card blank.

I hope you have enjoyed reading the tutorials as much as I have, as there are lots of brilliant hints and tips that can be used in your own crafting. I've learnt a thing or two so many thanks ladies.
Keep checking back as the TV Design Team are hoping to share more of their crafty knowledge with you. 
Please let us know if you enjoyed reading this post and if you would like to see more like it.

Don't forget you will find more inspiration and monthly Challenges on the I Love IndigoBlu Facebook page where you can also share your IndigoBlu makes with the group. (The link will only work if you are a FB user).


For now, Happy Crafting.
Sue xx


Thursday, 5 July 2018

Mindfulness #2


Morning, Carolyn here with you today sharing my recent card with you. I have been busy making stuff for the up coming One Day Special on the 17th & 18th July. Then I realised I hadn't made anything for my blog post. Its a bit early to start sharing sneak peaks so couldn't use anything I'd prepared for Kay's Hochanda show. So whilst most of the nation was watching England play Columbia I took the chance to create a relatively quick make for me.

I chose the Mindfulness #2 stamp set and thought about making a clean and simple card but it didn't quite turn out as planned.


Started by using the latest Junk and Disorderly Translucent Acrylic Paint in Indigoblu to stamp the text. 


I then added some Slap It On Matte to the paint to extend the drying time and also make it more translucent. This was used to stamp the wings and also sponge around the Girl In Profile Stencil to the edge of the card. 


More wings were stamped using Wimberry Pie


At this point I wasn't particularly happy with what I'd done so I then added a wash of Ultraviolet Luscious and also some drippage in Purple Luscious


I decided to break up the text so it could be positioned with space between to enable the background to be seen. This was then adhered to the stamped background which was attached to a white square card blank. This left quite a wide border so to finish off I drew freehand around the edge and added some squiggles.


I've tried to catch the shine from the Luscious in the photo below.


Thank you for popping by and taking time to read my post. Hope you'll tune into Hochanda on the 17th & 18th July to see Kay showcase more fabulous goodies. Looking forward to sharing the DT's inspiration with you all.

Happy Crafting

Carolyn
x


Saturday, 5 May 2018

You asked, We delivered and Kay's Workshop updates!

Good day to you. What a beautiful day we are having here in the UK and its 
suppost to last for the whole Bank holiday weekend! 


We listened to all of you who wanted smaller canvas panels - 
so HERE they are...
These beautiful panels are made with the same material as the larger panels, 
so have all the 
same great qualities, but measure approx 20cm x 20cm... 
and are just £6.00 each!!


Kay is launching them on Hochanda on Monday 7th May (11am and 3pm) - 
so set your recording thingies so you don't miss it...


Here are a couple of samples created by Lou Withers and Sue Ralph for 
Kay's Hochanda Shows this Monday!


And there's even more News to share with you

IndigoBlu takes to the road again heading out to the
Create It Event, Maidstone: Kent with the IndigoBlu shop and during the 
Two Day Long show Kay is running a One hour long workshop on:-
Book your Ticket here 
Spaces are limited so BOOK NOW to avoid disappointment!!

You will be painting one of our brand new mini panels - All materials will be provided
Kay will also be demonstrating during a live Hochanda show on Sunday 20th at 2pm with Yiannis Morgan.


Spaces are limited so BOOK NOW to avoid disappointment!!

Also
Spaces are limited on the 2 days with Kay at Holiday Inn Coventry - M6 Jct 2 on 16th and 17th June.

The 2 days costs £175.00 and includes 2 full day Mixed Media projects, led by Kay.


All materials are provided along with all the tea, coffee and biscuits you could want...


The 2 events we have held so far in Manchester and Newcastle have had rave reviews... Come along and see for yourself!


Happy Crafting Everyone

Thursday, 3 May 2018

Butterfly Note Book


Good Morning,

Carolyn here with you today. Weren't we lucky last month to see Kay twice on Hochanda. The first show bringing the new 'Evil Thoughts' A5 stamp set which featured the cheeky verses. Then the Floral pick and mix later in the month which can still be seen on Hochanda.


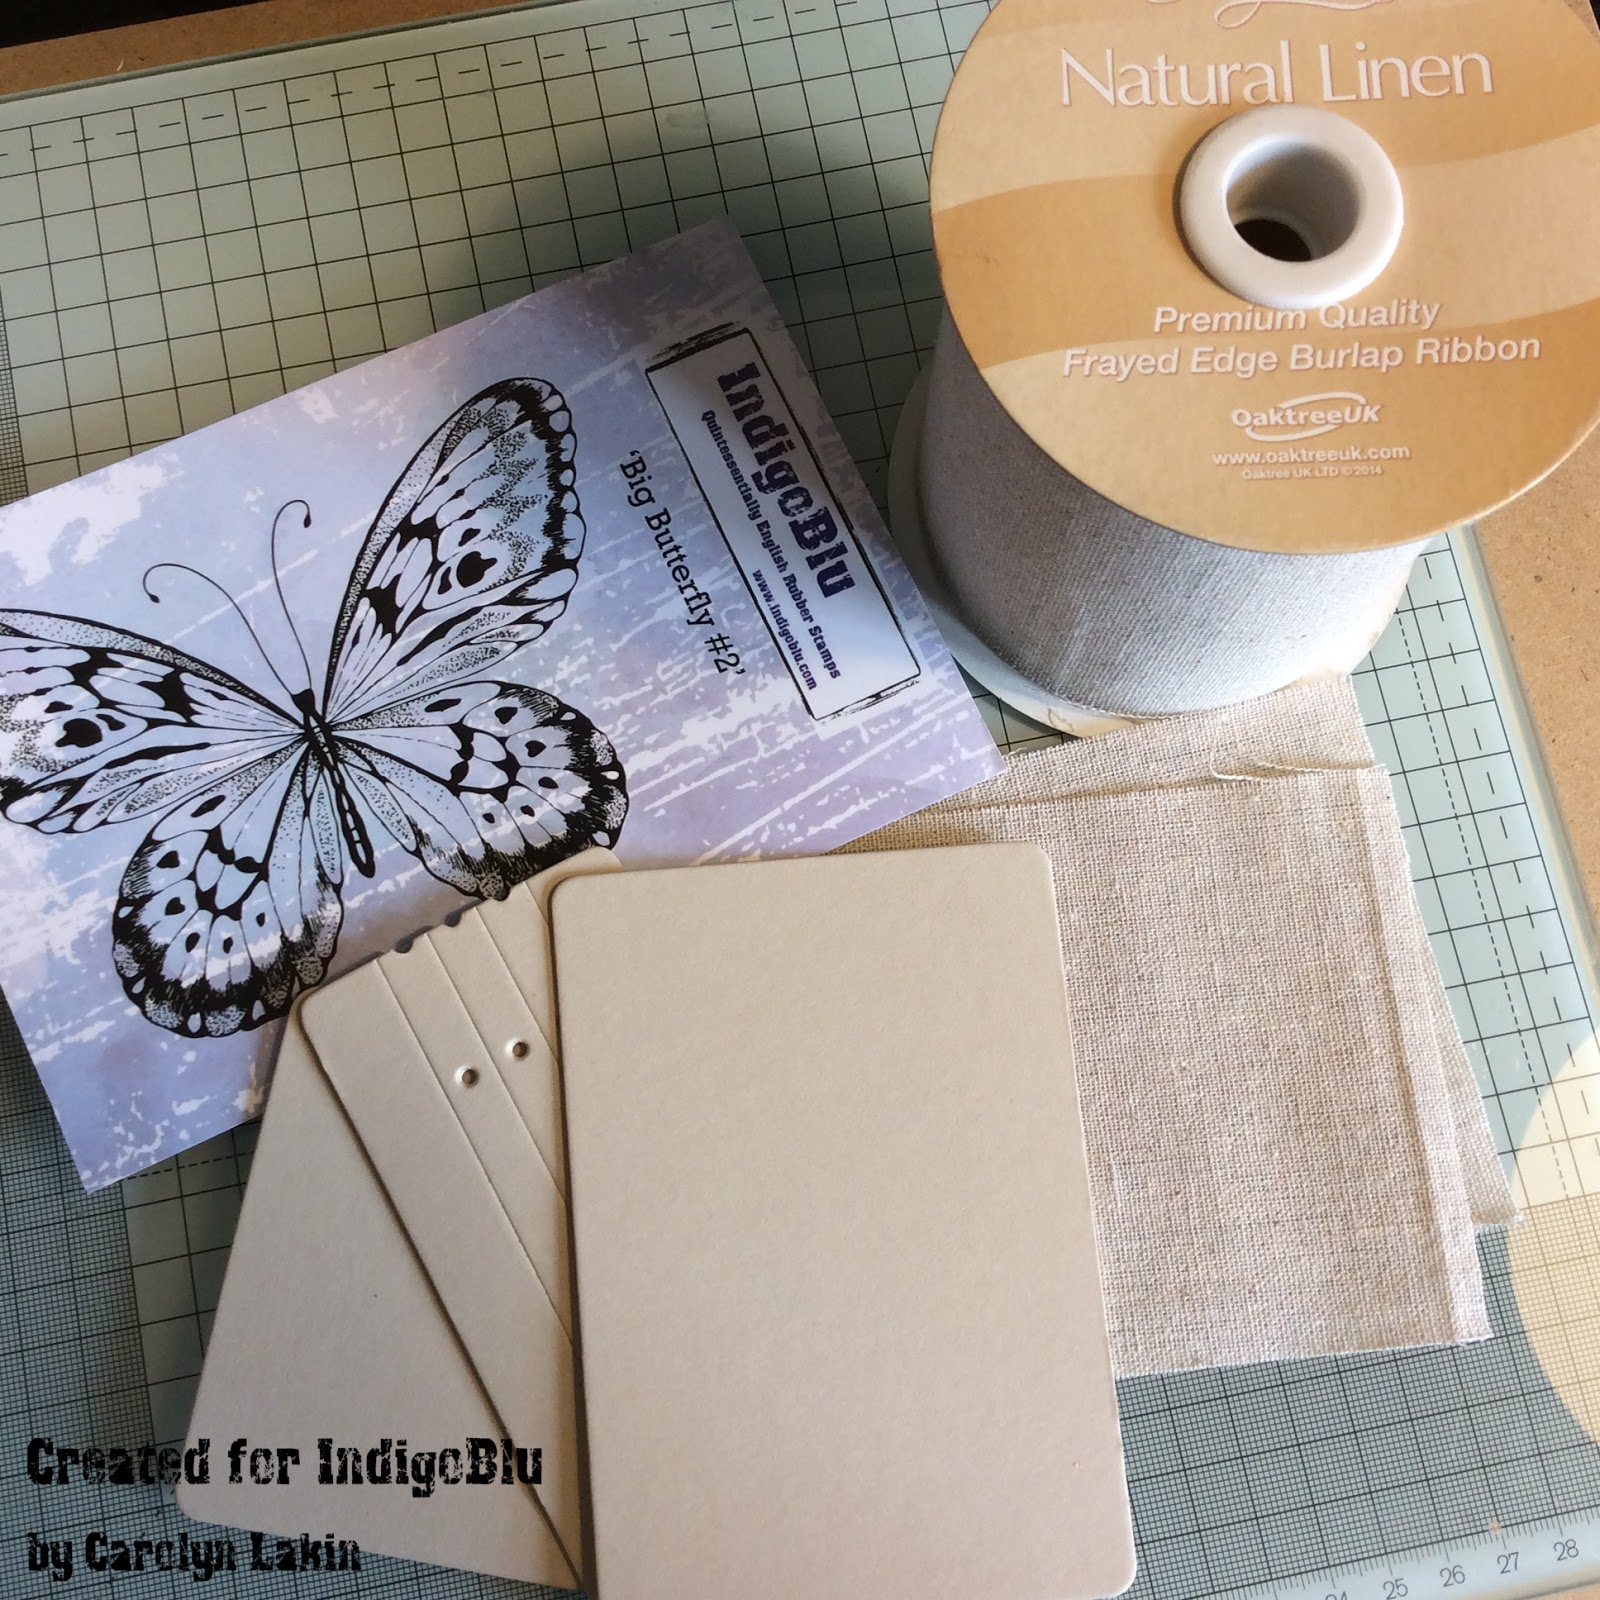
I do love all the IndigoBlu Butterflies and for this project I have used the 'Big Butterfly #2' and the Dinkie 'Flutterby'


For this note book I used the Eileen Hull Passport Die and cut this from Mount board. Natural Linen Ribbon was used to cover the front and back of the notebook.


The IndigoBlu Acrylic Paint is a true fabric paint which makes it ideal for stamping onto the Linen Ribbon. I loaded a couple of pieces of Phat foam with Aladdin Metallic Acrylic Paint and White Gesso. This was dabbed onto the butterfly stamp and quickly placed onto the Linen and pressed down firmly. The stamp was placed into cold water immediately to remove the paint.


In the photo below I painted a wash of White Gesso onto the panel on the right before stamping. In hindsight I should have done this to both as the image is more defined.


To add texture and interest to the stamped image I stitched some areas with Blue and Purple cotton and added beads. The lighter areas were painted with Porcelain Luscious. When adding Luscious to fabric it is best to mix it with Slap It On Fabric.


The Linen panels were then adhered to the mount board using Slap It On Fabric and I trimmed around the edges. I added more Slap It On to the edges to prevent the edges fraying.


The front and back panels were adhered to the spine with Super Thick Slap It On. Die cut letters were painted with Aladdin Metallic Paint and adhered to the front panel. I attached eyelets to reinforce the holes in the spine.


The inside was painted with White Gesso. I did stamp the Flutterby butterfly with Distress Ink. I then added tissue paper with Slap It On which smudged the image slightly. So then I stamped the image again using Grey Stazon.


 The inside pages I cut from several coloured sheets of paper and card. This was cut to 16.5cm by 12cm and folded in half and scored. I was able to punch holes to line up with the spine with my Crop-a-Dile.


The pages were positioned in place and tied with cord.


To keep the Note Book closed I adhered the closure that comes with the Eileen Hull Journal Die.


Coordinating ribbon and cotton was used to wrap round the Note Book and tie in a bow.


I do hope you're inspired to try stamping onto fabric with IndigoBlu true fabric paints.


Thank you for stopping by and enjoy the rest of your day!

Be sure to check out Hochanda on Bank Holiday Monday to see what Kay has in store for you. I'm sure you'll be thrilled with the new products as we are! Tune in at 11am and 3pm or watch online.

Crafty Hugs

Carolyn
x