Friday, 6 January 2017

The Butterfly Collector


Hi it's Elizabeth here with one of my favourite stamp sets from IndigoBlu called The Butterfly Collector There are nine stamps in this set which all co-ordinate beautifully together and I use them on a regular basis along with another favourite stamp the Script Background


I began by giving a cheap wooden shadow box a coat of White GeeSsoGood and setting on one side to dry.


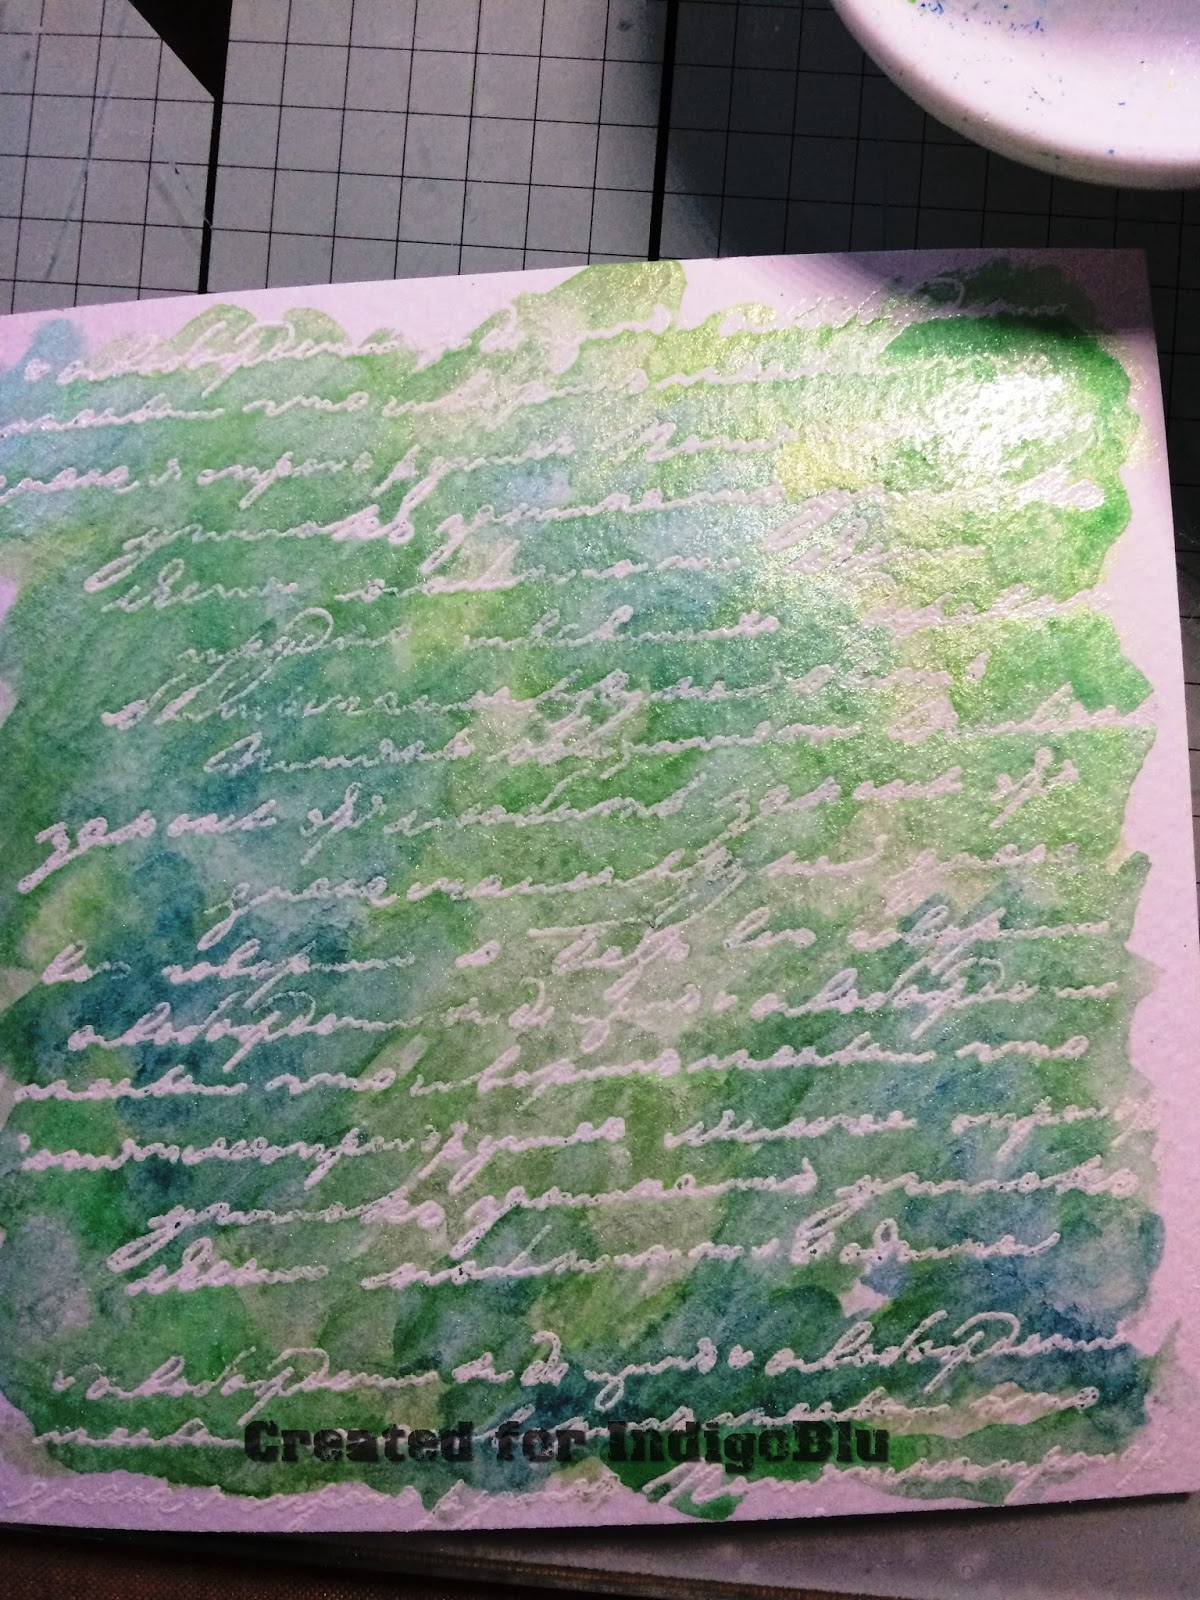
I cut a piece of watercolour card to the size of the inside of the shadow box and stamped the Script using Versamark Ink, then I added detail white embossing powder from Stampendous, and heat embossed it.


The embossing acts as a resist, so when you watercolour over the top with Luscious the white script pops through the shimmering colours.


I used a blend of Lawn and Buttercup to create a Lime and I also used the Blue.


While the watercolour card was drying, I stamped out the Butterflies, Dragonfly and sentiment onto a piece of Perfect White Stamping Card using Black Versafine Ink. The card has a special coating on it, designed to grip the ink and therefore you get a much crisper image when you stamp. You might also notice I stamped out twice as many as I needed, while the stamp is out with ink on, I decided to stamp out extras ready for Birthday cards that will be needed shortly.


Once I'd cut out all the elements I needed, I then added a little of the Purple Luscious powder from my pallet. I love this colour, it's beautiful when the light hits it.


I added my now dry background inside the shadow box using a good strong adhesive, and added lines around the outer side of the frame using a Black Posca Pen so it would co-ordinate with the frame around the sentiment.


Then it was just a case of putting it all together using foam pads to raise up the Butterflies and Dragonfly.


Thank you for joining us this morning and a very Happy New Year from me.
Elizabeth x

Thursday, 5 January 2017

Happy 2017 from Aloysius


I would like to start the new year with a very sincere wish for everyone to enjoy good health and happiness in 2017. May each day be filled with magical moments and lots of crafty fun!

This month we have been asked to use our favourite IndigoBlu stamp, which is of course a very difficult task! I am a huge Teddy Bear fan, so I just had to pick the famous Aloysius from Brideshead Revisited. The tv series and the film were set at Castle Howard, which became Brideshead. I searched google for some pictures of the castle, and drew a very rough sketch.


The castle is for the background so all that is needed is just a few lines to give the general idea. Aloysius is the star!


I used watercolours to add washes of colours to the castle, and added in a long path and some bushes. I used Butterscotch, Hazel, and Espresso inkpads to add some colour around the edge of the picture.


I stamped the lovely Aloysius and watercoloured him too. When he was dry I fussy cut him.He is a very gentlemanly bear and did not complain at all!

Aloysius is famous for wearing a certain plaid scarf. Luckily I was able to find a small sample of this fabric on a well known auction site. I cut a length and added some fray stop to the edges, but I frayed out the ends. When he was dry I cut slits around his neck...... oh I am so sorry bear.


I then slotted the scarf into the cuts around his poor neck and adhered it. I used strips of coordinating colours of Damaged Dots card, underneath the bottom edge of the picture.

Aloysius could be used in many different ways, he could be peeping out of the top of a gift box, sitting in a meadow of flowers and lots more. If he is sitting in your stamp stash why not pull the little bear out and have a play.

Hugs from myself and Aloysius xx

Products used

Wednesday, 4 January 2017

December Challenge Reminder - Snow Snow Snow

Morning everyone,

Today is challenge reminder day, and we'd love to show you our Inspirational DT's work once more, I hope it inspires you to join in!  

I love this fab piece by Rachel, it just shows that snow doesn't have to mean white!  


A beautiful snow scene by Wanda: 

Absolutely love this Stag by Lydia too!: 

A perfect wintery scene from Claire: 

And a gorgeous Robin hanger by Sue: 

You can hop across to the team's blog to check out how they made their pieces, but don't forget to come back and enter yourself!  

We have fab prizes each month, Indigoblu stamps of your choice as follows:

3 options to choose from:
1: 2 Large stamp plates (A5)
or
2: 4 Small stamp plates (A6)
or
3: 1 Large and 2 small plates

There’s also the Winner’s Badge, and one for the Top 3, to display proudly on your blog, and the WINNER of the challenge will also be invited to do a GUEST SPOT on a future Challenge Launch post. That’s right, your work will be on the Challenge Blog alongside the Design Team!


Also the Top Three each month (chosen by our lovely DT) will all be invited to do an inspiration piece to be included on the reminder post that goes live mid challenge. So, if you’d like a chance to be featured on the IndigoBlu Challenge Blog get those stamps out and get creating!

You’ll find all the information on how to enter the challenge, the rules (don’t worry, there’s not that many) and get to meet theDesign Team in the tabs on the sidebar.

So all that's left is to say Happy New Year from the Challenge DT and thank you to all our Guest Designers through 2016, we look forward to meeting more of you in 2017. 


Best Wishes,
IndigoBlu Challenge DT.


Tuesday, 27 December 2016

Tutorial: Steampunkesque Calendar

Hello Giovanna here, with a huge upcycling project to celebrate the upcoming 2017. I've found this large wooden panel at work, and I've thought it was perfect to turn it out in a calendar. I envisioned it with lots of embellishments and texture, but then I realized how beautiful the Steampunkesque papers were and I decided to let it flat and simple. I really like it!

You can make something similar, even out of heavy cardstock, here the step by step:

Glue down some gessoed book pages to the wooden panel using Slap It On, or Super Thick Slap It On spreading it with a soft paintbrush.
Tear some pieces of paper from the Steampunkesque paper pad and adhere them also to the panel.
Glue down the heavy embellishments with the Super Thick Slap It On using a palette knife. Let it dry thoroughly; gesso everything and set aside to dry.
Stamp on gessoed book page the steampunk lady.
Color it with Gelatos using a detailed waterbrush and embellished it with bits of lace.
Print the calendar, and stamp randomly over the panel and on the calendar. Attach the calendar with a bulldog clip.

Products I used:

IndigoBlu Slap It On - Super ThickGeeSso Good! Gesso - White 120ml Faber Castell Gelatos - 6 different set options (shipping from 1st November)Luscious Pigment Powders - 25ml (13 colour options)Steampunkesque A5 Red Rubber Stamp - by Kay Halliwell-SuttonTeeny Background A6 Red Rubber Stamp by Kay Halliwell-SuttonLedger Background A6 Red Rubber Stamp by IndigobluSteampunkesque - Mixed Media Paper Pad - 6x6, 24 sheets, 190gsm

And from me and all the team, thank you for being so supportive and generous this 2016, we'll see in 2017!


Monday, 26 December 2016

My Heart Soars


It is Cec here and I have another inspiration piece for you.  Count Your Blessings is the theme this month for the International Design Team and when I think of my blessings my heart gives a little flip so I decided to make a little canvas to portray how this affects me.


I started with an 8" x 8" canvas and gave it a coat of White Gee-Sso Good Gesso.  Next I put some Super Thick Slap it On through a Script stencil.  Once it was dry I gave it another coat of gesso because I didn't want it to be shiny.


I coated a piece of fine corrugated cardboard with Black Gee-Sso Good Gesso and when it was dry gave it a coat of Matte Slap it On.


Next I cut a piece from a Tyvek envelope and painted it with Raven Black Metallic paint.  When it was dry I stamped it with the English Flourish (Dinkie) and the dots from the Tasty Textures stamp set using Jet Black Archival Ink.  Then I heated it between two pieces of parchment paper with the painted side down and being sure to just hover my dry iron over it and not touch it.  It takes a bit of patience but you get the coolest bubbles and holes that you can see in the photo of the finished project.


Next I coated a wooden heart that my husband made for me with some Golden Course Pumice Gel and when it was dry I painted it with Ruby Slippers Metallic paint.


I stamped the Flutterby (Dinkie) on some white card stock with Black Gee-Sso Good Gesso and then cut it in half and removed the head and bottom of the body.  The next step was to paint it with Ruby Slippers and Vodka Martini Metallic paints and then attach it to the back of the heart.


I altered the colour of a filigree piece with some Pitch Black and Silver Mixative Alcohol Inks blended together.  This was then attached to the heart.

To finish the canvas I used a dry brush to paint Raven Black Metallic paint and then some White Gee-Sso Good Gesso outwards from the centre.  I added the corrugated cardboard next, followed by the Tyvek panel.

The heart was mounted on a little bit of cheesecloth, On top of the cardboard I added a little strip of faux metal from my stash that was painted with Black Gee-Sso Good Gesso and heat dried to create bubbles.  Finally I created the sentiment on the computer, tore around it and inked it with some Hickory Smoke Distress Ink.  Tip:  The best adhesive for ensuring that all things, light or heavy stay attached to the canvas is Super Thick Slap it On.

Thanks for stopping by and I hope I have inspired you to document your blessings in your art.