Showing posts with label Perfect White Stamping Card.. Show all posts

Tuesday, 11 September 2018

Googly Spooky-Tastic Halloween Cards

Hi Everyone,

Mike here with a cute Halloween card series using two of the new release Halloween stamps from the release on the 21st September on Hochanda.

I batch made 8 of these googly eyed giggle cards using the new Skull & Cracked Glass stamps.


The cards are A6 in size, a perfect fit for these new stamps. I created 8 black A6 card bases and cut 8 pieces of Perfect White Stamping Card at a slightly smaller size to allow for a black border all the way around.

Using my stamp press and some Jet Black Archival ink I stamped out 8 of the skulls, one on each piece of the white stamping card.


Next, I stamped out a 9th on printer paper and cut out with scissors to act as a mask.


Laying the mask over each skull I used a combination of light green, orange and purple inks to blend colours around the outside of the card making sure the mask stayed in position.


I repeated the same process for all 8 of skull card fronts.

Once all 8 had the colour around the edges I took the Cracked Glass stamp, once again masking off the skull, and stamped in two opposite corners using the Jet Black Archival ink.


I  repeated the process on all 8 of the card fronts.

Next taking a spooky bat pattern stencil I added the same black ink through the stencil in the two remaining empty corners.


Once I had repeated this process on the remaining card fronts, I glued them to the fronts of the black card bases.

Next, I printed out an insert for the cards using my computer, then cut to fit the inside of the card base. I then glued the insert into the inside of each card.


For a final touch, using some glue, I stuck googly eyes onto each of the skulls eye sockets!


Adding the googly eyes turns the skull image from being a bit scary into a fun Halloween giggle!

I then teamed up each card with a C6 black envelope ready to post out to friends around the world.


I hope you like this simple one layer inked and stamped Halloween card, it's so easy and fun to create and you can make quite a few in a very short amount of time!


Sunday, 12 November 2017

Merry Christmas

Hello Dear reader,

Today I have made a Christmas Card for you.
Normaly I'm not so fast with my cards ;)


I was started with the wonderful stamping card paper.


Trim the edges with masking tape, I tear the wide strip trough the middle, you will get a 
rough edge. I like that.


With Oxide ink in the colors wilted violet and peacock feathers I blend the paper.


Stamp The script stamp with water 


Dry with the heatgun, You will get a beautiful white script.


Place your Merry Christmas Tree  on a stamping platform
and stamp the tree in Black.
Do the same with the sentiment. 


To finish the card glue the card on a purple piece of cardstock and use a black
basic card. 
So I hope you have get some new inspiration from my card. 

Here you have the link of all stuff i have used.

Thank you for reading my blogpost and leaving a comment.  

Tuesday, 12 September 2017

Live Laugh Love


Hello dear reader,

Today it's my turn to inspire you on in this wonderfull team.


I start with a white craft card and 2 colors distress ink, Broken China and Evergreen Bough.


I spinkle some water on the card


bring distress ink with mask on the card


stamp with bubbles and script from the designer collection on the edges in the same colors.
and with an oldie (one of my fav) the swirl in black.


At last I stamp the butterfly and sentiment from the set Live Laugh Love code LLL.


I hope you have enjoy my blogpost 
thank you for being here.


Hugs

Friday, 13 January 2017

Luscious Butterfly


Hello Cheremane here with you today with one of my favourite IndigoBlu Stamps Big Butterfly, this was the very first stamp I purchased which got me hooked.


I started with the Script Stencil and spread a layer of Super Thick Slap It On over and let it dry naturally which does not take very long at all. Making sure you wash my stencil straight away.


Once the Super Thick Slap It On was dry I mixed some of the Teal & Lavender Luscious powder with some water in spritz bottles and started spraying my background building up the colour slowly drying off between each layer.


When it was fully dry I took a baby wipe a gently wiped over the Super Thick Slap It On to reveil the white underneath as it will act as a resist. Wowee look at that shimmer from the Luscious Powders!


I then stamped the Big Butterfly stamp onto some IndigoBlu Stamping card with black archival ink and then coloured it in with the Teal & Lavender Luscious Powder.


To complete my card I took another very useful stamp set by IndigoBlu Design Alphabet and stamped the word FLY in black archival ink. I used a die on the one edge of my background to create a circle on the one edge.


I'm not very good at fussy cutting butterfly antenna out so I used some wire stem's from some paper flowers as I always cut them off the flowers so instead of putting them in the bin I put them to good use. I added the Big Butterfly to my card using 3d glue gel.


We would love to know what your favourite IndigoBlu stamp is, I know there are some many gorgeous Indigoblu stamps and for me it really was so hard to choose. 
Thank you for joining me today hope to see you again soon.
Cheremane x

Friday, 6 January 2017

The Butterfly Collector


Hi it's Elizabeth here with one of my favourite stamp sets from IndigoBlu called The Butterfly Collector There are nine stamps in this set which all co-ordinate beautifully together and I use them on a regular basis along with another favourite stamp the Script Background


I began by giving a cheap wooden shadow box a coat of White GeeSsoGood and setting on one side to dry.


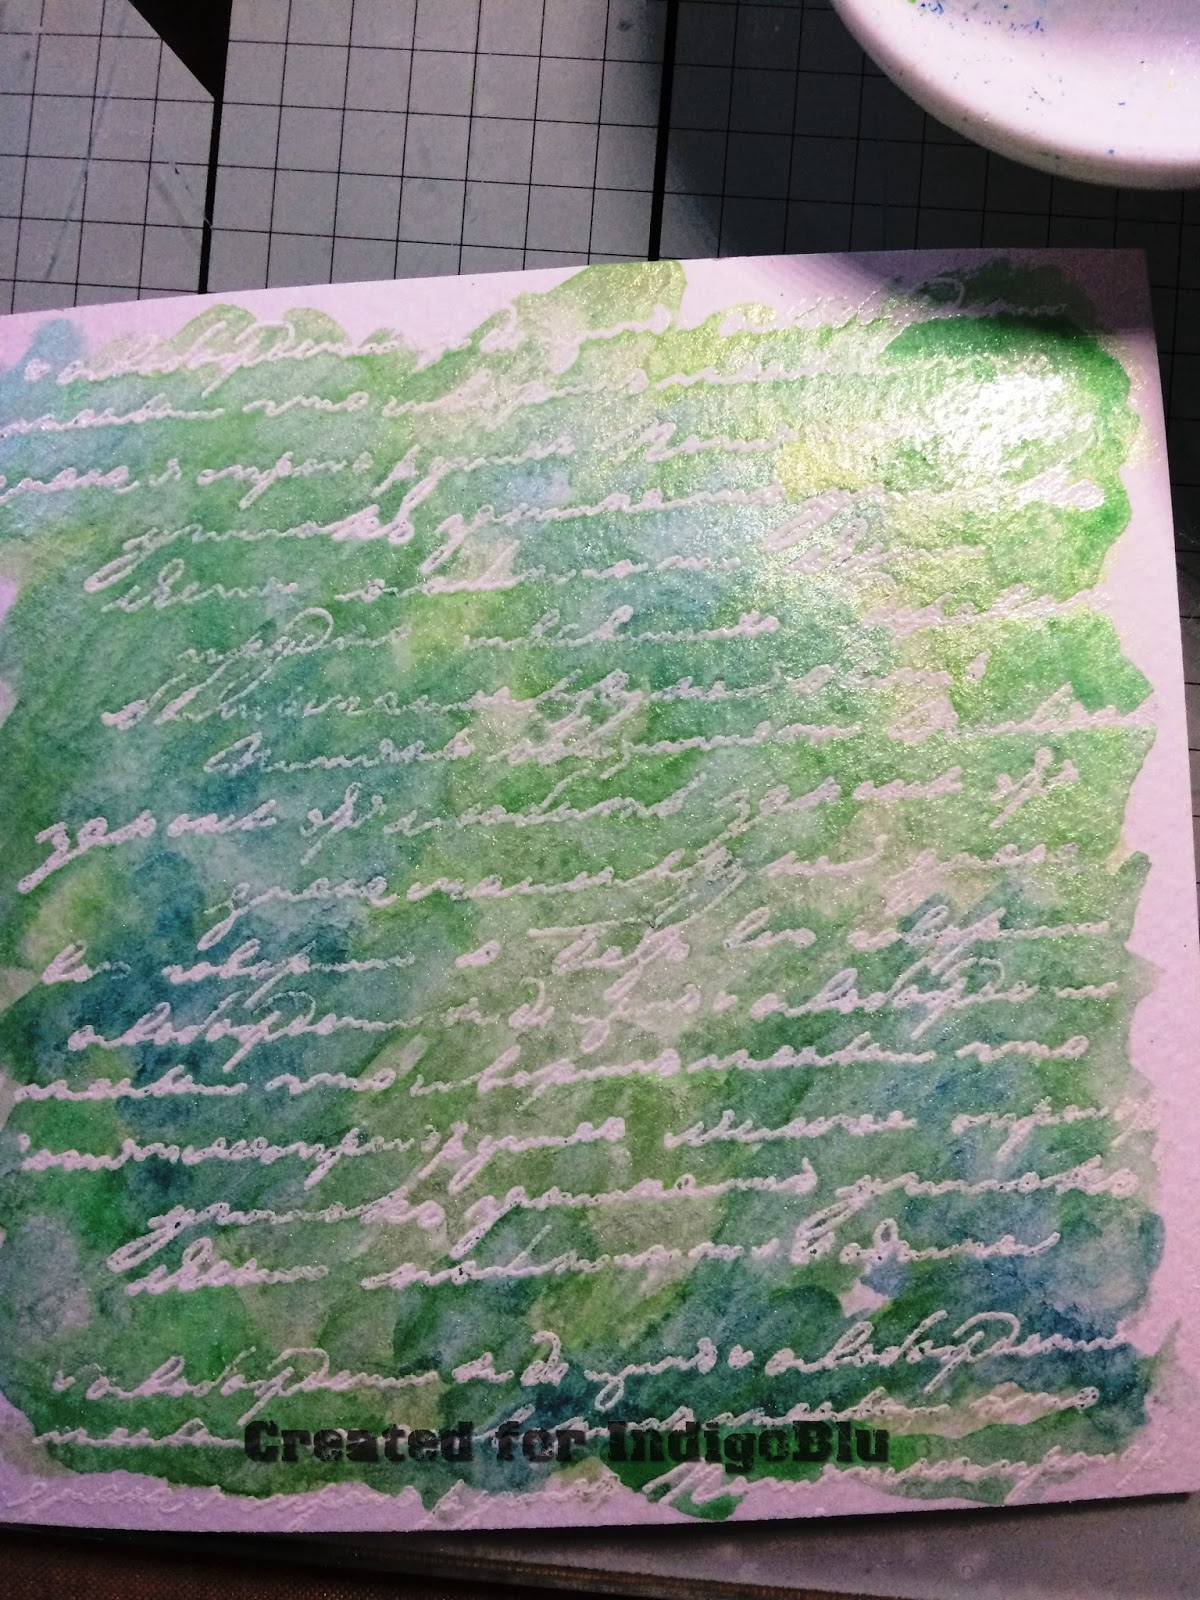
I cut a piece of watercolour card to the size of the inside of the shadow box and stamped the Script using Versamark Ink, then I added detail white embossing powder from Stampendous, and heat embossed it.


The embossing acts as a resist, so when you watercolour over the top with Luscious the white script pops through the shimmering colours.


I used a blend of Lawn and Buttercup to create a Lime and I also used the Blue.


While the watercolour card was drying, I stamped out the Butterflies, Dragonfly and sentiment onto a piece of Perfect White Stamping Card using Black Versafine Ink. The card has a special coating on it, designed to grip the ink and therefore you get a much crisper image when you stamp. You might also notice I stamped out twice as many as I needed, while the stamp is out with ink on, I decided to stamp out extras ready for Birthday cards that will be needed shortly.


Once I'd cut out all the elements I needed, I then added a little of the Purple Luscious powder from my pallet. I love this colour, it's beautiful when the light hits it.


I added my now dry background inside the shadow box using a good strong adhesive, and added lines around the outer side of the frame using a Black Posca Pen so it would co-ordinate with the frame around the sentiment.


Then it was just a case of putting it all together using foam pads to raise up the Butterflies and Dragonfly.


Thank you for joining us this morning and a very Happy New Year from me.
Elizabeth x