Thursday, 17 March 2016

Inspiration from Jenny Marples, Candy Rosenberg, Beck Beattie and Kay Molyneux

Today we are excited to share some fabulous inspiration from another four of our International Design Team.

Before we get started though, a quick reminder that there's something exciting to share with you - with inspiration coming from all the International Design Team members over three days this week we are celebrating by giving you the chance to win some Blog Candy by way of a Blog Hop!!!


Up for grabs is the complete set of 'Colour Me' florals stamps!!! To win all you need to do is leave a comment on each of the posts the Design Team members are sharing on their blogs this week. You can find the other links on yesterday's IndigoBlu blog post HERE. The closing date to get those comments done is 31st March 2016.

Now for the next set of those projects - follow the links to the DT blogs to find out more about how their fabulous creations;


Thank you ladies for all your beautiful creations. We can't wait to see more! Join us again tomorrow for more inspiration from the final members of the Design Team.


Wednesday, 16 March 2016

Inspiration from Marie Johansson, Zoey Scarpelli, Elizabeth Robinson and Monika Januszewska

Today we are excited to share some fabulous inspiration from four of our International Design Team.

Before we get started though, there's something exciting to share with you - with inspiration coming from all the International Design Team members over the next three days we are celebrating by giving you the chance to win some Blog Candy by way of a Blog Hop!!!


Up for grabs is the complete set of 'Colour Me' florals stamps!!! To win all you need to do is leave a comment on each of the posts the Design Team members are sharing on their blogs this week. You can find the links here on the IndigoBlu blog for the next three days. The closing date to get those comments done is 31st March 2016.

Now for the first of those projects - follow the links to the DT blogs to find out more about how their fabulous creations;


Thank you ladies for all your beautiful creations. We can't wait to see more! Join us again tomorrow for more inspiration from the Design Team.

Tuesday, 15 March 2016

A Mini Piece of Art- Chipboard Artist Trading Card by Candy


Mini Piece of Art by Candy Rosenberg

I am on an ATC kick these days, they are limitless little pieces of art that you can use anything and everything to create one! Small 3.5 x 2.5 inch trading card size artist trading cards. I started with a precut, rounded chipboard ATC card and just started grab stamps, stencils, paints, buttons and a pen!


Supply List

IndigoBlu: TreeMendous A6 Red Rubber Stamp, Roman Numeral 6" x 6" Stencil, English Cottage Metallic Paints: Emerald City, Cinderella, Silver, Copper
Buttons Galore: Spring Bird/Nest. Other: pen, beads, ink

Start with your TreeMendous stamp. I inked with Imagine Crafts green and brown inks directly on the leaves and tree trunks to create the background to follow with paint.


Outline the tree trunk and start painting in with the Metallic Copper. Then using the Roman Numeral Stencil using the small flowers and Cinderalla Metallic paint to create the flower blossoms.


Paint slightly over the lines that you drew to make it blend giving it a painted look. Add whisps of colour where the trunks are.


Add the Emerald City green on the leaves giving them more dimension. Cut the backs of the nest and bird buttons and adhere directly to the tree to finish the look. Don't forget to add a few beads as the centre of the flowers.


The final Artist Trading Card with little added lines on the flowers and some inspirational words.

To learn more about ATCS, click here at Wikipedia.

Thank you for stopping by and seeing what I created to inspire you to get creative!

Candy Rosenberg
www.AVintageGirl.com

Monday, 14 March 2016

Altered Art with Beck BT

Hi Everyone, it's Beck Beattie here today to share with you an altered art project.  I love how with a bit of paint and some fun items you can really transform a plain and not so inspiring item into something really special.


I started out with the larger of these trio of wooden houses


I had fun adding the divine Indigoblu Cottage paints and gesso to really transform it.  To transform it into something really special though I altered a chipboard die cut dragonfly.  I wanted to share with you how this was given new life in my video below:


The process:
  • Add gesso randomly to the wood piece
  • Add Hot cocoa Cottage Acrylic paint with a pallet knife to the wood piece a little random as well
  • Next place some Townhouse teal on your craft mat and stamp the wood piece into it
  • Add a little Miss Moneypenny and Emerald City with a pallet knife very sparingly
  • Us the Sewing pattern stamp and stamp with brown permanent ink onto the dried wood piece
  • Next take a piece of the cartography papers, add a little gesso and dab with a little hot cocoa paint to tone down the white.  Stamp the words from the 'NaturaI' set and cut and add a little Goldfinger to the edges of the pieces of paper before adhering with the Slap it on (Matt) applied to both sides of the paper as you adhere it to the wood piece.  
  • Add some shadowing with the black neocolor crayon


The products:

Indigoblu products:

English Cottage paints - Townhouse Teal, Miss 
Moneypenny, Hot Cocoa, Emerald City & Goldfinger
'Slap it On 'Matt' & 'Gloss'
Gee-Sso Good!  Gesso
'Sewing Pettern' Red Rubber Stamp
'Nature I' Red Rubber Stamp
Indigoblu Cartography - Mixed Media 
Paper Pad - A6 size 

Other products:

Neocolor II Aquarelle - Black, Veronese Green, 
Turqouise Green & Metallic Dark Gold
Fun Stampers Journey Wood house
Sizzix 'Tim Holtz Alterations' Layered Dragonfly
 die and embossing folder
Chipboard sheet

 Fun Stampers Journey - house to home trio


I hope you enjoyed my share today and I've inspired you to do some home decorating of your own.

Happy Creating!

xxxBeck BT
 

Thursday, 10 March 2016

Starting a Junk Journal...

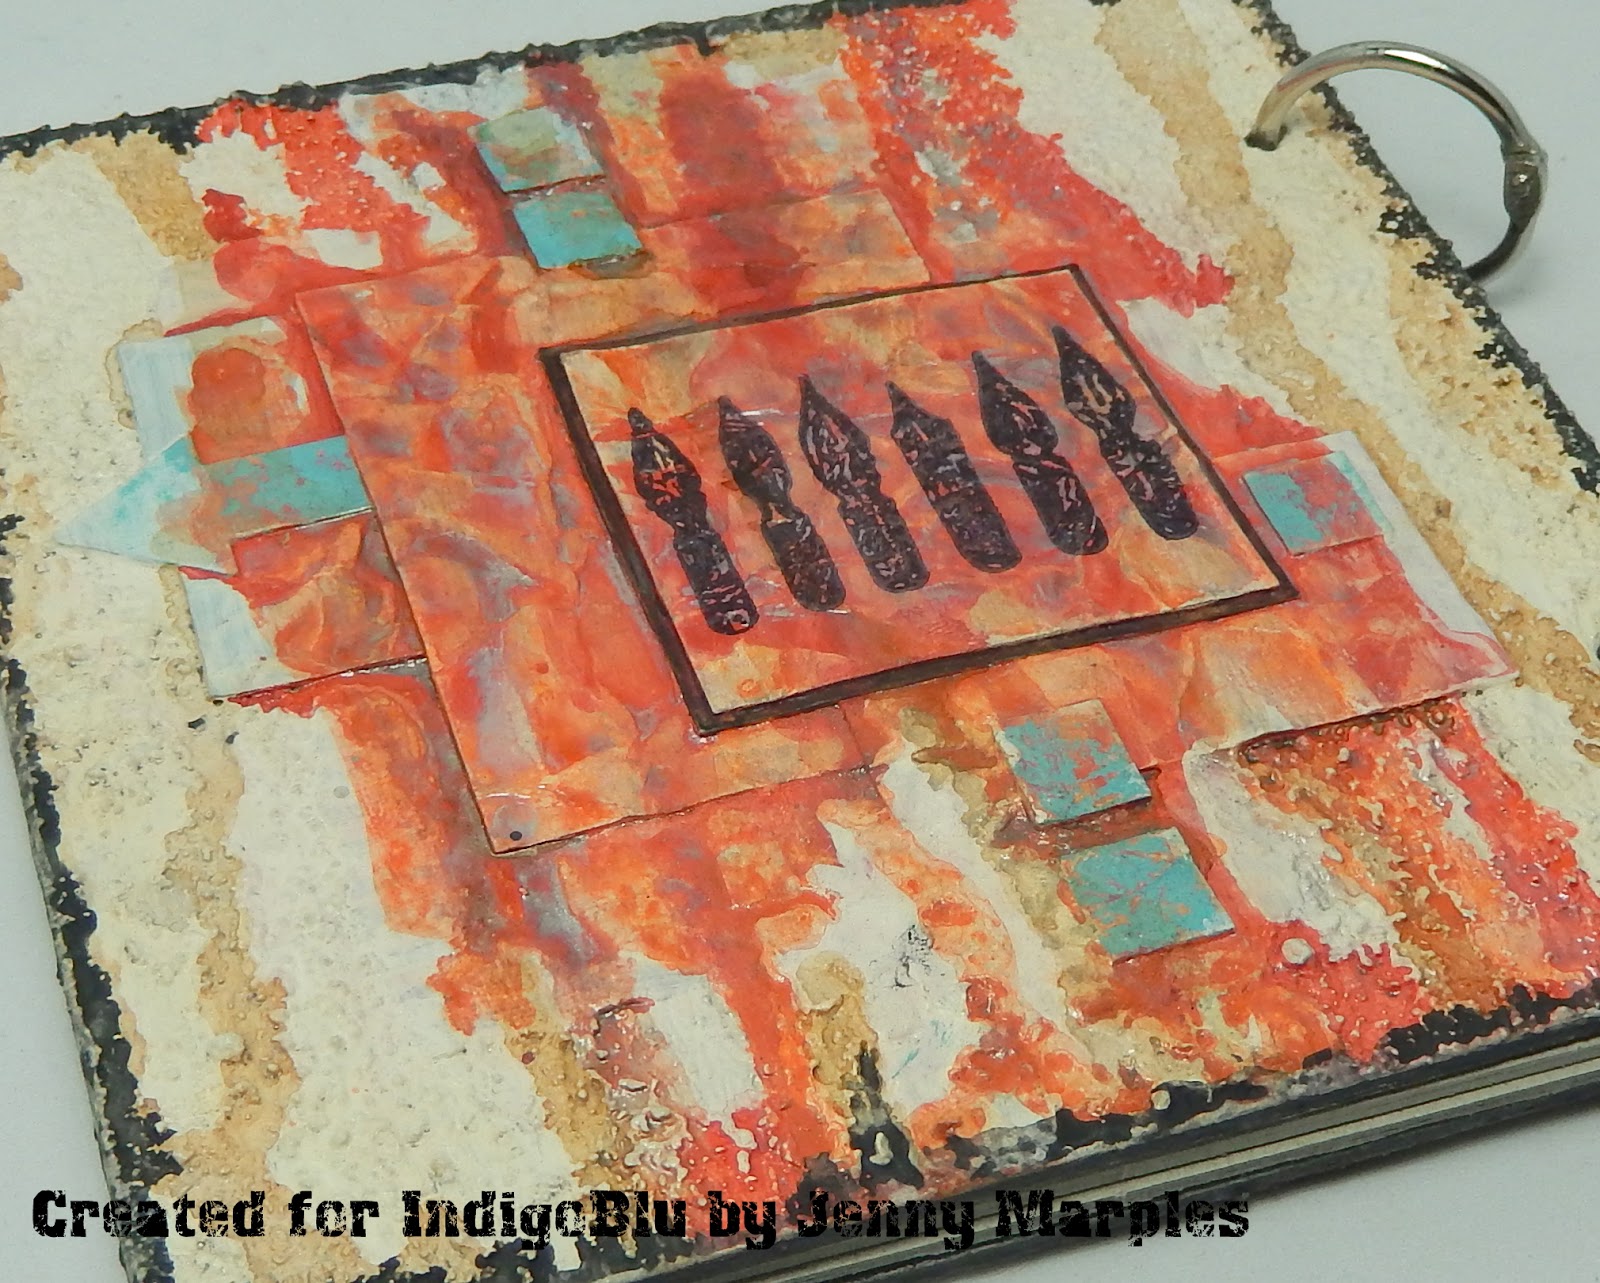
Hi everyone and welcome. So you know what it's like, we all browse through online galleries, Pinterest, Instagram and the like looking at the ideas. Recently I've spotted some fantastic junk journals and thought it could be fun to create on surfaces that would otherwise end up in the recycling bag. First though I needed the covers to hold the results of future playtime adventures...


Simple thick cardboard square bases are easily transformed with texture paste, card and paint. I used both the Coarse and Fine versions of paste, with the latter used through the Texture Stencil. A coat of white Gee-Sso Good gesso evened out the paste  and card shapes before painting.


I used dilute Hot Cocoa, Burning Bonfire, Postbox Red, Vodka Martini and Townhouse Teal English Cottage Artist's Acrylic paints to dribble, run and paint the layers. Then the edges were given a border of black Gee-Sso Good gesso and I stamped the words from the new A5 Chemistry Lab stamp set. The stamped pen nibs on the reverse are from the A5 Take The Time stamp set. A coat of matte Slap It On protected the newly altered surfaces ready now for the inclusion of lots of fun pages.


I hope this has given you some ideas for decorating journal covers of your own.

For now take care of yourselves,
Jenny xxx

Wednesday, 9 March 2016

Card for a Science Geek

Hello everyone! It's Monika here.

Today I want to show you simple card for a man in monochromatic colours. I think this card would be ideal for a Science geek. I love this stamp quote from Albert Einstein: "Learn from yesterday, live for today, hope for tomorrow." It's perfect to use on cards, layouts, art journals and many more.


This time played with a brand new stamps Chemistry Lab and Calculus from the Weird Science Series. To create a background I used GeeSso Good! Gesso - BlackGeeSso Good! Gesso - White and a little bit of Metallic Silver Paint


The Vitruvian Man stamp is from the Beautiful Mind set. I stamped this and all stamps using black permanent ink.


Products used:

Indigoblu Beautiful Mind A5

Indigoblu Calculus A6


Have a great day!
Monika xx

Monday, 7 March 2016

Elegant in Pearls


Morning all it's Elizabeth here and I have another new project to share using the very beautiful Elsie stamp. I started out with a plan in mind and a canvas in front of me, and as everything came together, I just didn't like it. So meet plan B, which I love.

I started out by stamping Elsie onto a piece of Perfect White Stamping Card using Potting Soil Archival ink as I didn't want the image to run if I spritzed over it. I then added text from the Tasty Textures Stamp Set and blended around the edge using Brushed Corduroy Distress Ink.


Then for some un-known reason I did everything the opposite way round to how I would normally work, by creating and adding my mats and layers at this point. These are from the gorgeous After Morris Mixed Media Paper Stack. Which I then added to a base layer on an eight inch square card, as usual I couldn't resist distressing the edges of the layers. I love these papers as the Art Deco period has always fascinated me, and I'm very luck to live in an Art Deco house.


To add to the embellishments I fussy cut the flowers and butterflies from the front cover of my Floral Fantasy Mixed Media Paper Stack which were the perfect size to mix in with flowers and pearl strings from my stash.


These papers lend themselves perfectly to the distressed shabby look, and are so on trend with the colours in fashion at the moment.


So when planA doesn't work out there's always planB...... and I still have that canvas to play with ;)

Elizabeth x