Showing posts with label Flutterby. Show all posts

Thursday, 3 May 2018

Butterfly Note Book


Good Morning,

Carolyn here with you today. Weren't we lucky last month to see Kay twice on Hochanda. The first show bringing the new 'Evil Thoughts' A5 stamp set which featured the cheeky verses. Then the Floral pick and mix later in the month which can still be seen on Hochanda.


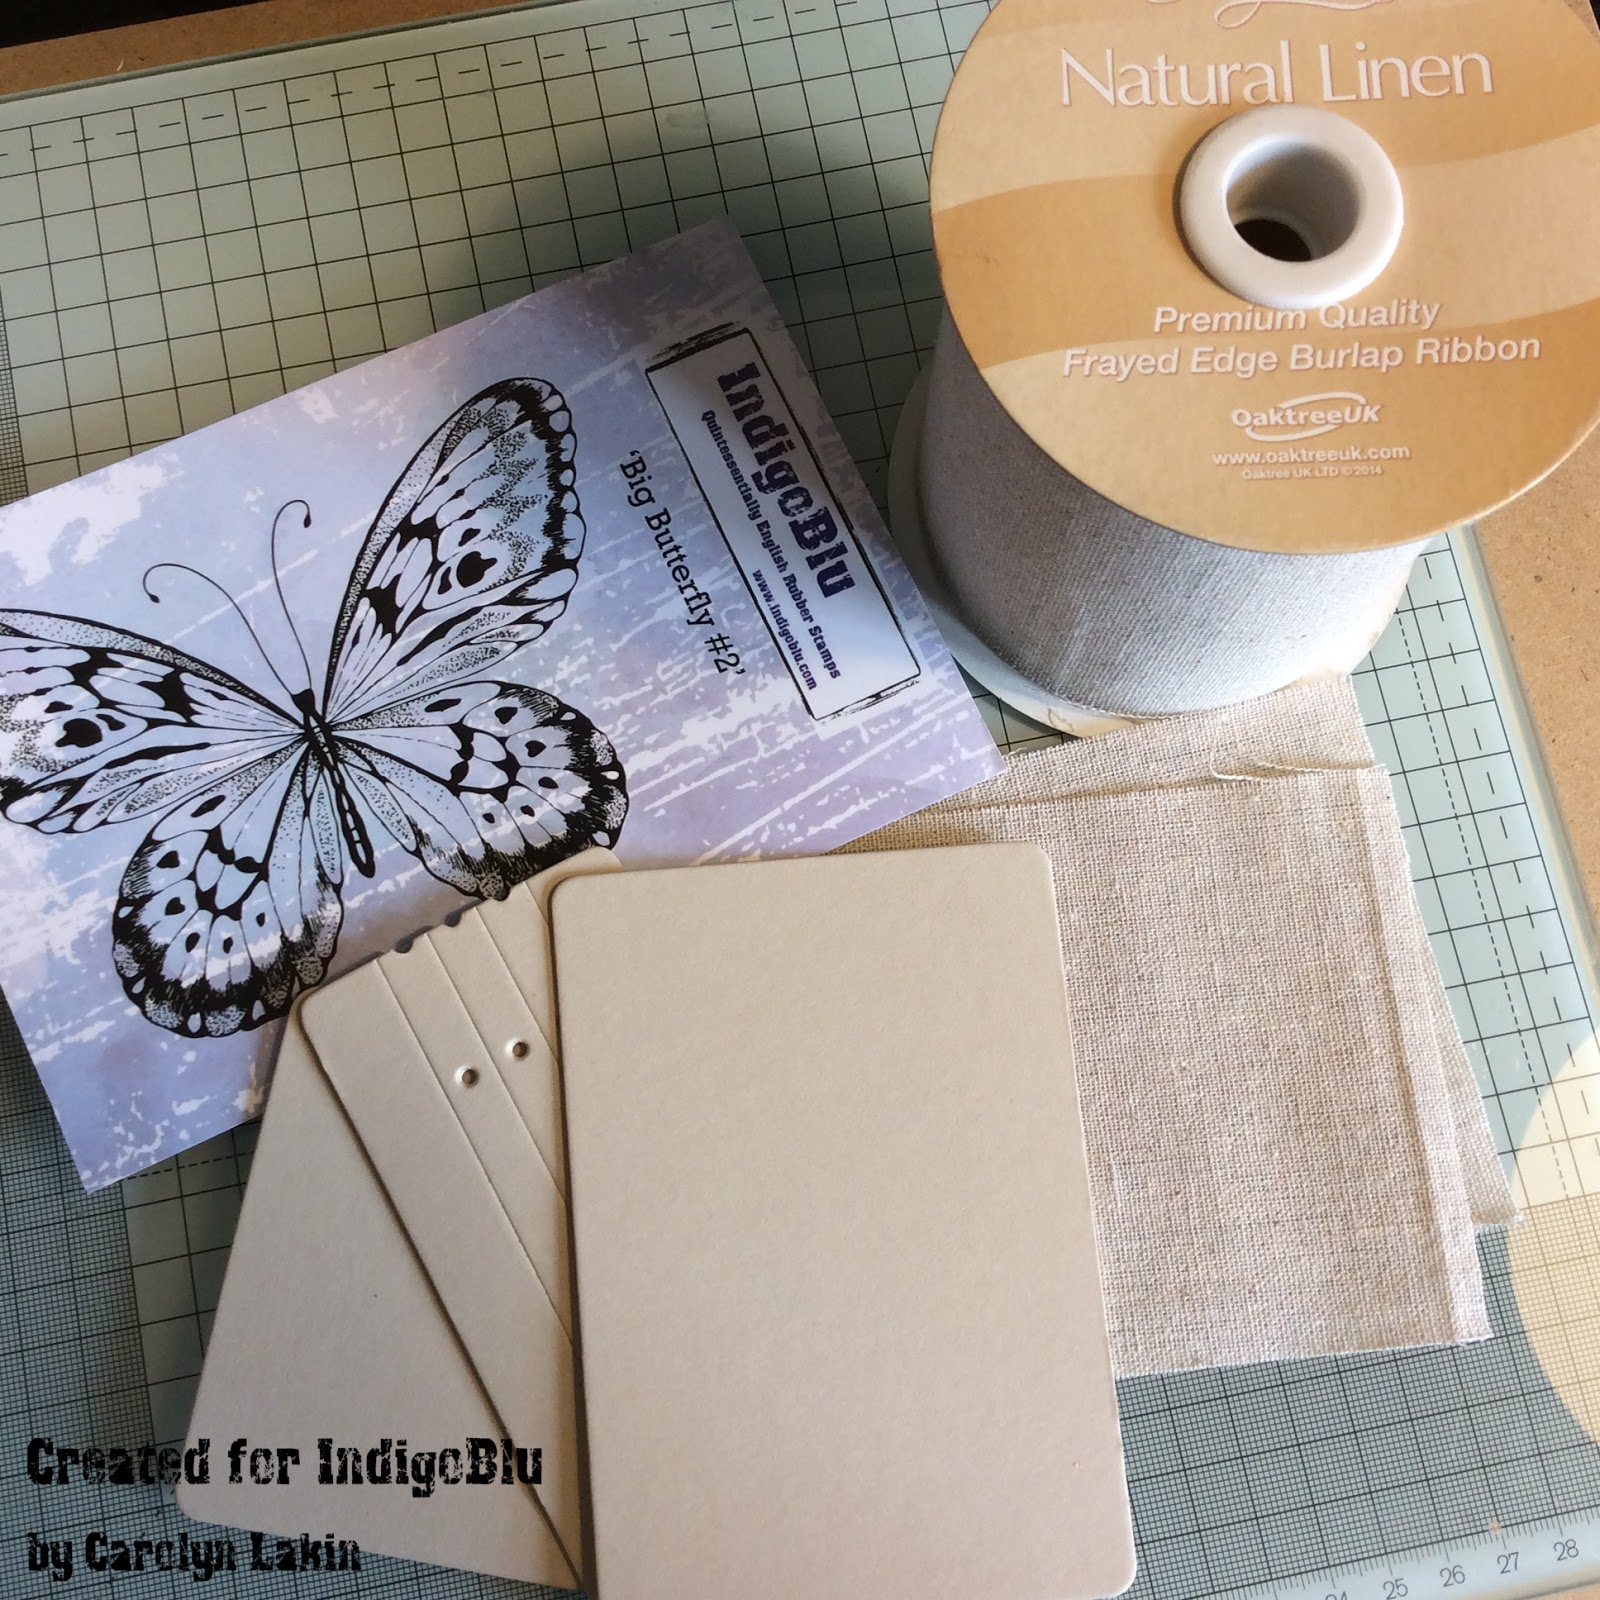
I do love all the IndigoBlu Butterflies and for this project I have used the 'Big Butterfly #2' and the Dinkie 'Flutterby'


For this note book I used the Eileen Hull Passport Die and cut this from Mount board. Natural Linen Ribbon was used to cover the front and back of the notebook.


The IndigoBlu Acrylic Paint is a true fabric paint which makes it ideal for stamping onto the Linen Ribbon. I loaded a couple of pieces of Phat foam with Aladdin Metallic Acrylic Paint and White Gesso. This was dabbed onto the butterfly stamp and quickly placed onto the Linen and pressed down firmly. The stamp was placed into cold water immediately to remove the paint.


In the photo below I painted a wash of White Gesso onto the panel on the right before stamping. In hindsight I should have done this to both as the image is more defined.


To add texture and interest to the stamped image I stitched some areas with Blue and Purple cotton and added beads. The lighter areas were painted with Porcelain Luscious. When adding Luscious to fabric it is best to mix it with Slap It On Fabric.


The Linen panels were then adhered to the mount board using Slap It On Fabric and I trimmed around the edges. I added more Slap It On to the edges to prevent the edges fraying.


The front and back panels were adhered to the spine with Super Thick Slap It On. Die cut letters were painted with Aladdin Metallic Paint and adhered to the front panel. I attached eyelets to reinforce the holes in the spine.


The inside was painted with White Gesso. I did stamp the Flutterby butterfly with Distress Ink. I then added tissue paper with Slap It On which smudged the image slightly. So then I stamped the image again using Grey Stazon.


 The inside pages I cut from several coloured sheets of paper and card. This was cut to 16.5cm by 12cm and folded in half and scored. I was able to punch holes to line up with the spine with my Crop-a-Dile.


The pages were positioned in place and tied with cord.


To keep the Note Book closed I adhered the closure that comes with the Eileen Hull Journal Die.


Coordinating ribbon and cotton was used to wrap round the Note Book and tie in a bow.


I do hope you're inspired to try stamping onto fabric with IndigoBlu true fabric paints.


Thank you for stopping by and enjoy the rest of your day!

Be sure to check out Hochanda on Bank Holiday Monday to see what Kay has in store for you. I'm sure you'll be thrilled with the new products as we are! Tune in at 11am and 3pm or watch online.

Crafty Hugs

Carolyn
x


Sunday, 22 October 2017

Cracked Glass Mixed Media Butterfly


Hi friends!  Autumn Clark of SewPaperPaint with you today for a guest post.  Today I'm sharing a second variation of the crackle project I first posted HERE.  


I was in the mood to make some grungy mixed media and pooled together my all time favorite IndigoBlu stamps for this project.


First I painted a piece of mat board with Goldfinger metallic paint.  I distressed the edges of the painted panel, then sponged with sepia archival ink.


My panel was cut double the size of the Crackleglaze stamp.  I applied Super Thick Slap It On with a palette knife then pressed the image into the wet paste two times for complete coverage.  It is important to quickly wash your stamp with a brush afterwards.


I dried my panel with a hair dryer on the coolest setting.  Once it was mostly dry I quickly wiped on black GeeSso Good and then wiped away most of the gesso with a wet cloth.


It helped to spritz with water before wiping.  I had forgotten how I made the first crackle panel with a Distress Crayon, but in the end really liked the effect of the black GeeSso Good.


The finished result resembles cracked glass with the Goldfinger paint beneath.  I sponged the edges with sepia archival ink for a little depth.


I stamped the Numbers Collectors Edition stamp in gold on a black panel for a mat.  I would like to turn this into a handmade journal cover, but for now it is a card.


For my focal image I embossed in black the Flutterby Dinkie onto leftover inky card.  I fussy cut it and layered over a bundle of string and an oval stamped with the larger numbers from the Shine Bright set.  I used the paint as ink this time.  I love the uneven effect it gives.


Finally I partially stamped pieces of the sentiment from the Shine Bright set and cut them out to make a different wording.  I added a key charm to complete the look.


I can't tell you how much fun I had making this panel and playing with these stamps!  I hope you will give these techniques a try.  Thanks for having me join you again, Autumn


Tuesday, 30 May 2017

Altered Composition Book Butterfly Collage using IndigoBlu Flutterby and Crackleglaze

Welcome IndigoBlu fans! We have some fantastic news for all those fans of rubber stamping in the US who love IndigoBlu stamps (or are maybe new to them?)


Topflight Stamps, LLC is a new Art Stamp Online Store. They are a US based company that carries Rubber and Clear Stamps from different countries around the world. Check them out for unique international stamps, including IndigoBlu. All US orders over $50 ship free.

We thought we'd share some inspiration, first seen back in April 2017, from US based designer and International Design Team Member Autumn Clark. She cleverly combined the Dinkie Flutterby and CrackleGlaze Background stamps to alter the cover of a composition book.


Autumn with you today to share some very fun techniques. My jaw dropped to the floor when I saw THIS post by our Jenny Marples. Right away I ordered the Crackleglaze Background stamp.


I first tried to make a floral design like Jenny. I inked the background and colored the poppy from the Poppycock stamp set with Distress Inks. Next I layered on Super Thick Slap it On with a palette knife. I pressed the crackle stamp into the paste and quickly washed my stamp and let the panel dry. I went over with Distress Crayons blending with a baby wipe. I thought I would add some chunky embossing to the edges to mimic solder. Hmm, at this point I felt the entire project had grown rather dismal... So I cut a square out of the middle and decided to salvage the piece as a frame.


I inked some book page and card with Distress Oxide ink. I cut the circle dies from the inky card. I smooshed some card into Postbox Red paint and then dipped it into Distress Oxide, letting the ink flow down. I stamped the Flutterby stamp onto that panel then used the excess to cut a postage die. I used all of these elements to build my composition.


Here's a closeup shot of that lovely crackle effect.


I layered the butterfly over a purchased paper flower and bundled string.


All of the layers were raised with chipboard.


I added some staples for interest.


I curled the butterfly wings for even more dimension.


I glued a vintage button to a brad to adhere a second paper flower and layered over a die cut flower.


Here it is ready for my journaling and doodles. I hope you have fun experimenting with these techniques.


And here's some more inspiration from Autumn using the Dinkie Flutterby stamp;


Thank you for joining us here at the IndigoBlu blog to see Autumn's gorgeous projects - we are sure you'll now have some ideas of your own for using the Dinkie Flutterby and CrackleGlaze Background stamps, both of which are now available in the US from Topflight Stamps.

Friday, 12 May 2017

DIY Designer Paper with Acrylic Paint


Autumn with you today to take you on a fun little journey with the new range of paints, Skin Tones Acrylic Matte.  I absolutely love this range from apricot to rouge to porcelain - they are gorgeous!


I thought I would test them out on my new Gelli Plate.  I definitely need more practice with the plate, but it was fun nonetheless.  You could replicate these techniques with a brayer DTP if you don't have a plate.  I printed the pink you see on the left, then loaded my plate with a lighter color of paint.  I stamped this soon to be released numeral stamp into the plate and stamped onto my pink panel repeatedly.  After, I did another press with the paint left on the plate, which reverses the image as you see in the finished product below (left).


I cut the best sections that would make great bases and then used the scraps with dies.  For my first project today I am showing you what I did with this center layered panel.  You can see the number printed paper worked great to cut my doily.  The numbers don't show, just the color variation on such an intricate die.


I made one more sheet of colored paper by dropping a little paint onto my craft mat and spraying with water then smooshing my paper into it.  I used it as the base to stamp these butterflies from the Victorian Garden set repeatedly in pink and brown ink.


I gave everything a splat of Metallic Goldfinger Acrylic to finish it off.  The photos don't show the color variation and depth, but trust me it's there!


The next day I picked up one of the other panels and decided to test out Distress Oxide inks over the paint.  Just as I had hoped, the paint did resist the ink in a way.  The ink soaked into the unpainted sections of my paper.  I decided to overstamp and make a pattern, similar to designer paper.  So I embossed the butterfly repeatedly.


See there the number stamping coming through the butterfly?  This butterfly stamp is just soft enough to make a beautiful pattern without being overwhelming.  LOVE!


Here you can see the resist I was referring to.


I layered up some dies and our fabulous Flutterby stamp, which I stamped in brown over some leftover smooshed paper.  Finally, I added one of the sentiments from the set, stamped in the same DOX and attached with the Tiny Attacher.  Thanks for reading to the end!  ;0  I hope you are inspired to make some paper today with your IndigoBlu stamps.  Until next time...


Preorder your Victorian Garden Stamp Set HERE today!

Purchase one or all of the new Skin Tone Matte Acrylic range HERE today!