Showing posts with label Fine Modelling Paste. Show all posts

Monday, 26 March 2018

Happiness in Nature


Good Morning, Carolyn here with you today sharing my latest card using the most recent releases from IndigoBlu.


It's been a while so I thought I'd have a play with my Faber Castell Gelatos to create a colourful background. I chose Lavender, Grape, Tangerine, Bubble Gum and Mango. I randomly scribbled the colours on an A5 piece of watercolour card.


I then spritzed this with water and let the colours run taking care not to let them become a muddy mess. I dried this with my heat gun and laid down more colour so they were more vibrant. I used a baby wipe to merge the second layer of colours.


For the words I scribbled the Lavender and Grape Gelato over the stamp and spritzed with water before stamping onto watercolour card. I then cut these out.


The flowers from Nature III were stamped with Distress Oxide (Wilted Violet, Spiced Marmalade, Picked Raspberry). I used my water brush to pull some of the colour from the stamped image to create a watercolour effect. I then fussy cut all the flowers.


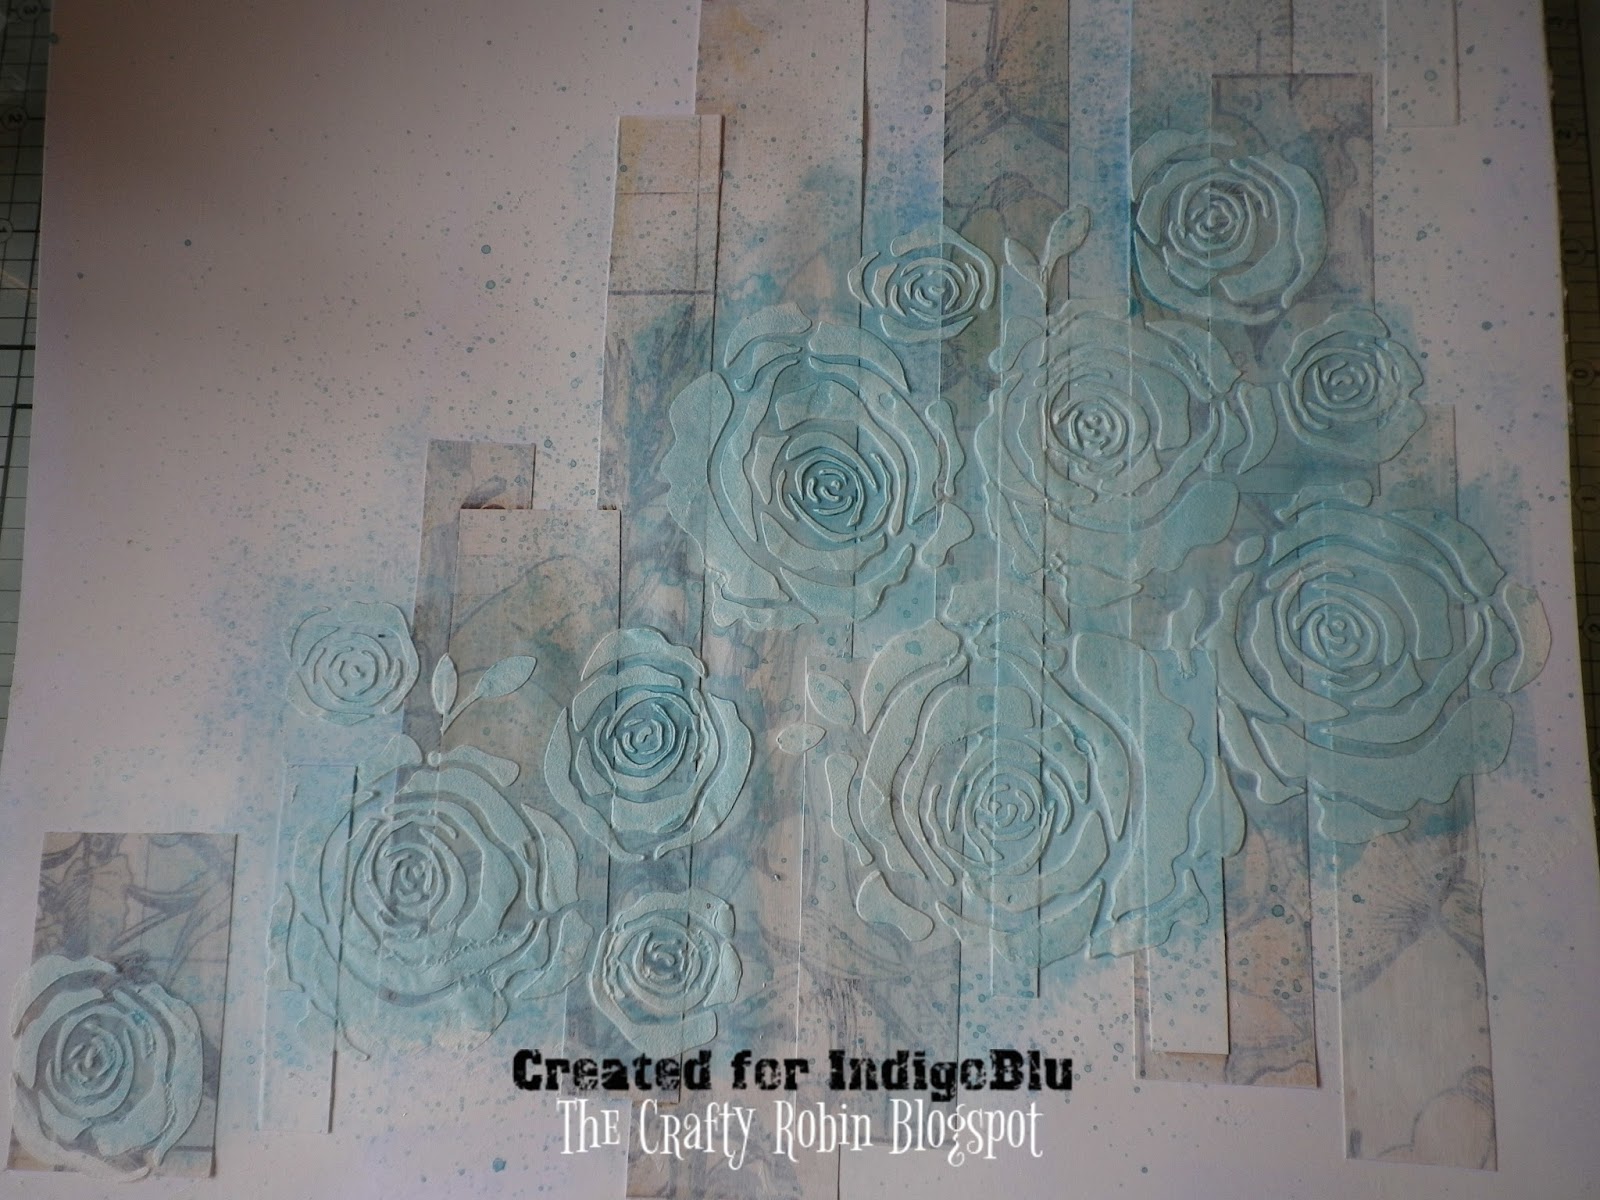
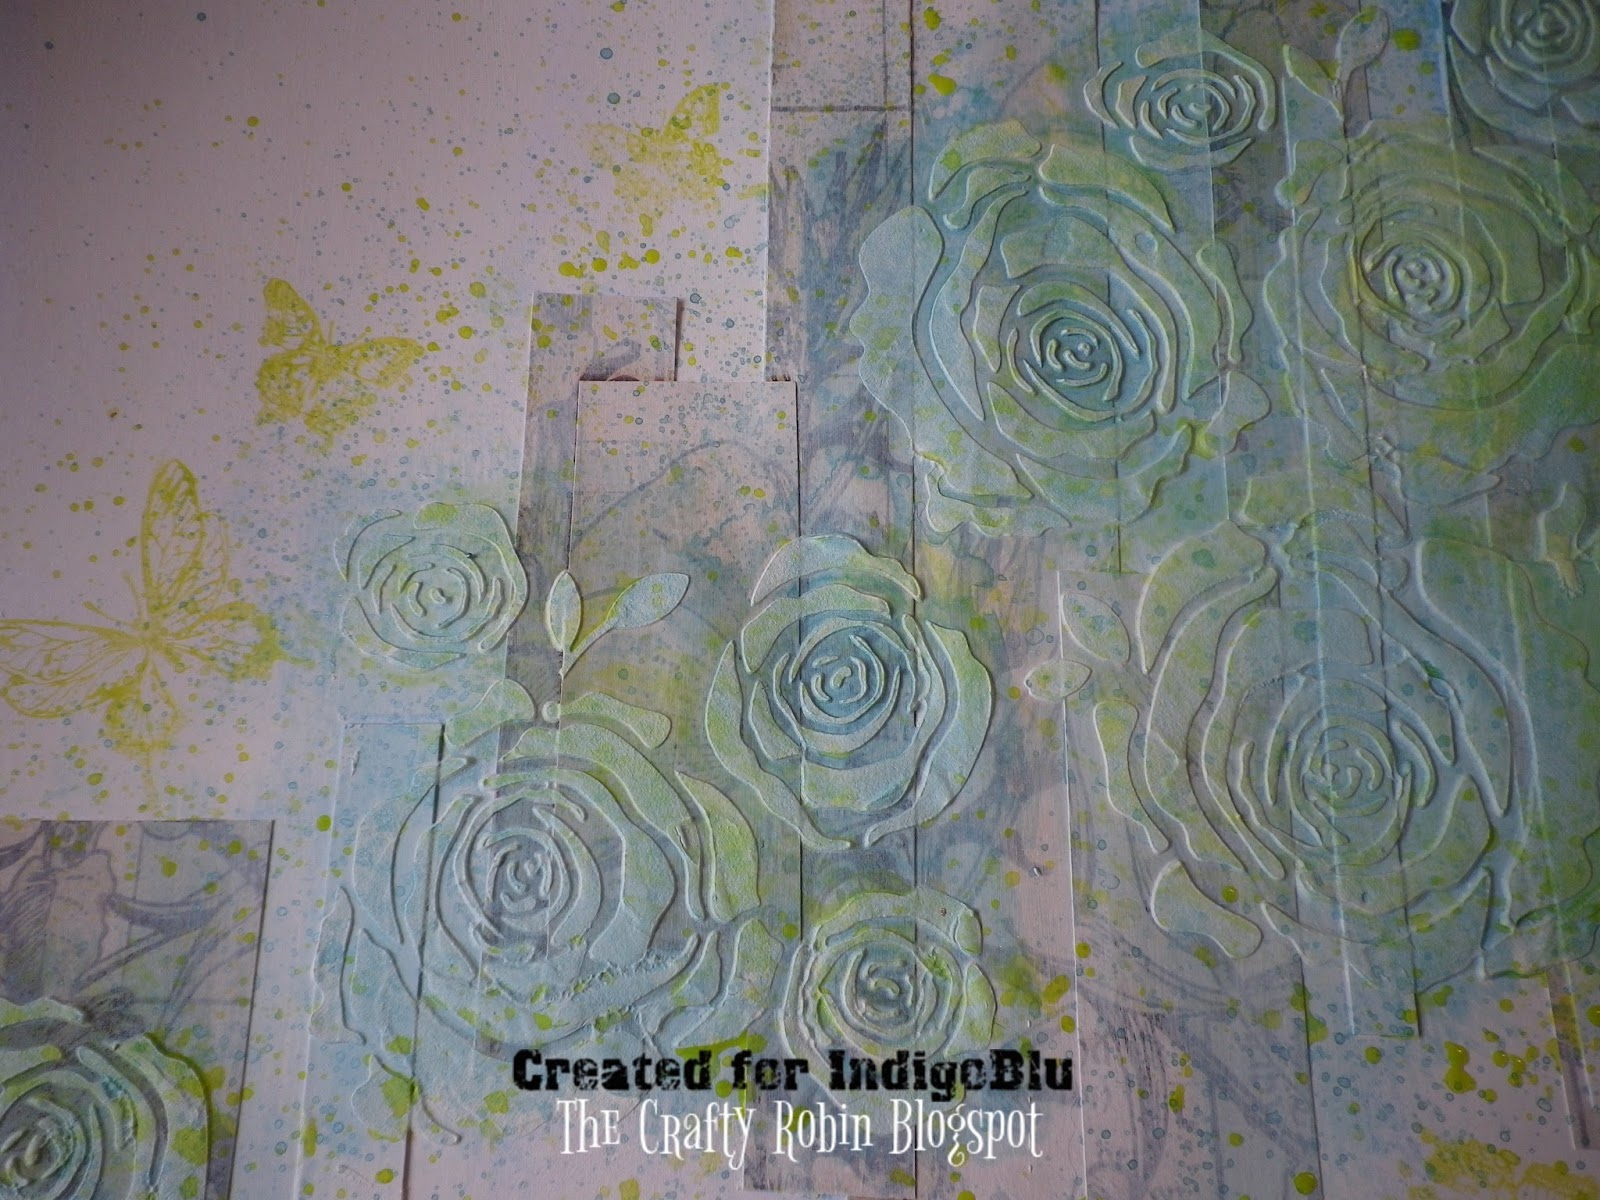
To create more interest in the background I stenciled the Inky Dink Wild Rose Stencil with Fine Modelling Paste before placing the words and flowers over.


Finally I assembled the background onto a purple card blank before positioning and adhering the words and flowers.


Thank you for joining me today and do pop back to see the fabulous inspiration from the team. 

Happy Crafting

Carolyn
x

Thursday, 11 January 2018

8x8 Mixed Media Canvas - Seahorses

Hi Everyone - Mike here again!

As we're already a third of the way through January I won't wish everyone a Happy New Year as it's probably been done to death by now ;o)

My 1st project for January features the very popular Collector's Edition No#12 Seahorse stamp and a few other IndigoBlu products in the process.


IndigoBlu products used in this project are as follows:


To watch how I created the canvas from start to finish click the image below to visit the IndigoBlu YouTube channel.

Please remember to give the video a thumbs up and subscribe to the IndigoBlu YouTube channel for more videos and tutorials from the IndigoBlu team!


Thursday, 6 October 2016

Faith


Hi there Elizabeth here with an Autumnal project for you. When I think of Autumn colours I always think of the beautiful shades of Heather up in the hills, so that's what inspired me to do this little watercolour project, using the gorgeous Luscious powders.


The sheen is so pretty and doesn't get lost in the watercolour card.


I started out by stencilling Fine Modelling Paste through the Texture stencil, making sure it was dry, then brushing over the centre of the pattern first with Frosty Sky then blending over the top with Aladdin Metallic paint. Once they were dry I added some area's of Teal and Bronze Luscious powders, which I diluted with a small amount of water. I also added some splatters with the Bronze as well.


I adhered the mini watercolour off-centre over the texture.


And added some very faint grey stamping using the Script stamp.


I wanted to keep within the same colour family so I created my custom blend of texture paste using the gorgeous green Luscious powder. The paste picks up the colour, but it remains matt as the texture paste has a white base, so perfect.


Nothing went to waste, as I added the leftovers to my next project, a journal page. The matt tones work beautifully together.


So there you have my take on Autumn.


Happy Crafting
Elizabeth x

Thursday, 7 April 2016

Happy

Hi, it's Elizabeth here sharing a project made with the gorgeous new Roses Stencil and the yummy new Kingfisher Metallic Paint and Lime Marmalade Cottage Garden Paint.


I cut out the butterflies from my piece of 12"x12" Floral Fantasy Mixed Media Stack and mounted my photo onto a piece of scrap black card.

Then I cut the rest of the Floral Fantasy card into strips and adhered them to a plain piece of 12" square card, along with a couple of plain strips. Once the glue had dried I gave them a light coat of White GeeSsoGood.

When the GeeSso Good had dried I stenciled Fine Modelling Paste through the gorgeous new Roses Stencil.

Once the paste was dry I started to build up the colour by spritzing/splattering diluted Kingfisher Blue making sure the Roses were coloured. I then did the same with the yummy Lime Marmalade Cottage Garden Paint and added some Butterflies from the Floral Fantasy Stamp Set stamped out in paint.


To finish off I added charcoal pencil along the edges of the paper strips to give some shade, and a few splatters of diluted Black GeeSsoGood to ground the photo, added the butterflies, gems and word from my stash.


Hope you enjoy the new products as much as we all do, see you soon.

Elizabeth x