Showing posts with label Script Background. Show all posts

Sunday, 18 February 2018

Quick Card Share from Mike Deakin

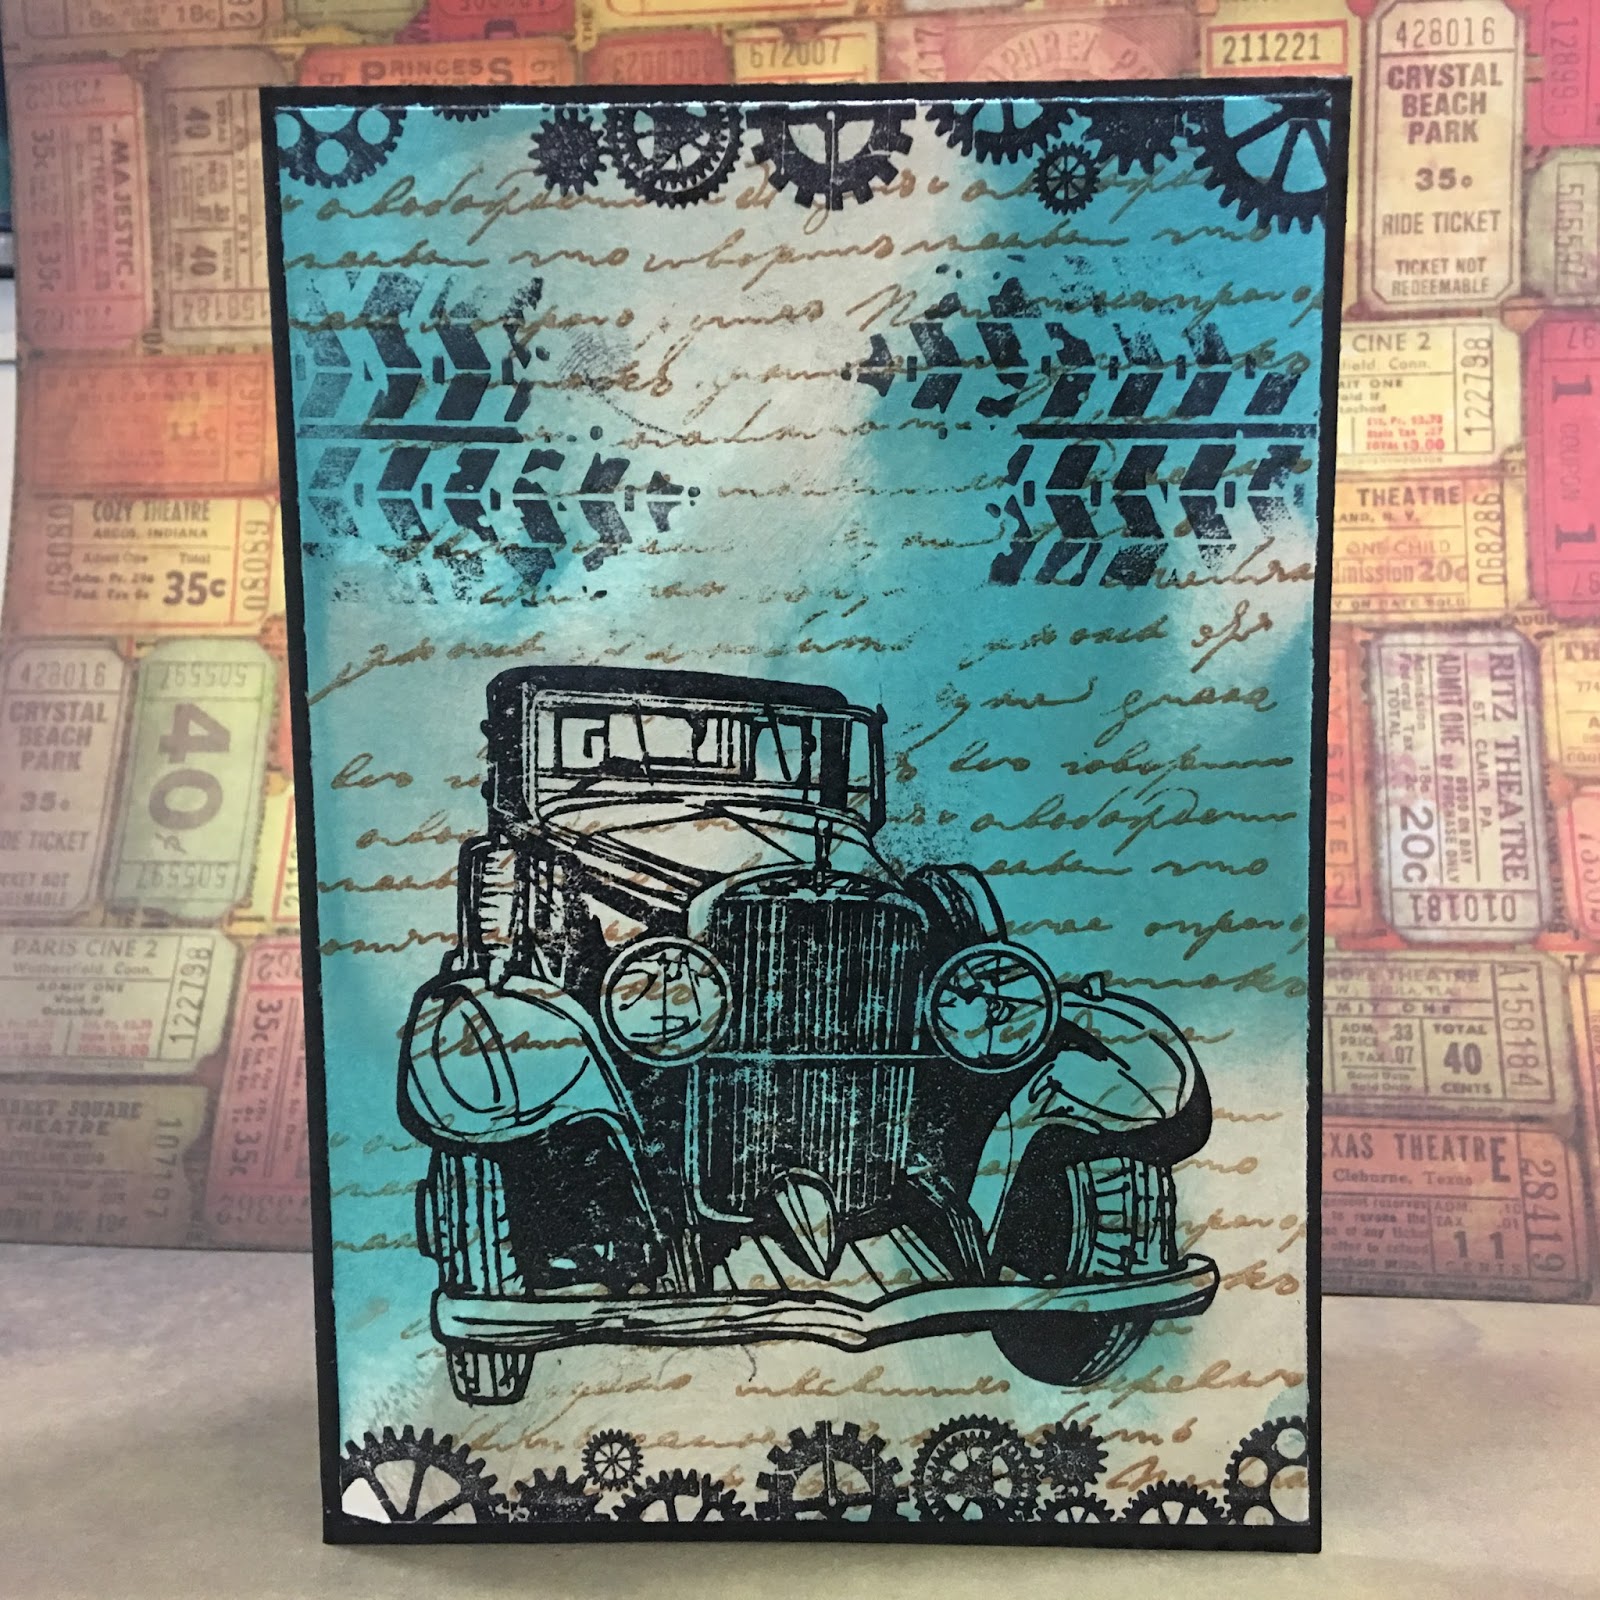
Hi Everyone - Mike here with a couple of quick A6 card shares for you today using two of the fantastic new release stamp sets.
The first is the "Drive Fast" stamp set teamed up with the older but very versatile "Script" stamp set with some cogs and gears for decoration borrowed from the "Fly High" stamp set also featured in the card below. The backgrounds were created using "Vodka Martini" & "Kingfisher Blue" acrylic metallic paints applied by hand with a piece of "Phat Foam".
All images were stamped using Jet Black Archival Ink. The "Script" stamp was stamped in the background using "Sepia" Archival Ink.

They're very quick and simple one layer cards but with the metallic paints in the background, it gives them some real depth with that lovely metallic lustre shining from the back!

Hope you like them!


Sunday, 12 November 2017

Merry Christmas

Hello Dear reader,

Today I have made a Christmas Card for you.
Normaly I'm not so fast with my cards ;)


I was started with the wonderful stamping card paper.


Trim the edges with masking tape, I tear the wide strip trough the middle, you will get a 
rough edge. I like that.


With Oxide ink in the colors wilted violet and peacock feathers I blend the paper.


Stamp The script stamp with water 


Dry with the heatgun, You will get a beautiful white script.


Place your Merry Christmas Tree  on a stamping platform
and stamp the tree in Black.
Do the same with the sentiment. 


To finish the card glue the card on a purple piece of cardstock and use a black
basic card. 
So I hope you have get some new inspiration from my card. 

Here you have the link of all stuff i have used.

Thank you for reading my blogpost and leaving a comment.  

Tuesday, 23 May 2017

Wings of Freedom

Hello everyone! It's Solange Marques here!
Today I'll share with you a new project using the wonderful IndigoBlu products!
This month the theme is about wings. I love this theme!!!
I've made an altered clipboard:

I've covered the clipboard with IndigoBlu European Grand Tour Mixed Media Paper Pad 12x12 :


Then I've applied flitterglu and Lancashire Rose Megaflake  on the clip.


After, I've used the stamps: IndigoBlu Ledger Background and Script Bakcground:

I've applied black embossing powder on IndigoBlu Big Butterfly:


I've applied Luscious Pigment Powders: Gold and Copper:


Finally I added some alpha chipboards:


Sunday, 12 February 2017

Hearts that Flourish Mixed Media Valentine Card


Autumn with you today to share a lovey dovey Valentine made with some of your favorite not so Valentine stamps.


I started by making a mask for the Vintage Frame stencil and stamping around the mask with the Script background stamp in black.


I used modeling paste through the stencil, then used Distress Ink to watercolor my background.


I stamped the leaves from the Blooming Great set in Picked Raspberry and fussy cut.  I embossed the flower from the same set in white, then dipped into watery Spun Sugar.  I stamped Vintage Flourish in Picked Raspberry onto a heart die cut and embossed with clear embossing powder.


I layered with a few other dies and cheesecloth.


I was going for high contrast and added some metallic silver card to the mix.  The heart is just so beautiful with this pattern, don't you think?  I hope you are inspired to think outside of the box with your IndigoBlu stamps today.


You still have time to enter our Love is All You Need challenge for a chance to win IndigoBlu stamps!  We hope you'll join us.

Monday, 23 January 2017

Butterfly canvas

Hello everyone! It's Solange Marques here and today I'll share with you more a project using the fabulous IndigoBlu products. This month we must choose our favorite stamp to make a project. It's a hard task because I love all of the stamps from IndigoBlu, but I am in love with butterflies and I choose Flutterby Dinkie .


 I've created a canvas.
First of all I glued down a photo on Square Flat Canvas and I prolonged my photo using acrylic paints:


 Then I used some backgrounds stamps (I love them)!
I've used Ledger Background and Script Background:


I've added Flutterby Dinkie:

 I hope you enjoy it!

Friday, 6 January 2017

The Butterfly Collector


Hi it's Elizabeth here with one of my favourite stamp sets from IndigoBlu called The Butterfly Collector There are nine stamps in this set which all co-ordinate beautifully together and I use them on a regular basis along with another favourite stamp the Script Background


I began by giving a cheap wooden shadow box a coat of White GeeSsoGood and setting on one side to dry.


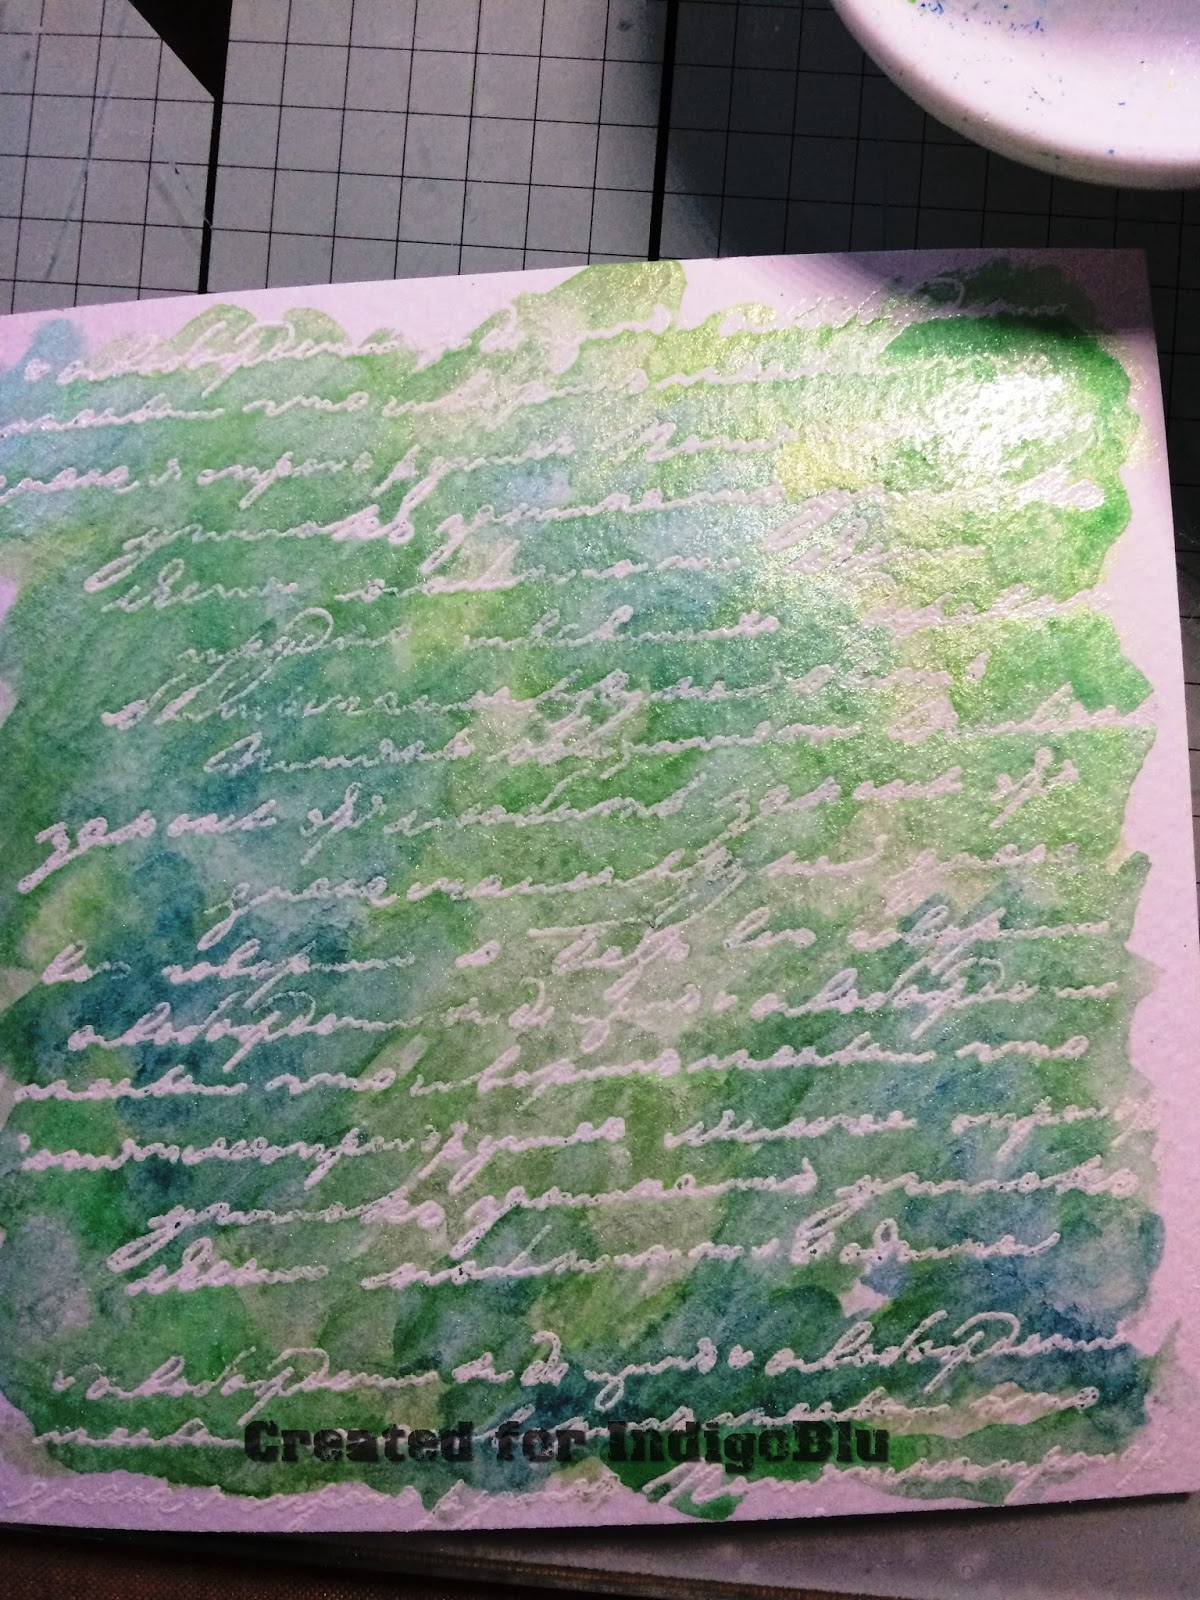
I cut a piece of watercolour card to the size of the inside of the shadow box and stamped the Script using Versamark Ink, then I added detail white embossing powder from Stampendous, and heat embossed it.


The embossing acts as a resist, so when you watercolour over the top with Luscious the white script pops through the shimmering colours.


I used a blend of Lawn and Buttercup to create a Lime and I also used the Blue.


While the watercolour card was drying, I stamped out the Butterflies, Dragonfly and sentiment onto a piece of Perfect White Stamping Card using Black Versafine Ink. The card has a special coating on it, designed to grip the ink and therefore you get a much crisper image when you stamp. You might also notice I stamped out twice as many as I needed, while the stamp is out with ink on, I decided to stamp out extras ready for Birthday cards that will be needed shortly.


Once I'd cut out all the elements I needed, I then added a little of the Purple Luscious powder from my pallet. I love this colour, it's beautiful when the light hits it.


I added my now dry background inside the shadow box using a good strong adhesive, and added lines around the outer side of the frame using a Black Posca Pen so it would co-ordinate with the frame around the sentiment.


Then it was just a case of putting it all together using foam pads to raise up the Butterflies and Dragonfly.


Thank you for joining us this morning and a very Happy New Year from me.
Elizabeth x

Wednesday, 12 October 2016

Woodland Critter Autumn Tag


Autumn here with you today to set you in the mood for fall creating, I've created a sweet little autumn tag using two rather surprising stamp sets.  Though the stunning ornate stag gets most of the attention in the Winterland Wood Stamp Set, I really wanted to use the little pair of deer as a focal image for this project.  This versatile set can be used for so many occasions!


I turned to the Blooming Great set for the beautiful skeleton leaves to create my background.  I used Vintage Photo and Walnut Stain with some water to create my Distress background.  Next, I inked my leaves in Fossilized Amber and tapped Rusty Hinge and Peeled Paint along the sides for a realistic color.  I stamped the leaves repeatedly, overlapping in areas.  I went back and partially stamped the Script Background Stamp in the open areas.  


Here is an closeup of the background.  I added a small talk sticker with a sketchy outline.


I stamped the deer on a die cut circle and framed them with other dies, ribbon and flowers.  They overlap a strip of torn sheet music and wrapped twine.  Thank you so much for your visit today and I hope you leave inspired to create your own autumn beauty.


Thursday, 6 October 2016

Faith


Hi there Elizabeth here with an Autumnal project for you. When I think of Autumn colours I always think of the beautiful shades of Heather up in the hills, so that's what inspired me to do this little watercolour project, using the gorgeous Luscious powders.


The sheen is so pretty and doesn't get lost in the watercolour card.


I started out by stencilling Fine Modelling Paste through the Texture stencil, making sure it was dry, then brushing over the centre of the pattern first with Frosty Sky then blending over the top with Aladdin Metallic paint. Once they were dry I added some area's of Teal and Bronze Luscious powders, which I diluted with a small amount of water. I also added some splatters with the Bronze as well.


I adhered the mini watercolour off-centre over the texture.


And added some very faint grey stamping using the Script stamp.


I wanted to keep within the same colour family so I created my custom blend of texture paste using the gorgeous green Luscious powder. The paste picks up the colour, but it remains matt as the texture paste has a white base, so perfect.


Nothing went to waste, as I added the leftovers to my next project, a journal page. The matt tones work beautifully together.


So there you have my take on Autumn.


Happy Crafting
Elizabeth x