Saturday, 12 May 2018

Happy Stampers and Big Announcment!

Hello to you. 
Kay and Alfie are at Port Sunlight this weekend with their IndigoBlu stand and Kay will be demonstrating with the New smaller Printed Canvas Panels and lots more crafting goodies. If you are there yourself don't forget to stop by and say 'Hello'.


And here's the NEWS!
FB live announcement this morning
(you can see the video for yourselves on the IndigoBlu FB page).

Lou Withers will now be sharing IndigoBlu products with us on Hochanda!
 Showing us her Hints, Tips and Techniques using the different Paints, Lusious &  Mediums.


Kay will still be doing shows, bringing us the New Products IndigoBlu are bringing out.

Lou's first show will be on May 18th 12pm & 4pm sharing Three Brand New Lush Colours in the Junk and Disorderly Range.

Here's a little Sneaky Peek of what Lou has been creating for her up and coming shows.

Dont forget to tune in and join her on the 18th & 28th May.xx


Have a great weekend and Happy Crafting xx


Friday, 11 May 2018

Oriental Style All Occasion Card with Mike Deakin


Hi Guys,

It's my turn to share a quick card project with you today, so I've created an oriental style 6x6 all occasion card using a few IndigoBlu products as follows:


I made a quick video of the process from start to finish so you could see exactly how I made the card and stamped the peony image using the Goldfinger paint. Click below to watch.

Don't forget to like and subscribe to the IndigoBlu YouTube channel for more video projects from the other members of the Design Team.


Saturday, 5 May 2018

You asked, We delivered and Kay's Workshop updates!

Good day to you. What a beautiful day we are having here in the UK and its 
suppost to last for the whole Bank holiday weekend! 


We listened to all of you who wanted smaller canvas panels - 
so HERE they are...
These beautiful panels are made with the same material as the larger panels, 
so have all the 
same great qualities, but measure approx 20cm x 20cm... 
and are just £6.00 each!!


Kay is launching them on Hochanda on Monday 7th May (11am and 3pm) - 
so set your recording thingies so you don't miss it...


Here are a couple of samples created by Lou Withers and Sue Ralph for 
Kay's Hochanda Shows this Monday!


And there's even more News to share with you

IndigoBlu takes to the road again heading out to the
Create It Event, Maidstone: Kent with the IndigoBlu shop and during the 
Two Day Long show Kay is running a One hour long workshop on:-
Book your Ticket here 
Spaces are limited so BOOK NOW to avoid disappointment!!

You will be painting one of our brand new mini panels - All materials will be provided
Kay will also be demonstrating during a live Hochanda show on Sunday 20th at 2pm with Yiannis Morgan.


Spaces are limited so BOOK NOW to avoid disappointment!!

Also
Spaces are limited on the 2 days with Kay at Holiday Inn Coventry - M6 Jct 2 on 16th and 17th June.

The 2 days costs £175.00 and includes 2 full day Mixed Media projects, led by Kay.


All materials are provided along with all the tea, coffee and biscuits you could want...


The 2 events we have held so far in Manchester and Newcastle have had rave reviews... Come along and see for yourself!


Happy Crafting Everyone

Thursday, 3 May 2018

Butterfly Note Book


Good Morning,

Carolyn here with you today. Weren't we lucky last month to see Kay twice on Hochanda. The first show bringing the new 'Evil Thoughts' A5 stamp set which featured the cheeky verses. Then the Floral pick and mix later in the month which can still be seen on Hochanda.


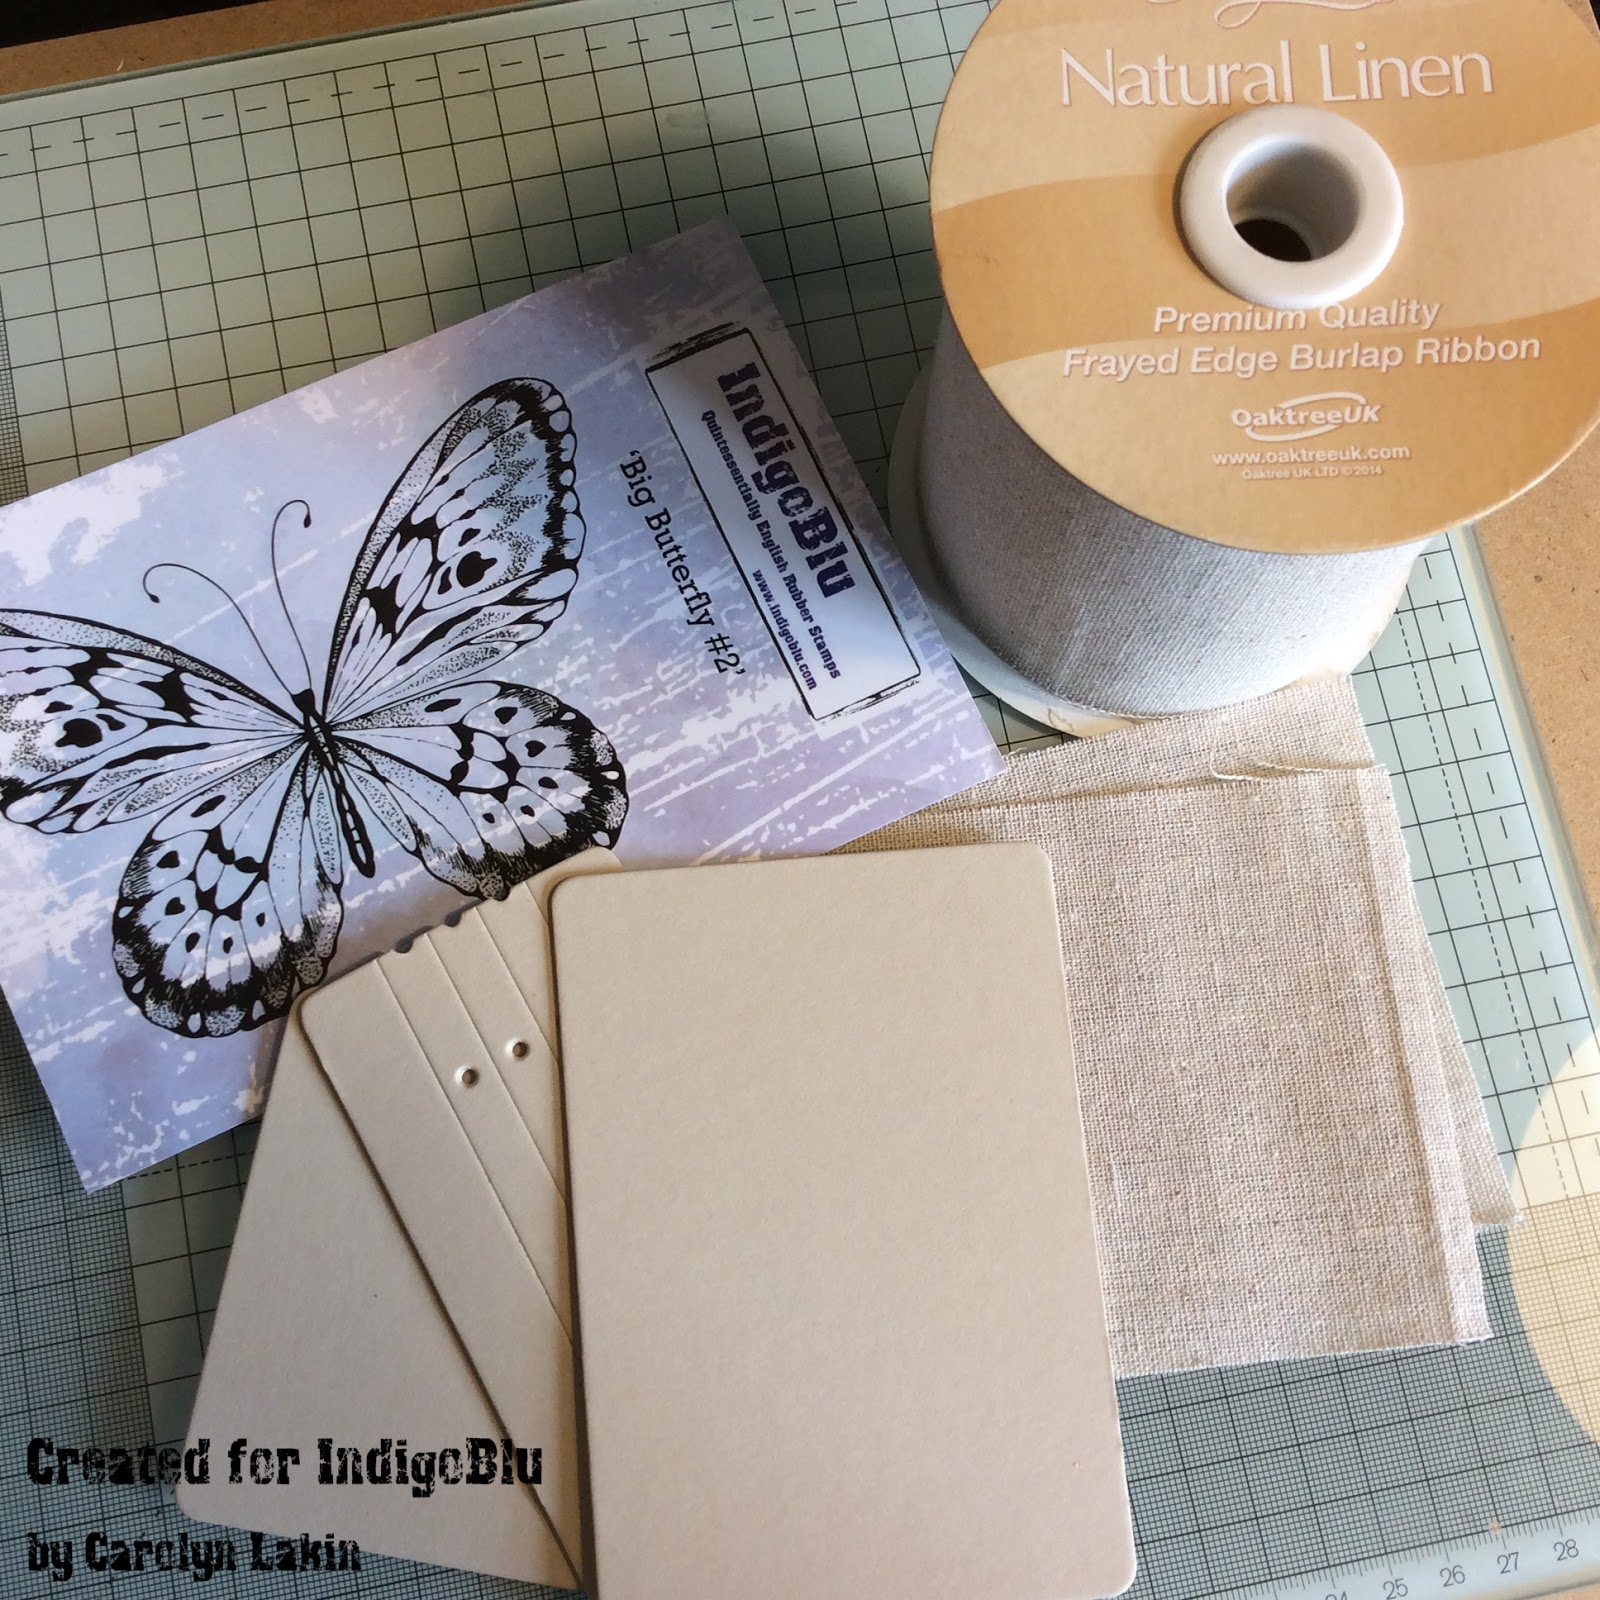
I do love all the IndigoBlu Butterflies and for this project I have used the 'Big Butterfly #2' and the Dinkie 'Flutterby'


For this note book I used the Eileen Hull Passport Die and cut this from Mount board. Natural Linen Ribbon was used to cover the front and back of the notebook.


The IndigoBlu Acrylic Paint is a true fabric paint which makes it ideal for stamping onto the Linen Ribbon. I loaded a couple of pieces of Phat foam with Aladdin Metallic Acrylic Paint and White Gesso. This was dabbed onto the butterfly stamp and quickly placed onto the Linen and pressed down firmly. The stamp was placed into cold water immediately to remove the paint.


In the photo below I painted a wash of White Gesso onto the panel on the right before stamping. In hindsight I should have done this to both as the image is more defined.


To add texture and interest to the stamped image I stitched some areas with Blue and Purple cotton and added beads. The lighter areas were painted with Porcelain Luscious. When adding Luscious to fabric it is best to mix it with Slap It On Fabric.


The Linen panels were then adhered to the mount board using Slap It On Fabric and I trimmed around the edges. I added more Slap It On to the edges to prevent the edges fraying.


The front and back panels were adhered to the spine with Super Thick Slap It On. Die cut letters were painted with Aladdin Metallic Paint and adhered to the front panel. I attached eyelets to reinforce the holes in the spine.


The inside was painted with White Gesso. I did stamp the Flutterby butterfly with Distress Ink. I then added tissue paper with Slap It On which smudged the image slightly. So then I stamped the image again using Grey Stazon.


 The inside pages I cut from several coloured sheets of paper and card. This was cut to 16.5cm by 12cm and folded in half and scored. I was able to punch holes to line up with the spine with my Crop-a-Dile.


The pages were positioned in place and tied with cord.


To keep the Note Book closed I adhered the closure that comes with the Eileen Hull Journal Die.


Coordinating ribbon and cotton was used to wrap round the Note Book and tie in a bow.


I do hope you're inspired to try stamping onto fabric with IndigoBlu true fabric paints.


Thank you for stopping by and enjoy the rest of your day!

Be sure to check out Hochanda on Bank Holiday Monday to see what Kay has in store for you. I'm sure you'll be thrilled with the new products as we are! Tune in at 11am and 3pm or watch online.

Crafty Hugs

Carolyn
x


Tuesday, 1 May 2018

Encouraging Card and Secret Message Tags


“She made broken look beautiful and strong look invincible. She  walked with the Universe on her shoulders and made it look like a pair of wings.”

This fabulous quote is by Ariana Dancu and can be found in the Indigoblu Mindfulness #2 Stamp Set. 

This card is perfect for someone going through difficult times, or who just needs an encouraging, positive word. I wanted to include a pocket on the front of this card for tags to hold secret  messages or even a gift card or two!

http://www.indigoblu.com/rubber-stamps-c3/a5-rubber-stamps-c5/mindfulness-2-a5-red-rubber-stamp-by-kay-halliwell-sutton-p2349

My colour scheme for this pretty feminine card was Marshmallow Pink and Grandmas Teacup Blue. I watered down these acrylic paints and created a background. Acrylic paints can also be used directly onto  the stamps, so I used a makeup sponge to dab the colours onto the Circle Dots stamp. I washed them afterwards before the paint dried on the stamp as they would be a little more difficult to clean!

I stamped the Circle Dots  onto the edges of the card 

Caitlin this stamp comes with a wonderful quote by A.A.Milne.


I stamped the beautiful Caitlin onto my background using a black versafine ink pad. I added some colour to her face and  gave her pink and blue hair which I thought was fabulous.I would love to have that colour combination of hair! 

I also stamped her on some copy paper which I cut out to use as a mask.Once she was safely masked I stamped the wings onto her shoulders, the wings are also  from the Mindfulness #2 stamp Set.

 I stamped the brilliant quote underneath her, and also gave her some bling on her wrist and ear, and to the centre of some of the circles. I used pretty sequins and little gems. 


To make the pocket I used foam tape on the back of the picture, and measured the depth of the tags. I laid a line of foam tape under the tag depth so they would not disappear all the way down behind the picture. My card blank was 7x7 inches.


I made the tags in the same way, only this time I thought I would try embossing the Circle Dots Stamp.  I adhered the picture to the base card, and after tying some pretty ribbons to the tags I slid the tags inside the pocket. 

Encouraging, loving words could be added to the tags. Receiving a  handmade card and a written note can mean so much.

Thank you for popping by today. I hope I have inspired you with this card.
Have fun xx


Wednesday, 25 April 2018

Marker Storage

Hello dear reader,

As we all have, a marker problem.
Still it isn't a real problem, yeah.

So I have made this storage from an empty tin can..


Playing with shaving foam and ecoline. 


First cut a piece of paper 2cm bigger than the diameter from
the can.
Spray the shaving foam on a craftsheet, 


Drip several colors ecoline ink in the shaving foam. 


Twist the ink with a tooth pick.


Press the paper in the shavig foam with light pressure.


Clean the paper with a pallet knife and paper towels


Stamp in different colors the beuatiful IndigoBlu stamps.
I use in the background 

After you finished stamping glue the sheet on the tin can.
And your marker storage is ready.

Hope to inspire you.
Big hugs


Thursday, 19 April 2018

Stamp Focus | Building A Wreath with Marigold And Peony

Today Ksenija is here and I am sharing a wreath card made with Marigold and Peony red rubber stamps set.
How to make a floral wreath card with individual stamps
Marigold and Peony stamps set is a part of the recent release from IndigoBlu and is perfect for making floral cards.

This set contains four individual stamps which are easy to use for building various floral designs. I would like to explain how to easily stamp a perfectly aligned floral wreath.
Building A Wreath with Individual Stamps
To stamp a symmetrical wreath of flowers you will need a square piece of a card stock, a stamp positioning tool, e.g. MISTI, and a masking paper.

How To Make This Card:


  • Place a square piece of a card stock in your stamp positioning tool in the lower left corner and position a flower stamp also in the lower left corner.
  • Stamp the flower down onto a paper in black watercolour friendly ink.
  • Rotate the card panel by 90 degrees counterclockwise and stamp the flower again.
  • Repeat this step twice and you will get four flowers stamped in each corner of the card panel aligned perfectly.
  • Stamp down the flower onto a piece of a masking paper twice and fussy cut out two masks.
  • Mask off two flowers onto a panel with the paper masks and place the panel into your stamp positioning tool.
  • Position a flower stamp between two masked off flower impressions and stamp it down onto the panel.
  • Reposition one of the masks to the third flower and rotate the panel within the stamping tool by 90 degrees counterclockwise and stamp the flower between two masked off flowers.
  • Repeat this step twice to get the full wreath of flowers.

Add shiny accents with IndigoBlu Luscious Pigment Powders
Masking is a great technique for adding details without paper layers. I replaced the masks several times and added leaves and smaller flowers impressions.

I coloured the wreath with watercolour markers and added accents with water diluted Luscious Pigment Powders in Gold and Silver.

To finish off my card I heat embossed the phrase from Floral Fantasy stamps set in fine white powder onto a piece of a black card stock and cut it into three thin stripes.

To assemble the card I adhered the stamped panel to a black card base and popped the sentiment stripes up with a foam tape.

Thank you for stopping by and have a great day!
IndigoBlu Supplies Used:
Marigold And Peony Red Rubber Stamps Set
Floral Fantasy Red Rubber Stamps Set
Gold Luscious Pigment Powder
Silver Luscious Pigment Powders