Showing posts with label English Cottage Artist's Acrylic Paints. Show all posts

Monday, 13 November 2017

Believe there are no Limits


Hello Cheremane here with you for today's post. I was so lucky and got to play with the new Acrylic Pouring items that have just been released with Kay live on Hochanda. I'd never tried it and oh wow I had so much fun.

First I added three different paints Marshmellow,Townhouse TealRaven Black & White Geeso Good along with some water ,Go-Flow and Cell-u-Like into a plastic cup. I used a 6 x 6 piece of watercolour card which I placed on top of the cup and then turned it upside down and let the paint do the work.


You need to leave it to dry fully preferably till the next day as thats what I did I did before stamping the sentiment from Mindfulness A5 stamp set with Versafine Onyx Black and then heat embossing with clear powder. Some Pours will take longer to dry depending how much paint you use.


I painted the frame with Black Geesso Good once dry I painted one coat of Raven Black before stamping with Marshmellow paint and the Collector's Edition NO.6 Circle Dots stamp.


 Finally I stamped the Large Butterfly #2 and heat embossed it with clear powder before diluting some Raven Black paint with water and colouring the Butterfly once dry I put the the frame back together so it's all safe now behind glass.

Thank you for stopping by, I hope you've been inspired to try some paint pouring trust me you will love it.
Crafty Hugs
Cheremane x

Wednesday, 26 April 2017

A Gift from the Netherlands

It is Cec here and I have a very simple card to show you today that comes with a special story.

I noticed on the news a little while ago that tulip growers in the Netherlands had cultivated a special tulip in honour of Canada's Sesquicentennial (150 years) this year.  Since I am Canadian and live near Toronto this news caught my interest.  Here is a photo of the tulip:


You might wonder why they would do this for Canada.  Well Canada and the Netherlands have a special relationship resulting from actions during World War II when Canadian forces led the liberation of the Netherlands and hosted the Dutch Royal Family in exile.

Following German Occupation of the Netherlands, the Dutch royal family took refuge in Canada. Princess Margriet was born in exile while her family lived in Ottawa, which is the capital of Canada. The maternity ward of Ottawa Civic Hospital in which Princess Margriet was born was temporarily declared to be extraterritorial by the Canadian government, thereby allowing her citizenship to be solely influenced by her mother's Dutch citizenship. To commemorate the birth, the Canadian Parliament flew the Dutch flag over Peace Tower. This is the only time a foreign flag has flown over the Canadian Parliament Building.

I have the Tulip stamp from the Nottingham Lace set and thought that I would see if I could paint it to resemble this special tulip and make it into a simple card.


Here is how I made this card:


I stamped the tulip on watercolour card with some Archival Ink (I used Wendy Vecchi's Watering Can).


Next I added some water to the English Cottage Paints and using a fine brush painted the tulip.  The head of the tulip was painted from the bottom up with Lemon Meringue and Postbox Red, blending between the two colours.  The stem and leaves were painted with a mixture of Lime Marmalade and Hunter Green.  I painted the rest of the tulip with Gee-Sso White Gesso because I wanted a really bright white.

When the watercolour card dried I noticed a bit of rippling so I used some Super Thick Slap it On to mount the tulip panel on a thick piece of card cut just slightly smaller.  This smoothed it out and gave the tulip panel a bit of dimension.  The panel was then adhered to a piece of red card stock and then added to the card blank.

I created the sentiment on the computer and mounted it on some red card stock before adding it to the card.  You could also stamp the sentiment if you have something in your stash that would work for the occasion.

Happy Birthday Canada and thank you to the Netherlands for the pretty gift!


Monday, 27 February 2017

Tutorial: Linen Hanging Heart

Hello Giovanna today with the last post for this month full of love!
A while ago a friend of mine gave me a roll of heavy cotton, that looks like a lot like linen, so I used it to make a hanging heart, using stamps, paper and the brilliant shades of the Cottage paints: Spring is in the air..... Follow me in this step by step, it is super easy to make!

Trace and cut out the heart shape from the fabric
Paint just the in the middle with gesso
Paint some strips using the Cottage paints, blending them together. Give a second coat until you are happy with the result, let it dry
Put a small amount of acrylic paint on the desktop and using a brayer roll the paint on the background stamps. Stamp randomly.
Cut out some elements from the paper pad and glue them to the heart, along with the stamped sentiment.
Glue the heart to a piece of heavy cardstock and cut it out.
Products I used :

IndigoBlu Slap It On - Super ThickGeeSso Good! Gesso - White 120ml IndigoBlu English Cottage Paint Sets
Teeny Background A6 Red Rubber Stamp by Kay Halliwell-SuttonLedger Background A6 Red Rubber Stamp by IndigobluSteampunkesque - Mixed Media Paper Pad - 6x6, 24 sheets, 190gsmPlume A5 Red Rubber Stamp - Part of the Limor Webber Signature Range by IndigobluPeace on Earth A5 Red Rubber Stamp - by Kay Halliwell-SuttonDamaged Damask - Mixed Media Paper Pad - 6x6, 20 sheets, 190gsm

Thursday, 26 January 2017

Vintage Travel Canvas


It is Cec here and I am bringing you a canvas I made using some of my favourite IndigoBlu stamps.  Like most people, I couldn't just pick one favourite so I chose some that I thought went together quite nicely.


I started by taking a 5" x 7" canvas and covering it with Gee-SSo Good White.  Then I used some texture paste and the Texture stencil to add some interest on the edges.  I also added some paste with my fingers and made some areas that were simple bumpy.


Next I painted around the edges and a portion of the canvas top with Hot Cocoa English Cottage paint and then dry brushed some Goldfinger Metallic paint on top.


I cut four strips of chipboard, covered them with some old book paper and then gave them a coat of watered down Lemon Meringue English Cottage paint followed by a light dry brushing of Hot Cocoa.


The next step was to add some Distress Spray Stain in Gathered Twigs and Tarnished Brass.  I also added some Red Oxide acrylic ink.  Once the inks were dry I dabbed on some Pheasant Bronze Metallic paint.

The next two steps and a couple later on are missing photos because just after I had completed them, our anti-virus software started to indicate that there were hundreds of thousands of files infected with viruses and quarantining the files on every computer in the house.  Talk about panic setting in but after a few hours we discovered that these were false positives and the company had installed a fix so we could restore all the files from quarantine.  Unfortunately a few files would not restore and some were the photos I wanted to show you.

So, the next step was to add some stenciling with the Texture stencil and the Believe stencil using Coffee Archival ink.

Following that I lined the panels up the way I wanted them to look on the finished canvas, carefully taped them together on the back and then turned them over and stamped the dirigible from the Grand Tour I set and the hot air balloon from the Grand Tour III set using Jet Black Archival Ink.


I decided to add some texture at this point so I mixed a drop of Orange Blossom reinker with Super Thick Slap It On and put it through the Texture stencil.

At this point I adhered the panels to the canvas but since I decided to leave a bit of space between each panel, I had to go back and paint the rest of the canvas.


I used Versamark embossing ink and stamped some clocks from the Good Times set onto some transparencies and then heat embossed them with some Copper Embossing Powder.  All the clocks were fussy cut.  This photo shows my first attempt using Gold Embossing Powder because the photo in Copper is one that I lost.  Transparencies are slippery so the stamping is not crisp but I loved the outcome because it added to the vintage feel and as long as I kept my heat gun high enough and moving, it did not warp or melt.

Now it was time to add some embellishments.  I pulled all sorts of metal and wooden pieces from my stash and my husband's workroom and set about to alter them so there was a consistent copper theme.  Metal pieces were altered with Rust Alcohol Ink blended with Copper Mixative Alcohol Ink and wooden pieces were painted with Miss Moneypenny Metallic paint.  I used Super Thick Slap It On to attach all the embellishments and usually find that using my finger to smear it on is the easiest way.

I know this was a long post but I hope there are something to inspire you to dig out your favourite IndigoBlu products and play.

Saturday, 26 November 2016

Sparkle


It is Cec here and today I have my second inspiration project for you based on the Bonfire Night theme.  Our lovely DT Leader, Elizabeth, gave those of us who live in countries that don't celebrate this event the following things to consider:
  • Lots of bright coloured fireworks going off, bonfires and starry skies
  • Family gathering and celebrations
  • The word "sparkle" for fireworks called sparklers
  • Lots of bright colours such as an explosion of colour using butterflies, flowers, birds
Since I did a card with fireworks in a night sky as my first project, I decided to go bright this time.  I started with some yellow card stock for my blank.


I dug out some Watercolour card and painted it with a coat of Lemon Meringue Matte Acrylic paint.  Then I added Mulbery Bush, Burning Bonfire and Postbox Red Matte Acrylic paint through a TCW stencil called Mini Burst.  Despite every effort, it still bled under the stencil and I was about to toss it when I restrained myself and grabbed a baby wipe and pulled the colour from the centre out.  I love the way that looks now and thought it was a great save.  The burst reminds me of fireworks - OK, so a bit of a stretch maybe but that's my story and I am sticking to it.


I stamped two each of three different flowers from the Live, Laugh, Love stamp set onto some scraps of white card stock with Versamark and then embossed it with Recollections Gold embossing powder.


Once dry I fussy cut the flowers and painted them with Postbox Red, Lemon Meringue and Mulberry Bush Matte Acrylic paint.  The flowers were then shaped by cutting into sections and bending or curling the petals before layering them.


I die cut some leaves from Tim Holtz Kraft Core Shattered Collection and a Tim Holtz set called Garden Greens and then coated them with Gold Luscious mixed with a bit of water.


Finally, I stamped the word Sparkle from the Sparkle and Glisten stamp set onto some of the yellow card stock with Vermillion Archival Ink and then distressed it with my scissors and inked the edges with Carved Pumpkin Distress Ink.

I sure hope I have done the Bonfire Night theme justice with this very bright card - I had lots of fun making it.


Tuesday, 23 August 2016

IndigoBlu Stamps on Tea Bags

Hello everyone! It's Solange Marques here and today I'll share with you an art journal page using the fantastic IndigoBlu products.

Art journal page by Solange Marques featuring IndigoBlu stamps.-01

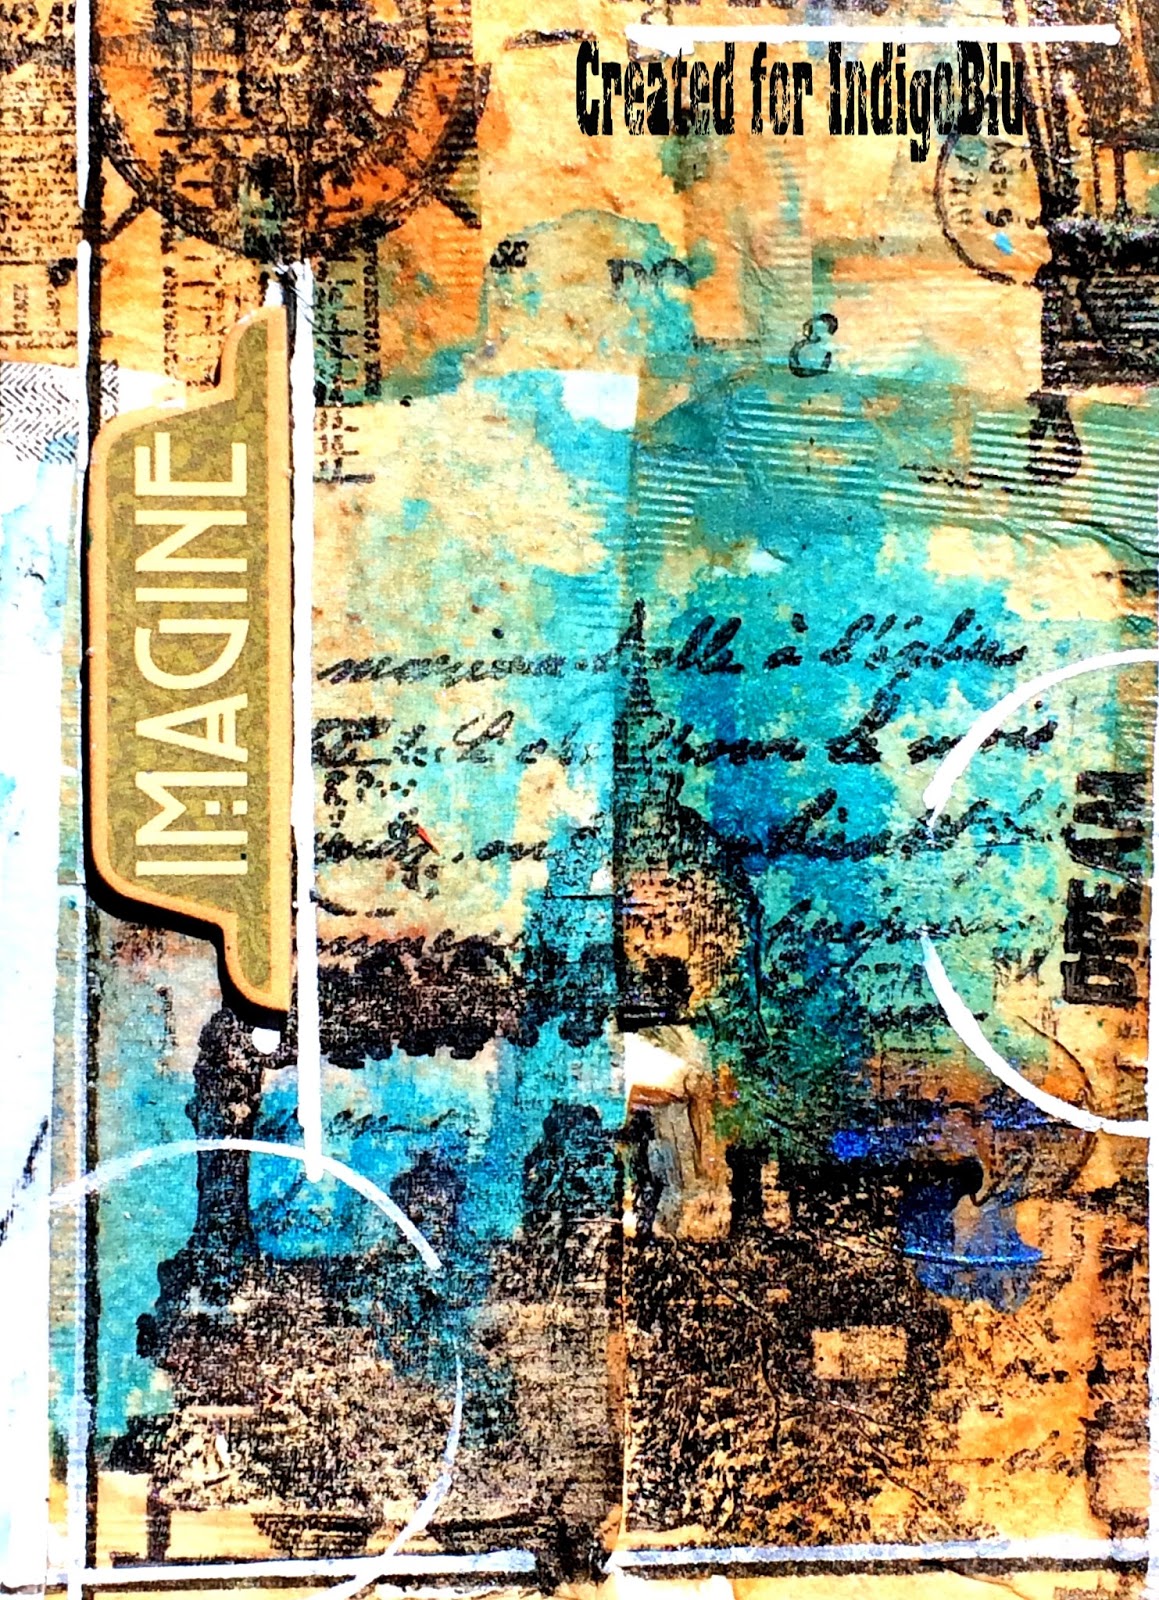
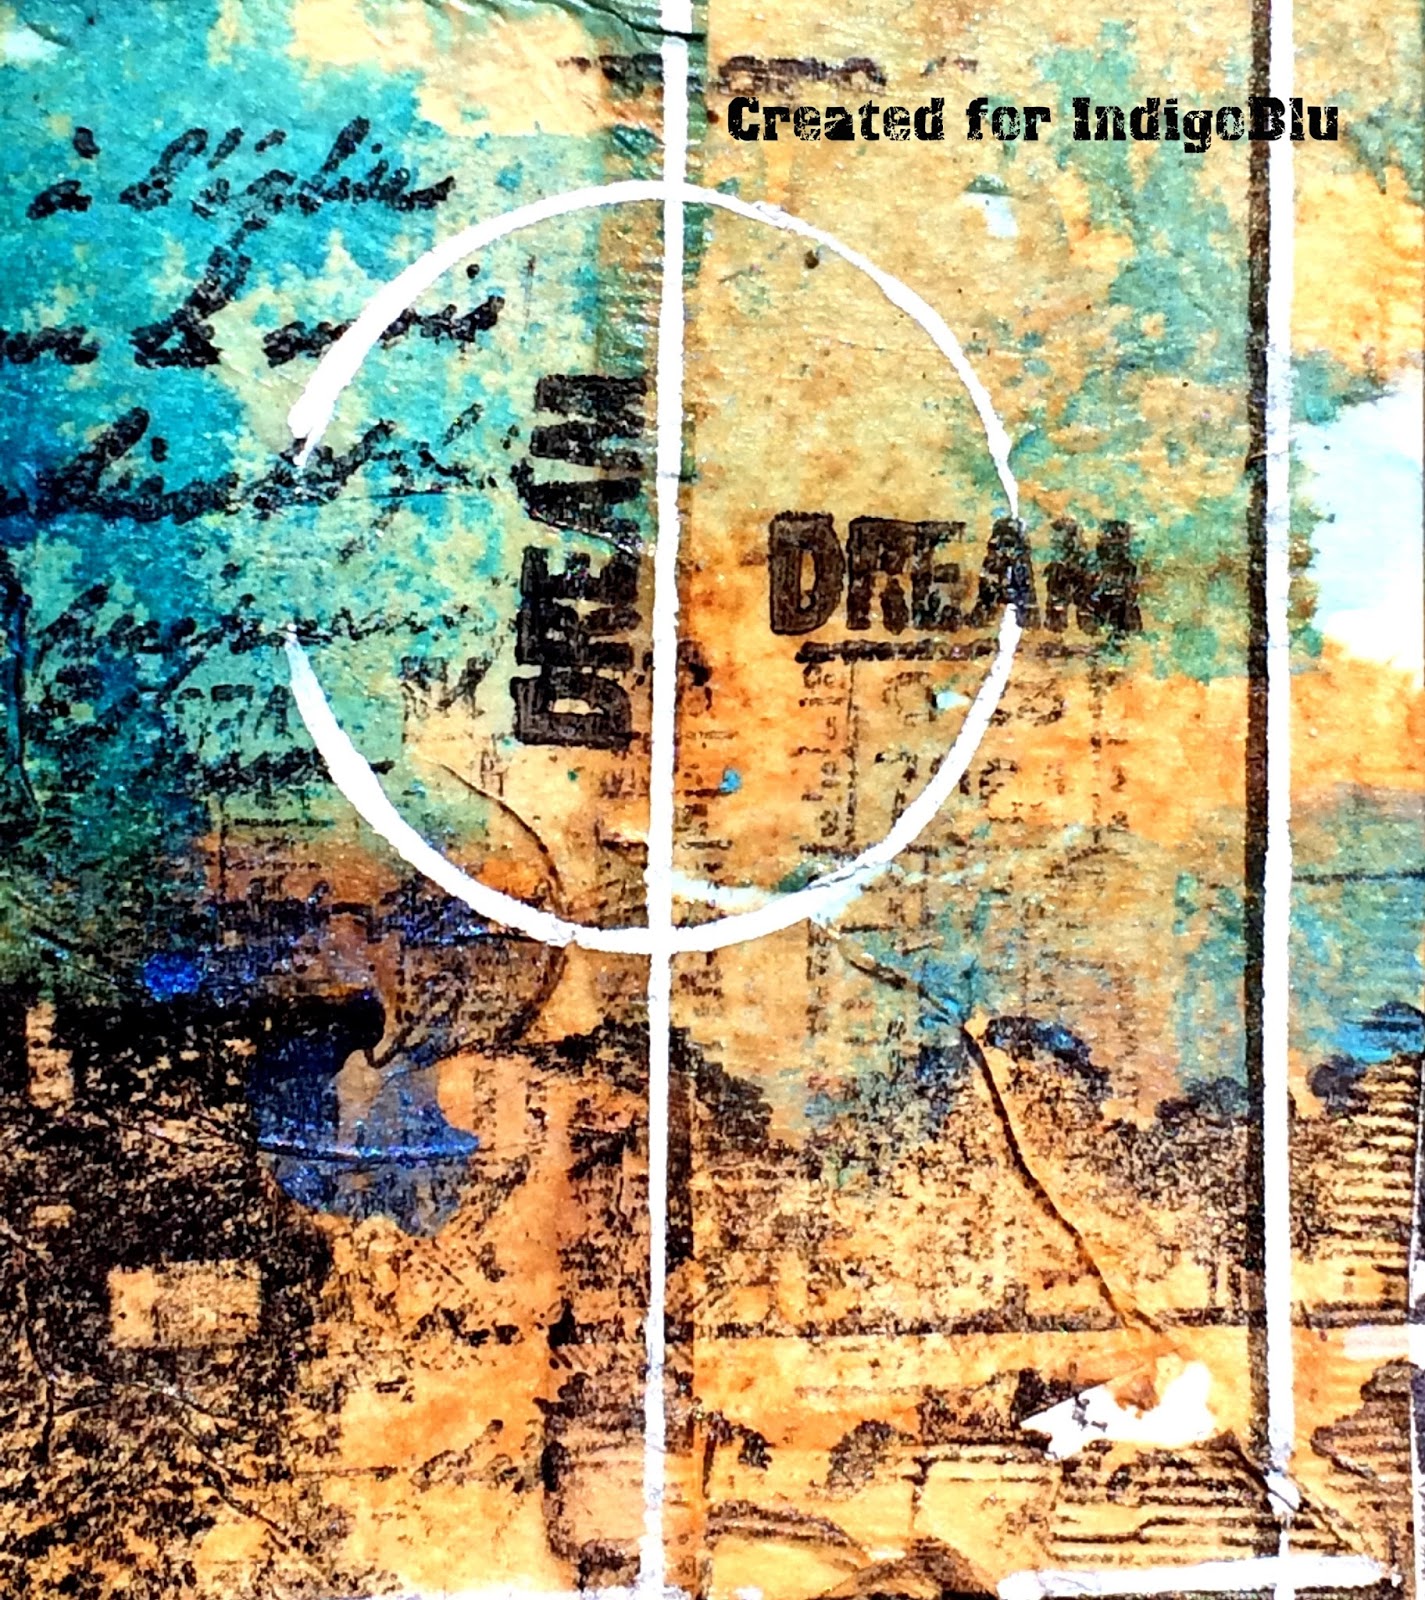
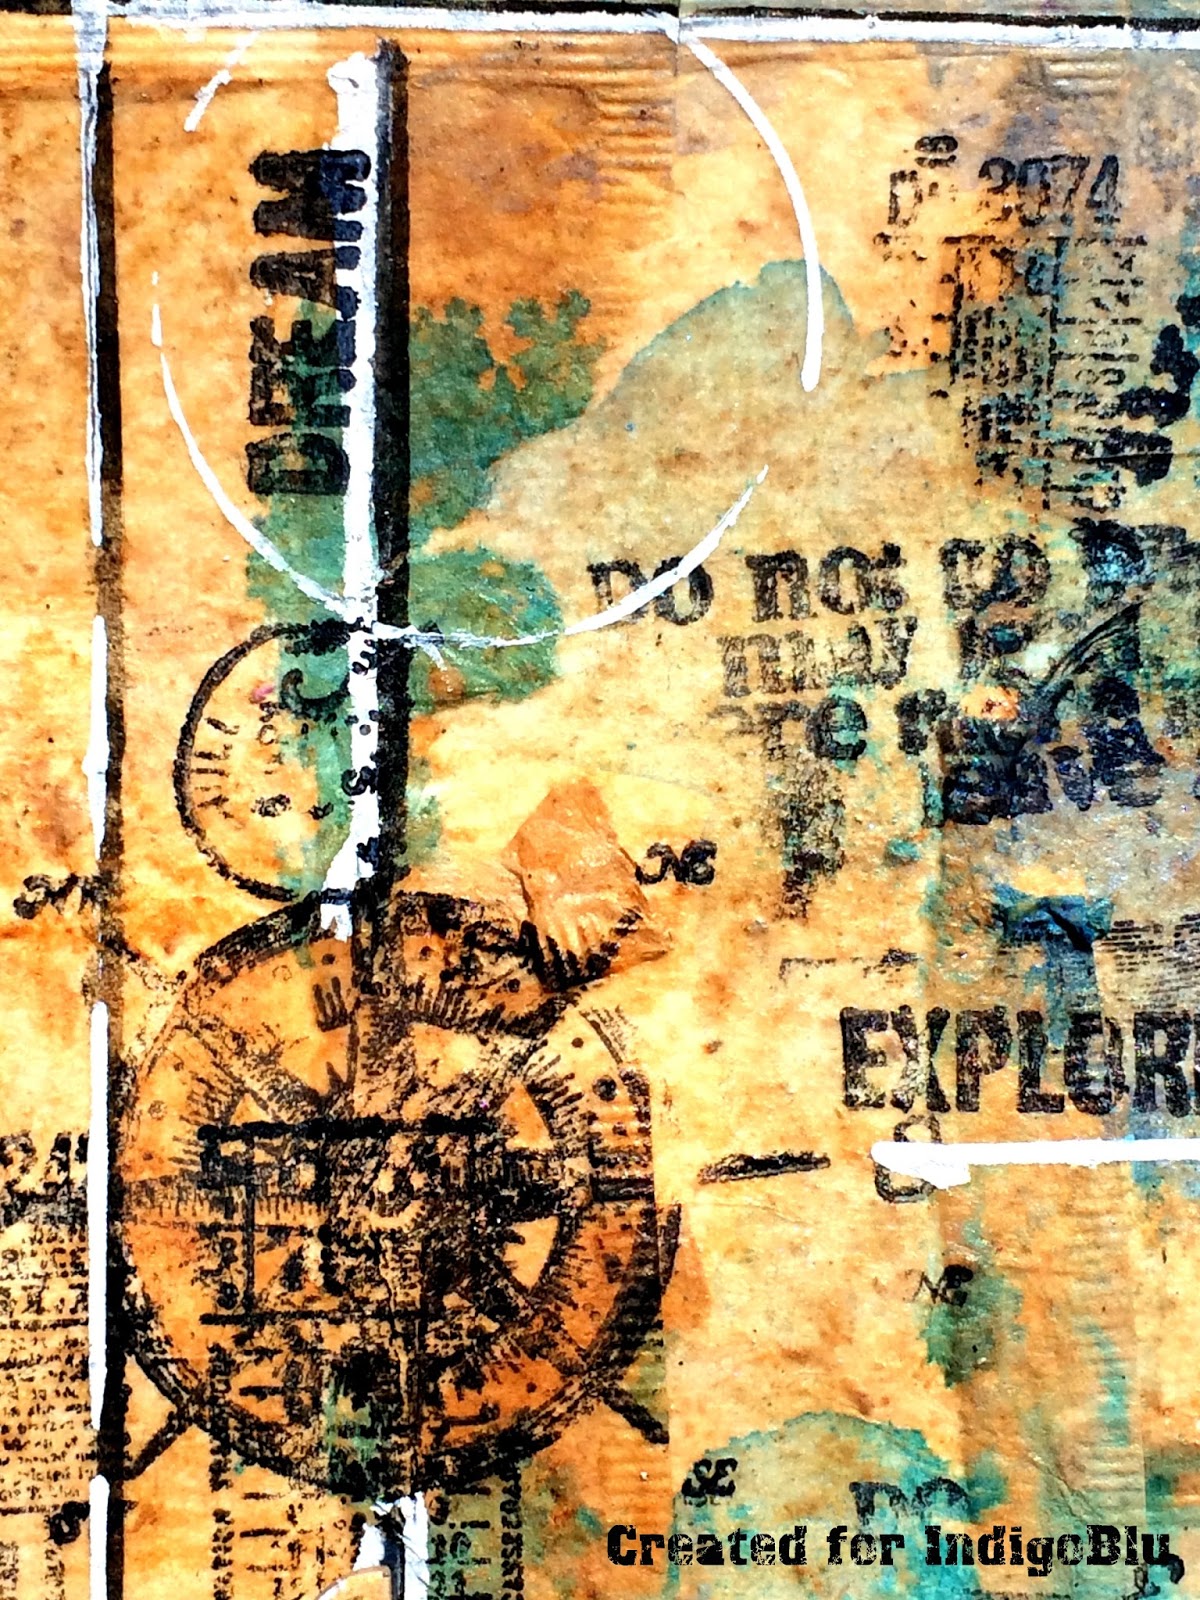
I love to use stamps on tea bags background. I glued the teabags on the paper using regular gel medium and then I used Grand Tour I, Grand Tour II and Grand Tour III A5 red rubber stamps.

Art journal page by Solange Marques featuring IndigoBlu stamps.-02

Art journal page by Solange Marques featuring IndigoBlu stamps.-03


I also used some IndigoBlu English Cottage Artist's Acrylic Paints: Hot Cocoa, Townhouse Teal, Park Lane and the metallic blue: Sleeping Beauty.

Art journal page by Solange Marques featuring IndigoBlu stamps.-04

Art journal page by Solange Marques featuring IndigoBlu stamps.-05

Art journal page by Solange Marques featuring IndigoBlu stamps.-07

I really love the texture of the tea bags on the background!
I hope you enjoy it!

Solange Marques